
How to Turn Leggings into Flares: Easy DIY Style Upgrade
Have you ever wished your regular leggings looked more like the trendy flare pants you see in fashion magazines or on social media? Turning leggings into flares is a creative way to upcycle clothing, save money, and express your personal style. With a few basic sewing skills and some patience, you can transform almost any pair of leggings into flattering, comfortable flares. Whether you want a subtle bootcut or a dramatic bell-bottom, the process is surprisingly doable at home.
This guide will walk you through every detail, from picking the right leggings to adding the final touches. You’ll learn about fabric choices, pattern adjustments, common mistakes, and tips for making the transformation look polished—not homemade. Even if you’ve never sewn before, you’ll find practical advice, clear steps, and expert insights that make the journey smooth and rewarding.
Why Turn Leggings Into Flares?
Leggings are everywhere because they’re comfortable and versatile. However, the classic skinny style doesn’t suit everyone or every occasion. Flare pants bring a fresh, retro-inspired twist to your wardrobe. They balance the body, elongate the legs, and work well with different shoes and tops.
Transforming leggings into flares also has practical benefits:
- Saves money compared to buying new flare pants.
- Lets you reuse old leggings or add life to a worn pair.
- Offers custom fit—choose how much flare you want.
- Reduces textile waste, which helps the environment.
- Gives you a unique, handmade piece that reflects your taste.
This project is also a great way to practice basic sewing skills, experiment with fashion, and make your clothes truly one-of-a-kind.
Choosing The Right Leggings
Not all leggings are ideal for this project. The success of your flares depends a lot on the base leggings you start with. Here’s what to consider:
Fabric Type
Choose leggings made from medium-weight stretch fabric like cotton-spandex or polyester blends. Avoid very thin, see-through, or extremely thick materials. Stretch is important so your flares keep their shape and stay comfortable.
Fit
Start with leggings that fit well at the waist and hips, but are not too tight around the calves and ankles. If your leggings are very snug at the bottom, the added flare panel might pull or look awkward. If possible, try on the leggings and walk around—if they feel good, they’ll work for this project.
Condition
Pick leggings that are in good shape. Avoid ones with holes, pilling, or worn-out elastic. If you use old leggings, check the seams and elastic to make sure they’ll last after the transformation.
Color And Pattern
Solid colors are easiest to match with added fabric. If you’re using patterned leggings, try to find similar fabric for the panels or embrace the contrast for a bold look.
Size
If you’re between sizes, choose the larger size. The flare addition can make the lower part looser, but the upper part should not be too tight.
Supplies You’ll Need
Before you start, gather all necessary materials. Having everything ready makes the process faster and less stressful.
- One pair of leggings (clean and dry)
- Matching stretch fabric (for the flare panels)—about ½ to 1 yard
- Sewing machine (with a stretch or zigzag stitch option)
- Ballpoint or stretch needle (for sewing stretch fabrics)
- Thread (matching color)
- Fabric scissors
- Seam ripper (in case you need to undo stitches)
- Measuring tape
- Pins or fabric clips
- Chalk or fabric marker (to mark fabric)
- Iron (for pressing seams)
- Pattern paper (optional, for making templates)
If you don’t have a sewing machine, you can sew by hand, but it will take longer and the seams may not stretch as well. For the best results, use a machine.
Planning Your Flare Shape
One of the most creative parts of this project is deciding what kind of flare you want. There’s a big difference between a subtle bootcut and a dramatic bell-bottom.
Flare Styles
- Bootcut: Slight flare from the knee to ankle. Good for a classic look.
- Moderate Flare: Noticeable flare that starts at the mid-calf.
- Bell Bottom: Wide flare starting below the knee. Bold and retro.
- Extreme Flare: Starts at the knee and gets very wide at the hem. Statement style.
Think about what shoes you’ll wear—sneakers, boots, or heels—and how dramatic you want the effect to be. You can even try on different pants in your closet to see which silhouette you like best.
Measuring For The Flare
To decide how wide your flares should be:
- Try on your leggings and use a measuring tape to measure around your ankle where the flare will start.
- Measure how wide you want the hem (bottom) of each leg to be.
- The difference between these two numbers tells you how much extra fabric to add.
For example, if your ankle is 8 inches around and you want a 20-inch hem, you need to add 12 inches of flare per leg, divided between the sides.
Making The Flare Pattern
You have two main options for adding flare: insert panels (godets) or slash and spread. The insert panel method is easier and gives you more control.
Making A Flare Panel Pattern
- Draw a Triangle: On pattern paper, draw a long triangle. The top width should match the opening you’ll cut in the leggings. The bottom width should be the extra flare you want to add.
- Length: The triangle’s length should match the distance from the knee (or wherever you want the flare to start) to the hem of your leggings.
- Add Seam Allowance: Add ½ inch on all sides for seam allowance.
- Curve the Sides (optional): For a softer look, curve the triangle sides slightly.
Repeat for both legs. If you want dramatic flares, make the triangle base wider.
Sizing The Insert
Use this simple calculation:
| Flare Style | Panel Base Width (per side) | Hem Opening (total) |
|---|---|---|
| Bootcut | 2-3 inches | 14-16 inches |
| Moderate Flare | 4-5 inches | 18-20 inches |
| Bell Bottom | 6-8 inches | 22-26 inches |
| Extreme Flare | 10+ inches | 28+ inches |
Cutting The Leggings
Now comes the point of no return! You’ll need to cut your leggings to insert the flare panels.
Where To Cut
- Wear the leggings and mark (with chalk or fabric marker) where you want the flare to begin, usually just below the knee.
- Take them off and lay flat, making sure the legs are even.
How To Cut
- Use fabric scissors to cut a straight line from the hem up to your mark, along the outer side seam. If your leggings have no side seam, pick the outermost point.
- Cut up both the front and back layers, creating an opening.
- The opening should be wide enough at the hem to fit your flare panel.
For more dramatic flares, cut a slightly wider “V” shape, but don’t go too high or the flare will start too close to the thigh.
Mistake To Avoid
Many beginners cut too high or too wide at first. Always start small—you can make the opening bigger, but you can’t put fabric back!

Credit: www.youtube.com
Cutting The Flare Panels
Lay your stretch fabric flat. Place your pattern piece on the fabric and pin it down. Cut two identical panels for both legs.
- If your fabric has a directional print or nap (like velvet), make sure both pieces face the same way.
- Cut with sharp scissors to avoid jagged edges.
If you want a lining (for thin or see-through fabrics), cut matching panels from a light stretch lining.
Pinning And Attaching The Panels
This is where your flare takes shape.
Pinning
- With leggings inside out, open the cut leg.
- Pin the flare panel, right sides together, to the raw edges of the opening. Start at the hem and work up to the top of the cut.
Sewing
- Use a stretch stitch (like zigzag or lightning bolt) on your sewing machine.
- Sew slowly, removing pins as you go.
- Stretch the fabric gently to avoid puckering.
- Sew both sides of the panel, attaching it fully to the leg.
If sewing by hand, use a backstitch or small whipstitch for strength, but keep stitches stretchy.
Pressing
- Press the seams open with a warm iron (check your fabric’s iron setting).
- If you have a serger, finish the seams for a professional look, but it’s not required.
Hemming The Flares
If your original leggings were already hemmed, you’ll need to re-hem the bottom of each leg so the flare panels blend in.
- Fold the raw edge of the hem up by ½ inch.
- Pin in place.
- Sew with a stretch stitch or a twin needle for a neat finish.
- Press the hem flat.
If you want a raw edge (popular with some stretch fabrics), you can leave it unhemmed, but it may roll over time.
Final Fitting And Adjustments
Try on your new flare leggings before finishing up.
- Check the fit at the knee and ankle.
- Walk around and sit down—make sure nothing feels tight or pulls.
- If the flare is uneven, trim the hem carefully so both sides match.
For a more dramatic look, you can add decorative trims (like piping or lace) along the seams. For a classic look, keep it simple.
Caring For Your Flare Leggings
Handmade or altered leggings need a bit more care than store-bought ones.
- Wash in cold water to prevent shrinking and fading.
- Use a gentle cycle and mild detergent.
- Avoid high heat when drying—air dry or tumble on low.
- If ironing, use a low setting and a pressing cloth.
Over time, check the seams for wear. If a seam starts to come loose, re-sew it before it gets worse.
Creative Variations And Personalization
Turning leggings into flares opens the door for creative expression. Here are ways to make your pair truly unique:
Contrast Fabric
Use a fabric in a bold color or pattern for the flare panels. For example, black leggings with red velvet flares or floral print panels for a boho look.
Layered Flares
Sew several layers of lightweight fabric (like chiffon or tulle) as panels for a dramatic, floaty effect.
Decorative Seams
Use contrasting thread or add topstitching for a visible seam. Metallic or neon threads can add a pop of color.
Embellishments
Sew on ribbons, sequins, or appliqué to the flare panel or seam for festival or party wear.
Upcycled Materials
Repurpose old t-shirts, scarves, or even thin denim for the flare panels. It’s eco-friendly and gives a unique texture.
Adjustable Flares
Add snaps or zippers at the panel seam so you can open or close the flare as you like.
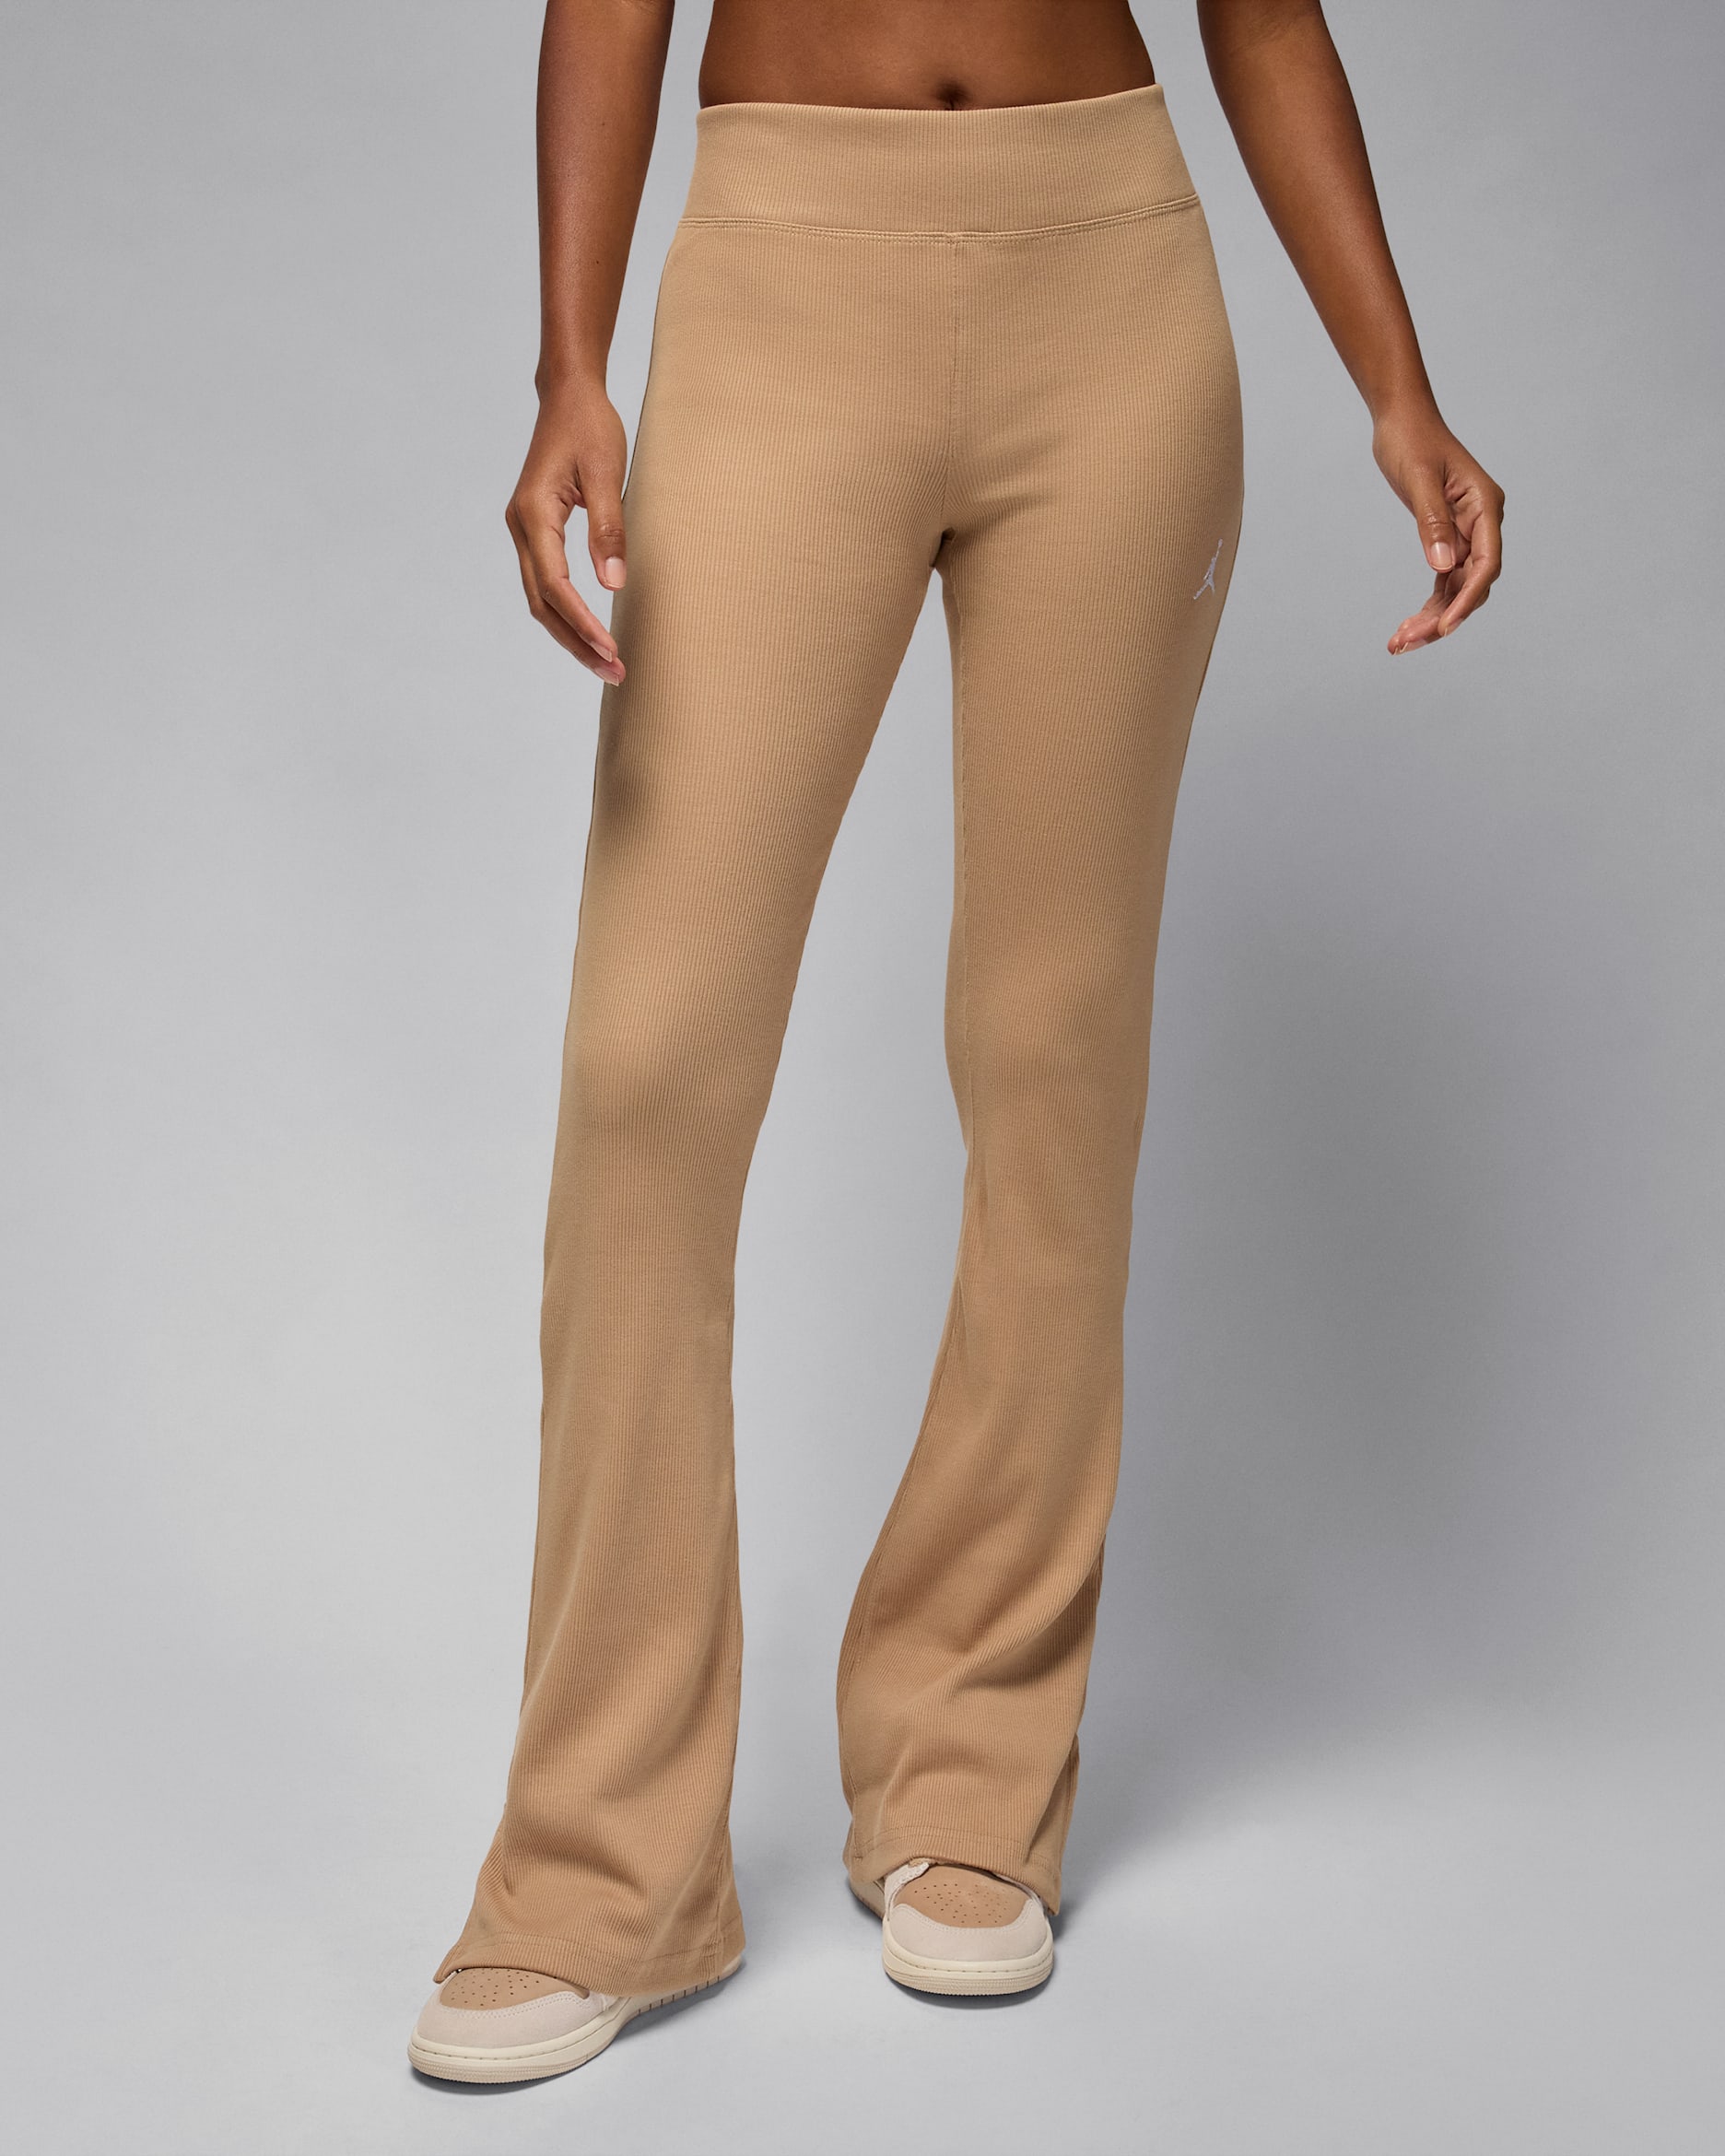
Credit: www.nike.com
Comparing Flare Methods
There’s more than one way to create flares. Here’s a quick comparison of the two main methods:
| Method | Skill Level | Result | Best For |
|---|---|---|---|
| Insert Panels (Godets) | Beginner | Customizable, easy to adjust | Most leggings, color-blocking |
| Slash and Spread | Intermediate | Smoother flare, less visible seams | Solid color leggings, subtle changes |
The insert panel method is most forgiving and allows for wild creativity. The slash and spread method is better if you want a nearly invisible modification, but requires more skill and sometimes a pattern.
Common Mistakes And How To Avoid Them
Even experienced makers run into challenges. Here are pitfalls to watch for:
- Cutting Too High: If you cut above the knee, flares can look odd and lose structure. Always mark carefully before you cut.
- Choosing Non-Stretch Fabric: The flare panels must have similar stretch as the leggings, or they won’t move properly.
- Skipping Seam Allowance: Not adding extra for seams will make panels too small and leggings too tight.
- Uneven Panels: Measure and cut both panels at the same time to avoid mismatched flares.
- Sewing with Wrong Needle: Regular needles can skip stitches or damage fabric. Always use a ballpoint or stretch needle.
- Not Trying On Before Finishing: Always check fit before hemming. It’s much easier to adjust before the final step.
- Ignoring Fabric Direction: If your flare fabric has a nap or print, make sure both panels match direction, or the look will be off.
Tips For Beginners
You don’t need to be a sewing expert to succeed.
- Practice sewing on scrap fabric first to get the feel of stretch stitches.
- Pin or baste flare panels in place before sewing for better accuracy.
- If you make a mistake, use a seam ripper—don’t panic!
- Watch video tutorials for visual guidance. Many creators share step-by-step videos online.
- Start with inexpensive leggings and fabric. Save your favorite pair for when you’re confident.
When To Ask For Help
If you’re stuck, it’s okay to ask for guidance.
- If your sewing machine skips stitches, check the needle and thread, or ask a friend with sewing experience.
- If you’re not sure about your measurements, get someone to help mark or measure.
- For tricky fabrics (like velvet or sequined materials), consider taking the project to a tailor for finishing.
Sustainable Fashion And Upcycling
Turning old leggings into flares is a smart way to support sustainable fashion. Textile waste is a big problem worldwide, but upcycling gives clothes new life and keeps them out of landfills.
Many people now choose to refashion clothes instead of buying new. This trend is not only better for the environment, but also lets you create unique pieces nobody else has. For more on sustainable fashion, you can check resources like the Sustainable Fashion Wikipedia page.
Real-life Examples
Here are a few stories from people who successfully turned leggings into flares:
- Maria used old black leggings and purple velvet for the panels. She made moderate flares that she wears to dance class. “Everyone asked where I bought them,” she says. “I love that they’re one-of-a-kind.”
- Jake tried the method with thick athletic leggings and camo fabric. He made wide bell bottoms for a 1970s-themed party. “The hardest part was measuring the flare, but after that, it was pretty easy.”
- Lila upcycled leggings for her daughter, adding rainbow tulle panels. “It was a weekend project, and my daughter loves twirling in them.”
These examples show that you can use almost any fabric and level of flare, depending on your style.
Cost Comparison: Diy Vs. Buying Flares
Curious about how much you save? Here’s a simple breakdown:
| Option | Average Cost | Notes |
|---|---|---|
| DIY Flares | $10–$25 | Leggings + fabric, basic supplies |
| Store-Bought Flares | $30–$90 | Depends on brand, style |
Making your own flares is usually much cheaper, especially if you use fabric scraps or upcycled materials.
Troubleshooting: Fixing Common Problems
Even with careful work, issues can happen. Here’s how to solve them:
- Wavy Hem: If the hem ripples, you may have stretched the fabric while sewing. Steam press the hem and sew slower next time.
- Puckered Seams: Use a stretch stitch and don’t pull the fabric as you sew. Check tension settings on your machine.
- Panels Not Matching: Carefully trim to even out, or add a decorative band to hide a mismatch.
- Leggings Feel Too Tight: If the flare panel pulls, you may need to add a wider panel or use stretchier fabric.
Advanced Ideas For Experienced Sewers
If you’re comfortable with sewing, try these upgrades:
- Add pockets to the flare panel for function and style.
- Mix fabrics—combine denim with jersey for unique texture.
- Use an overlocker/serger for super clean seams.
- Dye the leggings after sewing for a custom ombré effect.
- Create asymmetrical flares for a fashion-forward look.
Final Thoughts
Transforming leggings into flares is a fun, practical project for anyone who loves fashion and creativity. You get to choose the flare shape, fabric, and details to match your style. The process is beginner-friendly, but even experienced makers can find ways to push their skills.
Remember, the most important step is to take your time with measurements and cutting—the rest is about having fun and experimenting.
By making your own flares, you support sustainable fashion, save money, and end up with a piece that’s completely unique. With a little patience and creativity, you can turn everyday leggings into your new favorite statement pants.
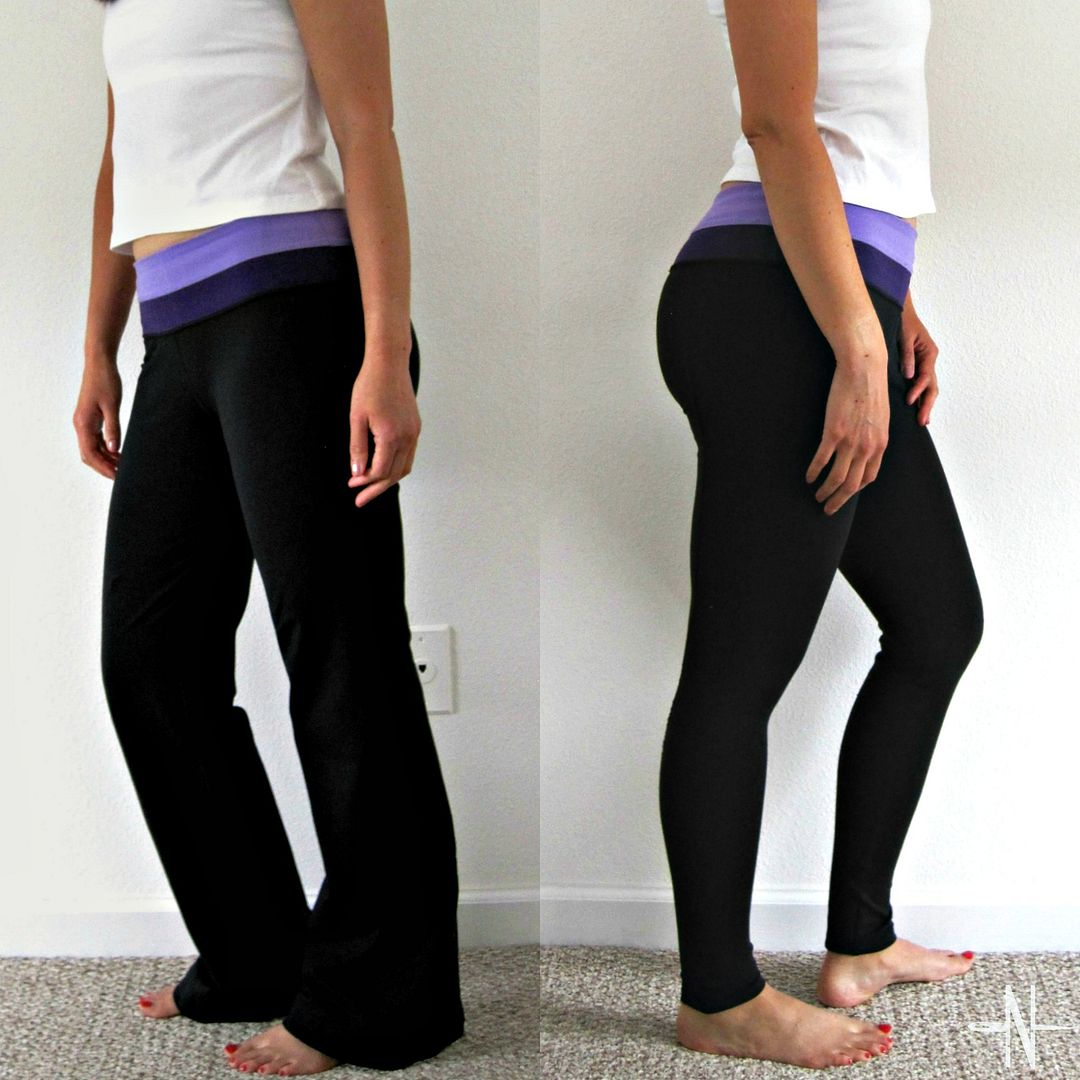
Credit: www.shesgotthenotion.com
Frequently Asked Questions
How Much Fabric Do I Need For The Flare Panels?
For most adult leggings, you need about ½ to 1 yard of stretch fabric for the panels. If you want very wide or layered flares, get extra. Measure the length from your knee to ankle and multiply by the width of the flare to estimate more precisely.
Can I Make Flares Without A Sewing Machine?
Yes, you can hand-sew the panels using a backstitch or small whipstitch. However, machine-sewn seams will stretch and last longer. If you plan to wear the leggings often, using a sewing machine is better.
What Kind Of Fabric Works Best For The Flare?
Choose a stretchy, medium-weight fabric similar to your leggings. Cotton-spandex and polyester blends work well. Avoid stiff or non-stretch fabric, as it won’t move with your legs and may rip at the seams.
How Do I Make Sure Both Flares Match?
Cut both panels at the same time by folding your fabric and cutting through two layers. Pin them before sewing and check the length before hemming. Try on the leggings and adjust if needed.
Can I Remove The Flare Panels Later?
Removing flare panels is possible, but you’ll have a visible seam where you cut the leggings. If you want to return to the original style, choose a subtle flare and sew carefully so you can unpick the seams later if desired.