
How to Turn Leggings into Flares: A Step-by-Step Guide
How To Turn Leggings Into Flares
Leggings are a staple in many wardrobes because they are comfortable, flexible, and easy to style. But sometimes, you want a little more flair—literally. If you love the flare pants look but only have regular leggings, you don’t need to buy new ones. You can turn your existing leggings into flares at home, and the process is easier than you might expect. This guide will walk you through every step, from choosing the right materials to finishing your DIY flare leggings with a professional touch. Whether you have sewing experience or are a complete beginner, you’ll find clear instructions, practical advice, and tips that most tutorials miss.
Why Turn Leggings Into Flares?
The flare style has become popular again, thanks to its retro-inspired look and flattering silhouette. Flares add movement and shape to your outfit, making your legs look longer and balancing your proportions. You can wear flare leggings for yoga, casual outings, or even as part of a statement outfit.
Transforming leggings into flares lets you:
- Save money: No need to buy new pants.
- Customize your style: Choose unique fabrics and colors.
- Recycle old clothes: Give new life to worn leggings.
- Experiment with trends: Try the flare look without commitment.
Many people don’t realize that turning leggings into flares is a practical way to upcycle and personalize your wardrobe. It’s also a fun project that can boost your confidence in DIY clothing.
Choosing The Right Leggings
Before you start, picking the right pair of leggings is essential. Not all leggings are suitable for this transformation.
What To Look For
- Material: Stretchy fabrics like cotton-spandex, polyester-spandex, or nylon blends work best. Avoid thick fleece or non-stretch materials.
- Fit: Leggings should fit snugly around your hips and thighs. Baggy leggings won’t hold the flare shape well.
- Condition: Make sure your leggings aren’t worn out, especially around the seams or knees. Small holes can grow bigger during sewing.
- Length: Full-length leggings are ideal. If you have cropped leggings, the flare may look awkward unless you add extra fabric.
Common Mistakes
Some people try to use jeggings or very thick leggings, but these are hard to modify and don’t drape well. Also, leggings with heavy patterns may not match new flare fabric, making the final result look messy. If you’re unsure, stretch the fabric gently; if it bounces back, it’s suitable for flaring.
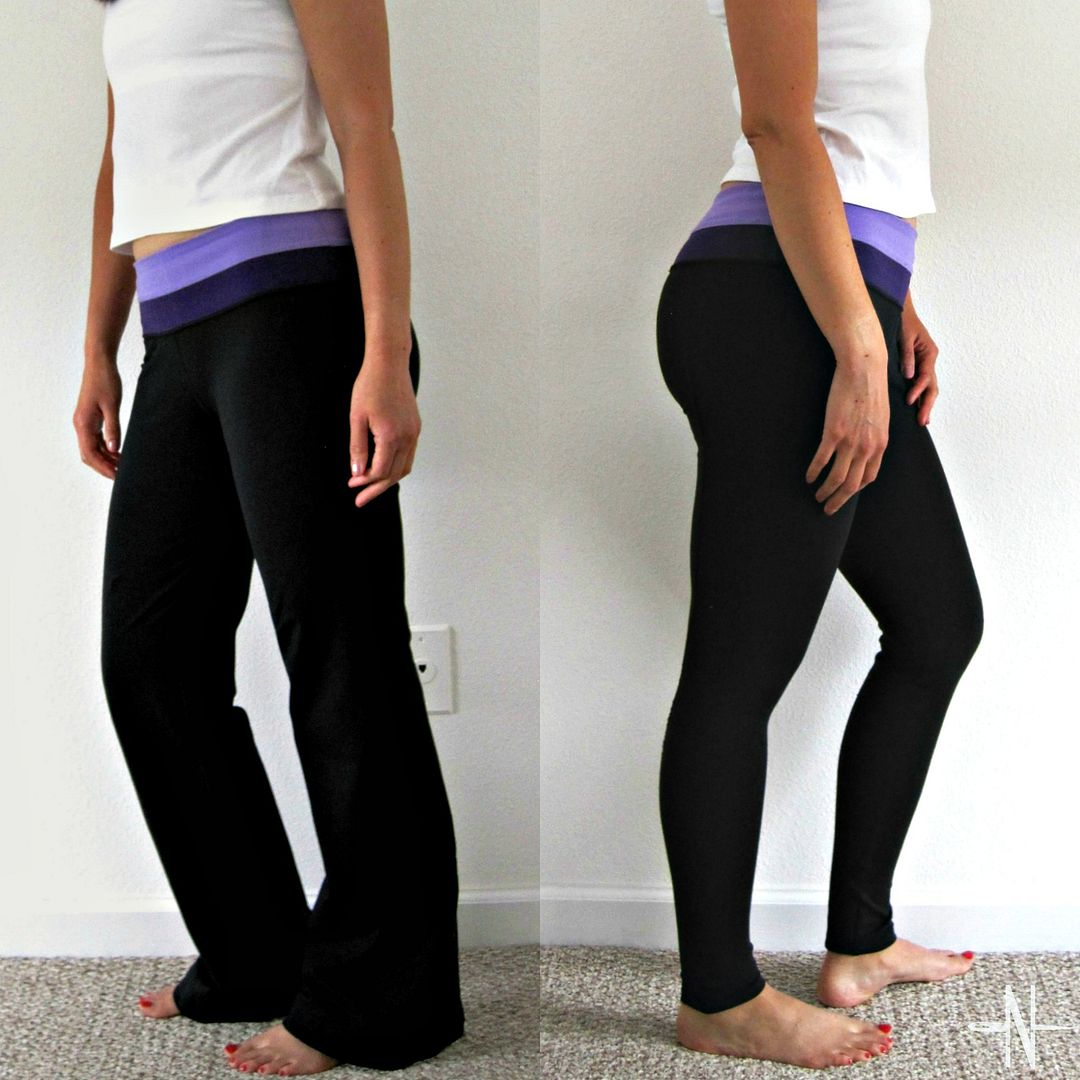
Credit: www.shesgotthenotion.com
Planning Your Flare Style
Not all flares are the same. You can customize the width, length, and fabric of your flare.
Types Of Flare
- Subtle Flare: Slightly wider than the original leg, creates a gentle bell shape.
- Dramatic Flare: Much wider than the original, creates a statement look.
- Patchwork Flare: Uses contrasting or patterned fabric for the flare section.
- Layered Flare: Adds ruffles or tiers for extra volume.
Deciding Flare Width
Measure how wide you want your flares at the hem. Most people prefer 5-8 inches wider than the original leg opening. For dramatic styles, you can go up to 12 inches.
Flare Placement
You can start the flare just below the knee for a classic look, or higher for a more modern style. If you want to keep the leggings’ tight fit around your thighs, start the flare lower.
Gathering Materials And Tools
To turn leggings into flares, you’ll need some basic supplies. You don’t need advanced sewing tools, but having the right materials makes the process easier.
Essential Materials
- Leggings (clean and in good condition)
- Flare fabric: Choose a material with similar stretch and weight. Lycra, jersey, or soft cotton blends are ideal.
- Matching thread: For strong, invisible seams.
- Scissors: Fabric scissors work best.
- Pins or clips: To hold fabric together.
- Measuring tape: For accuracy.
- Sewing machine (optional): You can sew by hand, but a machine creates stronger seams.
- Seam ripper: For fixing mistakes.
- Chalk or fabric marker: To mark cutting lines.
Optional Extras
- Serger: For professional-looking edges.
- Iron: To flatten seams.
- Decorative trims: Lace, ribbon, or piping for extra style.
Some guides skip mentioning the importance of matching fabric stretch. If your flare fabric is stiffer or less stretchy, the pants will feel uncomfortable and look uneven. Always check stretch by tugging the fabric gently.
Measuring And Cutting Leggings
Accurate cutting is crucial for a great result. Many beginners rush this step and end up with uneven legs.
Step-by-step Process
- Lay leggings flat: Place them on a table or clean floor, smoothing out wrinkles.
- Decide flare start point: Usually, just below the knee. Mark this spot with chalk or a pin.
- Draw a cutting line: Use your measuring tape to make sure both legs are marked at the same height.
- Cut off the lower part: Carefully cut straight across each leg at your marked line. Save the fabric you remove; you can use it for patchwork or as a template.
Non-obvious Tip
Don’t cut too high up the leg. If you start the flare above the knee, the pants may look too loose and lose their shape. Beginners often overestimate how much fabric to remove.
Creating Flare Panels
Now, it’s time to make the flare sections. You can use the same color fabric as your leggings or choose a contrasting color for extra flair.
Calculating Flare Panel Size
To make flare panels, you’ll need to create triangle-shaped pieces. The base of the triangle is the width you want at the hem, and the height is the length from your cut point to the bottom.
- Base width: Desired flare width (e.g., 8 inches).
- Height: Measure from knee to ankle (e.g., 12 inches).
You’ll need two panels for each leg, so four in total.
Cutting Flare Panels
- Draw triangles: Use chalk and a ruler to draw the shape on your fabric.
- Cut carefully: Make sure the fabric stretches in the same direction as your leggings.
- Check symmetry: All four panels should be identical.
If you want a layered or patchwork look, cut extra panels in different fabrics.
Attaching Flare Panels
This step changes the leggings from fitted to flared. Accuracy matters here.
Pinning Panels
- Open leg seams: Use a seam ripper to open the inner and outer seams of each leg from the cut point to the hem.
- Insert flare panels: Place one panel in each opening, pinning edges to the leggings fabric.
- Check alignment: Make sure panels point downward and fabric stretches the same way.
Sewing Panels
- Use matching thread: For a seamless look.
- Sew along the edge: Use a zigzag stitch or stretch stitch for durability.
- Sew both sides: Attach panels to both the inner and outer leg seams.
- Repeat for both legs: Make sure each flare is symmetrical.
Some people skip pinning and sew directly, but this often leads to uneven, puckered seams. Take your time with pinning, even if you’re experienced.
Finishing The Hem
A clean hem makes your flare leggings look professional. There are several ways to finish the hem, depending on your tools and style.
Hem Options
- Simple fold-over hem: Fold fabric inward, pin, and sew with a stretch stitch.
- Double-fold hem: Fold fabric twice for a thicker edge.
- Serger finish: Use a serger for a neat, durable edge.
- Decorative hem: Add lace or ribbon for extra style.
Tips For A Smooth Hem
- Iron before sewing: Flatten fabric for easier stitching.
- Use stretch thread: Prevents breaking when you wear the leggings.
- Check length: Try on the leggings before hemming to make sure the flare falls at your desired length.
Beginners often forget to try on the pants before hemming. Always check the fit; you may need to trim excess fabric for the perfect length.
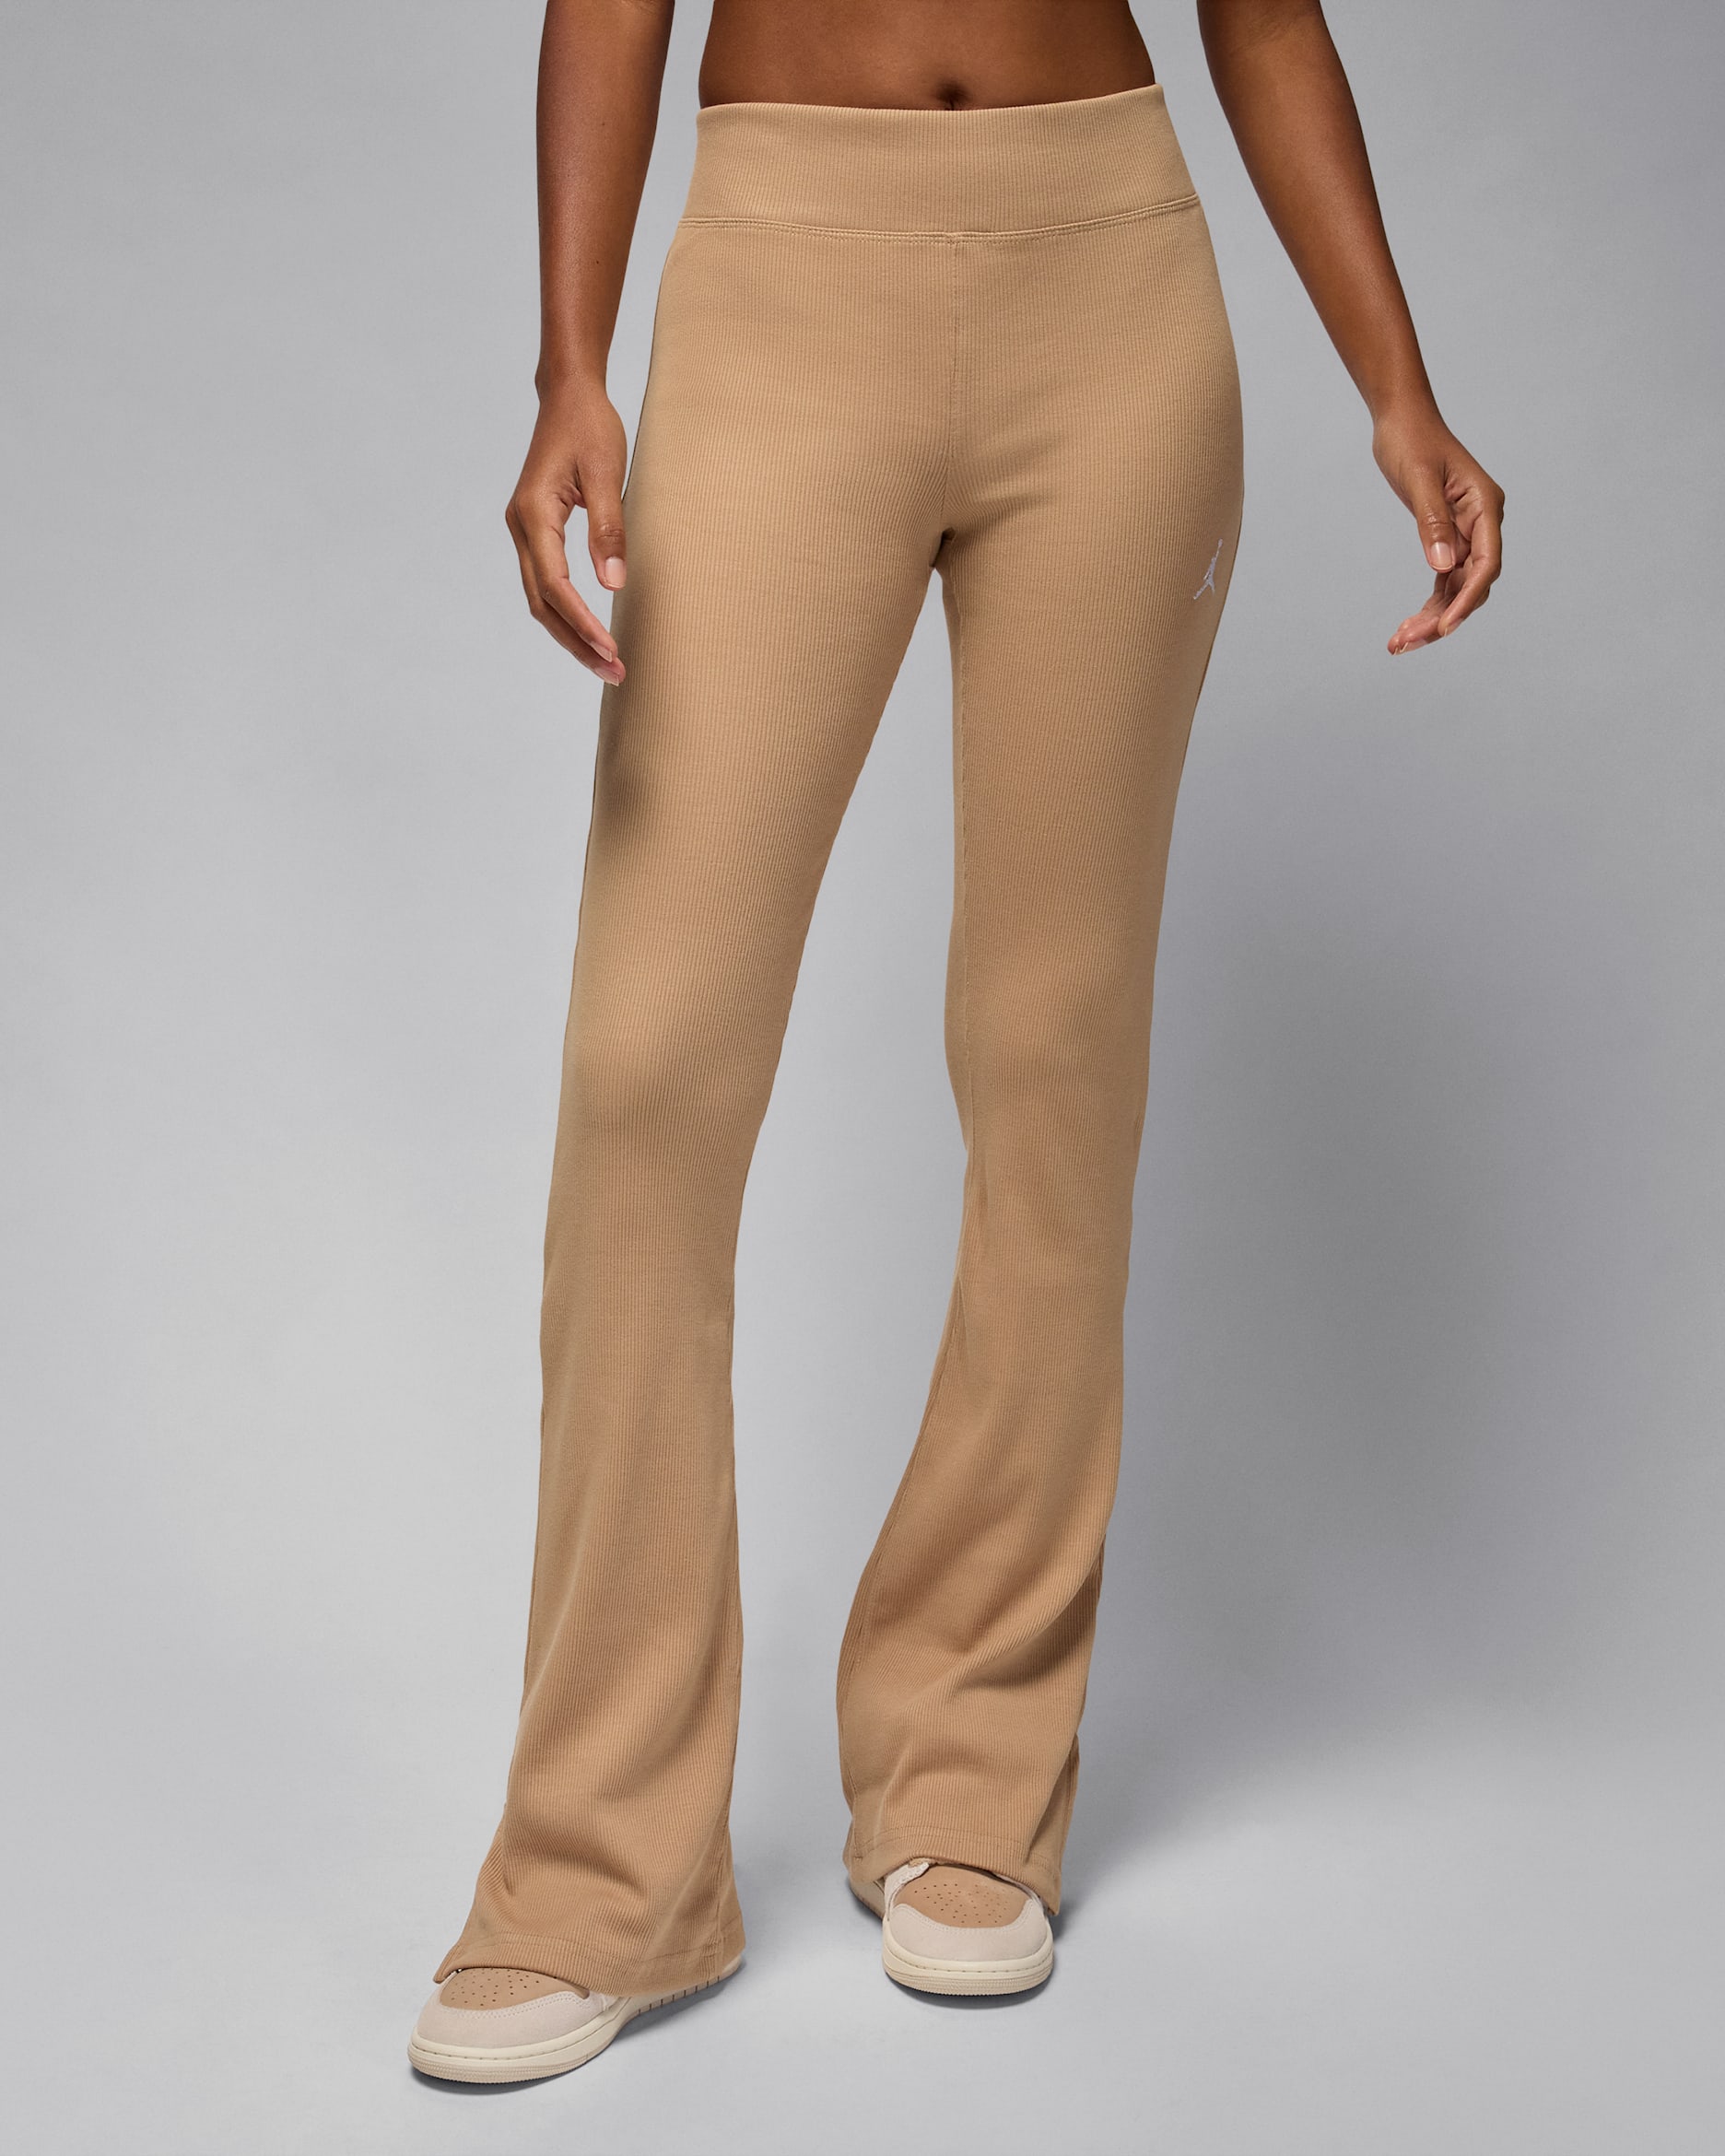
Credit: www.nike.com
Customizing Your Flare Leggings
Now that you have basic flare leggings, you can add personal touches to make them unique.
Decoration Ideas
- Contrast stitching: Use a bright thread for visible seams.
- Appliqué: Add fabric shapes or patches to flare panels.
- Paint or dye: Create patterns or ombre effects on the flare section.
- Embroidery: Add designs for a boho look.
- Trim: Sew on lace, fringe, or beads along the hem.
Practical Customizations
- Add pockets: If your flare panels are wide, you can include side pockets.
- Reinforce seams: Double-stitch for extra durability if you plan to wear the leggings often.
Most guides ignore pockets because they seem complicated. However, if you plan carefully, you can add simple side pockets to the flare panels. This is a practical upgrade that makes your leggings more useful.
Caring For Flare Leggings
DIY clothes need special care to last. Flare leggings are no exception.
Washing Tips
- Wash in cold water: Prevents fading and shrinking.
- Use gentle cycle: Protects seams and fabric.
- Avoid high heat: Don’t tumble dry on high; air dry or use low heat.
- Turn inside out: Minimizes wear on decorative elements.
Repairing And Maintaining
If seams start to come loose, reinforce them with a zigzag stitch. If the flare panels get stretched out, you can remove and replace them easily. Keep extra fabric scraps for repairs.
Comparing Flare Styles And Fabrics
To help you choose the best flare style and fabric, here’s a comparison:
| Flare Style | Width at Hem | Recommended Fabric | Best For |
|---|---|---|---|
| Subtle Flare | 5-6 inches wider | Jersey, Cotton-Spandex | Everyday wear |
| Dramatic Flare | 10-12 inches wider | Lycra, Stretch Velvet | Statement outfits |
| Patchwork Flare | 8-10 inches wider | Mixed Stretch Fabrics | Boho or festival looks |
| Layered Flare | Varies | Lightweight Jersey | Dance or performance |
Choosing the right fabric is key. For subtle flares, stick to lightweight materials. For dramatic flares, heavier and more structured fabrics work best.
Common Mistakes And How To Avoid Them
Many beginners make small errors that affect the final look. Here are some common mistakes and ways to avoid them:
- Using non-stretch fabric for flares: This makes the pants uncomfortable and restricts movement. Always use stretch fabric.
- Cutting unevenly: Measure carefully and mark both legs before cutting.
- Sewing without pinning: Skipping pins leads to puckered seams.
- Starting flare too high: This can make the pants look baggy and unflattering.
- Ignoring seam direction: Make sure the flare panels stretch the same way as the leggings.
- Skipping fit check before hemming: Always try on before finishing.
- Neglecting matching thread color: Visible seams can look messy unless intentional.
- Over-complicating flare width: Start with a moderate width if you’re unsure.
- Forgetting to reinforce seams: Flare areas get more stress, so double-stitch for durability.
- Using poor-quality fabric: Cheap fabric can tear and lose shape quickly.
Advanced Techniques For Flare Leggings
If you want to take your DIY skills further, try these advanced techniques:
Adding Multiple Layers
You can create flares with several overlapping panels for extra volume. Cut narrower triangle panels and sew them one over another, starting with the widest at the back.
Creating Asymmetrical Flares
For a modern look, make one leg’s flare wider or use different fabrics. This is popular in street fashion and can make your leggings stand out.
Integrating Zippers Or Buttons
Add a zipper to the flare section for adjustable width. This lets you switch between flare and fitted looks.
Using Decorative Seams
Try French seams or flat-felled seams for a professional finish. This technique hides raw edges and adds strength.
| Technique | Difficulty | Effect | Recommended For |
|---|---|---|---|
| Layered Panels | Medium | Extra volume | Performance, dance |
| Asymmetrical Flare | Medium | Unique look | Fashion-forward outfits |
| Zippered Flare | td>HardAdjustable width | Versatile wear | |
| Decorative Seams | Medium | Professional finish | Everyday wear |
Many tutorials overlook these advanced techniques, but they can elevate your DIY leggings to the next level.
Diy Flare Leggings Without Sewing
If you don’t have a sewing machine or don’t want to sew, there are alternatives.
Using Fabric Glue
Fabric glue can attach flare panels, but it’s less durable. Follow these steps:
- Cut panels as before.
- Apply glue: Use a thin line along the edges.
- Press and hold: Use pins or clips until the glue dries.
- Finish hem with glue.
Iron-on Tape
This tape melts and bonds fabric when heated. It’s stronger than glue but still not as durable as stitching.
- Place tape between fabrics.
- Press with a hot iron.
- Repeat for all seams.
These methods are best for temporary flare leggings or costumes. For everyday wear, sewing is recommended.
Real-life Examples And Inspiration
Many people have created unique flare leggings with impressive results. Here are some ideas to inspire you:
- Festival Wear: Use metallic or glitter fabric for dramatic flares.
- Yoga Style: Soft jersey panels for comfortable, subtle flares.
- Patchwork Boho: Mix leftover fabrics for colorful, patterned flares.
- Retro Look: Use bold prints and wide flares for a vintage vibe.
- Dance Costumes: Layered flares in lightweight fabrics for fluid movement.
You can find more examples and inspiration at Source Name.
Flare Leggings Vs. Store-bought Flares
Turning leggings into flares at home has benefits and drawbacks compared to buying flare pants.
| DIY Flare Leggings | Store-Bought Flares |
|---|---|
| Customizable width and style | Fixed design |
| Low cost | Higher price |
| Upcycling old clothes | New materials |
| Can add personal touches | Professional finish |
| May lack durability | Long-lasting |
DIY leggings are great for creativity and saving money, but store-bought flares offer consistent quality and durability.

Credit: www.youtube.com
How To Style Flare Leggings
Once you’ve made your flare leggings, styling them is easy and fun.
Outfit Ideas
- Casual look: Pair with a fitted t-shirt or crop top.
- Boho style: Add a flowy blouse and layered jewelry.
- Athleisure: Wear with a sports bra and sneakers.
- Retro outfit: Combine with a tucked-in shirt and platform shoes.
- Festival style: Go bold with prints, fringe, and bright accessories.
Practical Styling Tips
- Balance proportions: Since flares add volume at the bottom, keep your top fitted.
- Highlight waist: Use a belt or tuck in your shirt to show your shape.
- Experiment with colors: Try contrasting flare panels for unique looks.
Many people forget that flare leggings are versatile. You can wear them for exercise, casual outings, or even dressed up for parties.
Frequently Asked Questions
How Long Does It Take To Turn Leggings Into Flares?
Most people can complete the process in 1-2 hours. Beginners may take longer, especially if sewing by hand. Planning and measuring carefully saves time in the long run.
Can I Use Any Fabric For The Flare Panels?
It’s best to use stretchy fabric that matches the weight and texture of your leggings. Non-stretch fabrics may feel tight or look uneven, especially when you move.
What If I Don’t Have A Sewing Machine?
You can sew by hand or use fabric glue or iron-on tape. Hand sewing takes more time but creates strong seams. Glue and tape are suitable for temporary or costume leggings.
How Do I Make Sure Both Legs Are Symmetrical?
Use a measuring tape and mark both legs at the same height before cutting. Cut flare panels together and pin carefully before sewing. Double-check alignment during fitting.
Can I Remove The Flare Panels Later?
Yes, if you use a seam ripper, you can remove the panels and restore the leggings to their original shape. This lets you experiment without permanent changes.
Turning leggings into flares is a rewarding DIY project that lets you personalize your wardrobe, save money, and learn new skills. Whether you want a subtle touch or bold statement pants, this guide gives you everything you need to start and finish with confidence.
Try different styles, fabrics, and decorations to make your flare leggings truly one-of-a-kind.