
How to Reduce Flare in Pants: Easy Tailoring Tips
How To Reduce Flare In Pants
Flared pants have made many comebacks in fashion. They offer a bold, vintage look and can flatter certain body types. However, not everyone wants a dramatic flare at the bottom. Maybe you bought flared pants and wish for a slimmer leg.
Or perhaps you want to update your wardrobe to suit your style. No matter your reason, reducing the flare in pants is possible with a few techniques and careful planning.
This guide will walk you through everything you need to know about reducing flare in pants. You’ll learn about different methods, when to use each one, and what tools you’ll need. There will also be tips for both sewing and non-sewing solutions.
Even if you’re a beginner, you’ll find practical advice and examples to help you transform your pants into a style you love.
Understanding Flare In Pants
Before changing your pants, it helps to know what causes the flare. Flare refers to how much the pants widen from the knee down. Some pants have a gentle bootcut, while others have a dramatic bell-bottom. The amount of flare depends on the cut, fabric, and how the pants are sewn.
Common types of flared pants include:
- Bootcut: Slight flare, just enough to fit over boots.
- Bell-bottom: Wide flare, usually very noticeable.
- Palazzo: Extra-wide, loose from the hip down.
Why reduce flare?
- To create a more modern look.
- To make pants more versatile.
- To suit your body shape or personal style.
- To update old clothes and reduce waste.
Many people don’t realize that changing the flare can also affect how pants drape and fit above the knee. It’s important to plan your adjustments carefully.
Assessing Your Pants: What To Look For
Not every pair of pants is a good candidate for reducing flare. Start by looking at these factors:
1. Fabric Type
Denim, cotton, and polyester blends are easiest to adjust. Stretchy materials, silk, or delicate fabrics need special care.
2. Seam Style
Pants with an outer side seam (not just inseam) are much easier to alter. Some pants have decorative topstitching that may show after changes.
3. Fit Above The Knee
If the pants are baggy above the knee, they may need to be taken in along the thigh for a balanced look.
4. Length
Reducing flare often shortens the pants slightly. Make sure you have enough length left for your desired style.
5. Hem Finish
Some pants have a special hem—like a cuff or a decorative trim. You’ll need to recreate or adjust this after altering.
Non-obvious insight:
People often forget to check if there’s enough seam allowance to make changes. If the seam is very narrow, it’s harder to get a smooth line.
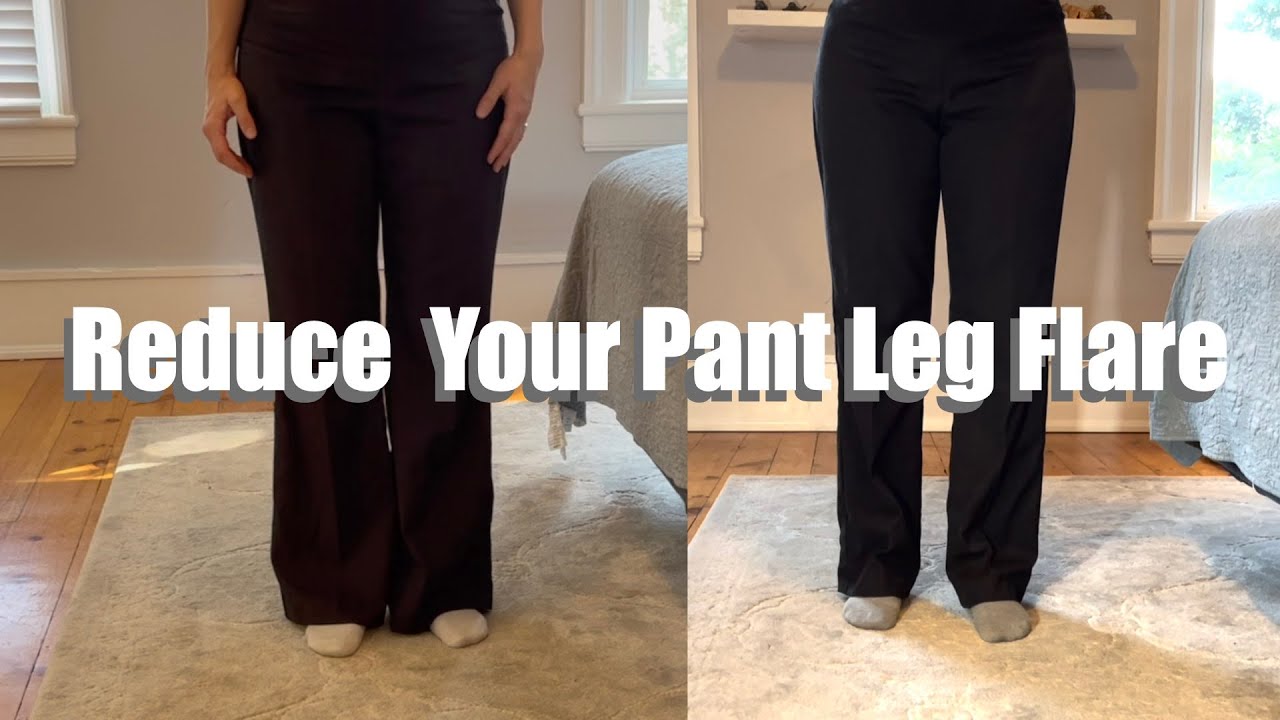
Credit: www.youtube.com
Methods To Reduce Flare In Pants
There are several ways to reduce flare. Your choice depends on your skills, tools, and how much you want to change the pants.
1. Sewing The Side Seams
This is the most reliable way to change the flare. You’ll need basic sewing skills and a sewing machine for the best results.
Steps:
- Turn the pants inside out.
- Put them on or pin along the outside seam to the desired shape.
- Mark the new seam with chalk or fabric marker.
- Remove the pants and measure both legs to keep them even.
- Pin along the new line.
- Sew along the chalk line.
- Trim excess fabric, finish the seam, and re-hem if needed.
Example:
If your pants are 12 inches wide at the hem and you want them 8 inches wide, pin and sew 2 inches in from each side.
Practical tip:
Always try the pants on before cutting fabric. Small changes look more natural.
2. Taking In The Inseam
Sometimes, the outer seam has details you want to keep. You can reduce flare by sewing the inseam instead.
How it works:
- Follow the same steps as above, but work on the inseam.
- This method is best for pants with a simple inside seam and no special stitching.
Non-obvious insight:
Changing only the inseam can twist the leg if not done evenly. Try to balance changes between inseam and outer seam.
3. Removing And Reattaching The Hem
If your pants have a wide decorative hem, you might need to remove it first.
- Use a seam ripper to take off the hem.
- Change the flare by sewing new side seams.
- Reattach the hem, matching the original style as much as possible.
Tip:
Take pictures before removing details so you can recreate them accurately.
4. Using Fusible Tape (no-sew Option)
If you don’t sew, you can use fusible tape to create a new seam.
- Turn the pants inside out.
- Fold the excess flare in and press with an iron.
- Place fusible tape between the layers and iron to bond.
- Trim the extra fabric inside if needed.
Caution:
This method works best on medium-weight fabrics. It’s not as strong as sewing, so avoid for everyday wear.
5. Hand-sewing For Minor Adjustments
If you only need a small change, you can hand-sew the new seam.
- Use strong thread and small, tight stitches.
- Double-stitch for extra strength.
- This is ideal for lightweight fabrics or pants with a lining.
6. Temporary Solutions
Sometimes you just want to test the look or need a quick fix.
- Use fashion tape to fold and hold in extra fabric for a night out.
- Try safety pins inside the seam for a non-permanent adjustment.
Good for:
Photoshoots, costumes, or deciding if you want to make a permanent change.
How To Mark And Plan Your New Pant Shape
Altering pants is easier with a clear plan. Here’s how to do it accurately:
- Wear the pants and stand in front of a mirror.
This helps you see where the flare starts and how much to remove.
2. Pin Or Clip The Fabric.
Use safety pins or sewing clips to shape the leg as you want.
3. Draw The New Seam.
Use chalk, a washable marker, or a tracing pencil. Mark both legs so they match.
4. Measure.
Use a measuring tape to check the width at the knee and hem. Write down the changes so both legs are even.
5. Check The Balance.
The new seam should curve naturally from the knee to the hem. Sharp angles will look strange when finished.
Pro tip:
Lay your pants on a pair you like. Trace the shape for a perfect match.
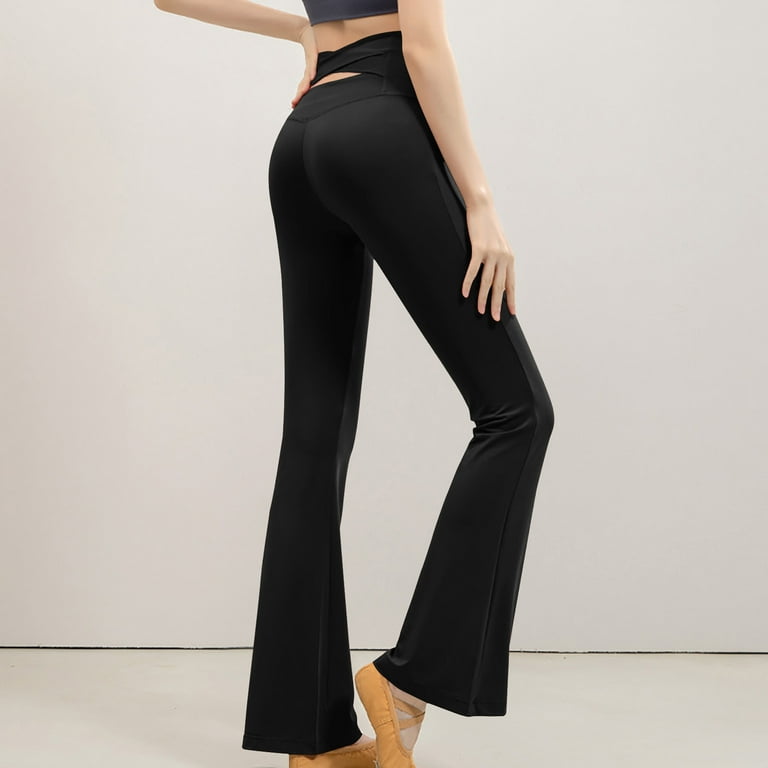
Credit: www.walmart.com
Tools And Materials You’ll Need
Making changes to pants is easier with the right tools.
Basic tools:
- Sewing machine (optional, but recommended)
- Needles and thread
- Fabric chalk or marker
- Pins or sewing clips
- Scissors or rotary cutter
- Seam ripper
- Iron and ironing board
- Measuring tape
For no-sew methods:
- Fusible tape or fabric glue
- Heavy books (for pressing)
Tip:
Use thread that matches your pants for a professional finish.
Common Mistakes And How To Avoid Them
Altering pants can go wrong if you’re not careful. Here are the most frequent problems and how to prevent them:
1. Uneven Legs:
Always measure both sides before sewing. Work on both legs at the same time.
2. Puckered Seams:
Don’t sew too quickly. Let the machine feed the fabric naturally.
3. Cutting Before Testing:
Sew first, try on, then cut away excess fabric.
4. Ignoring The Hem:
If you reduce a lot of flare, the hem might look uneven. Plan to redo the hem after adjusting.
5. Choosing The Wrong Method For The Fabric:
Heavy denim can handle machine sewing, but silk or rayon needs gentle hand-sewing.
Insight:
People often overlook the stretch in the fabric. Stretchy materials can look twisted if not sewn evenly.
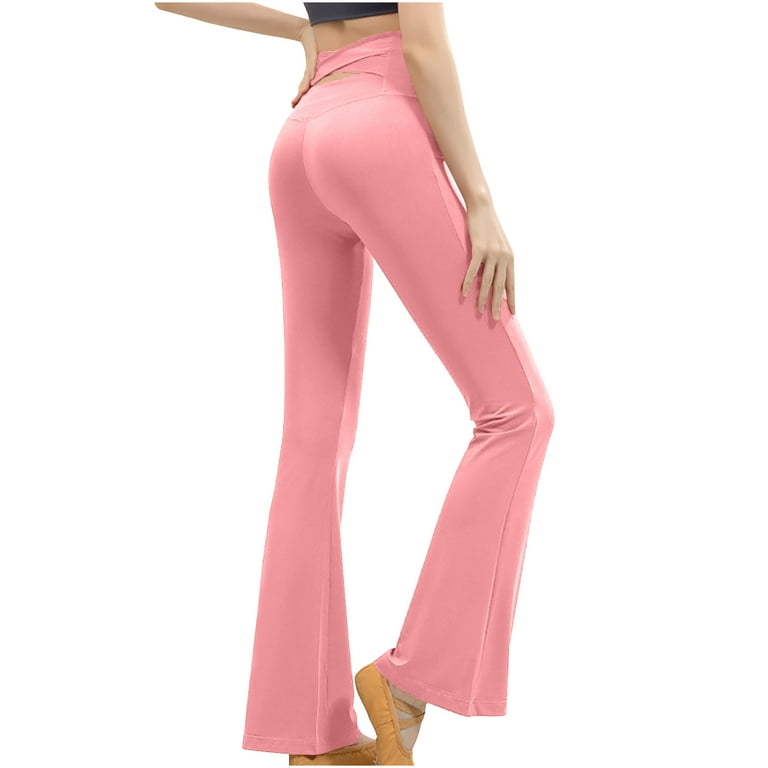
Credit: www.walmart.com
When To Get Professional Help
Some pants are tricky to alter, especially if they’re expensive or made from delicate material. Consider a tailor if:
- The fabric is delicate or lined.
- The pants have complex seams, zippers, or embroidery.
- You’re not confident with sewing.
A professional will charge a fee, but they can save your pants from costly mistakes.
Comparing Flare Reduction Methods
It’s helpful to see how different methods compare in terms of cost, durability, and skill level. Below is a comparison to guide your choice.
| Method | Skill Needed | Durability | Cost |
|---|---|---|---|
| Machine Sewing | Medium | High | Low |
| Hand Sewing | Low | Medium | Low |
| Fusible Tape | Low | Low | Low |
| Professional Tailor | None | Very High | Medium/High |
Step-by-step Example: Reducing Flare On Denim Pants
Let’s walk through a real example. This will help you visualize the process and avoid mistakes.
Preparation
- Wash and iron the pants.
Clean fabric is easier to mark and sew.
- Gather your tools.
Have pins, chalk, scissors, a sewing machine, and matching thread ready.
Marking And Pinning
- Wear the pants inside out.
- Use pins to shape the new leg from the knee to the hem.
- Mark both legs with chalk, measuring to keep them even.
Sewing
- Take off the pants.
Pin along the marked line.
- Set your machine to a medium stitch length.
- Sew along the chalk line, removing pins as you go.
Fitting And Adjusting
- Try on the pants.
- Check the new shape.
If it looks good, move on. If not, adjust the seam and sew again.
Trimming And Finishing
- Trim away extra fabric, leaving a small seam allowance (about 1 cm).
- Finish the raw edge with a zigzag stitch or pinking shears.
- Re-hem the pants if needed.
Tip:
If the hem is very wide, you may need to open it, adjust, and re-sew for a neat finish.
How Much Flare Should You Remove?
The amount depends on your goal and the original shape of the pants. Here’s a quick guide to help you decide.
| Original Flare Width | Suggested Reduction | Resulting Style |
|---|---|---|
| 12 inches | 4 inches | Straight leg |
| 14 inches | 6 inches | Slim leg |
| 16 inches | 8 inches | Tapered |
Practical advice:
Don’t remove too much at once. Start with a small change, try the pants, then adjust if needed.
Style Tips After Reducing Flare
Once you’ve changed the shape, your pants may look and feel different. Here’s how to style them for the best effect:
- Pair with slim shoes or sneakers for a modern look.
- Cuff the hem for a relaxed vibe.
- Wear with longer tops to balance the new silhouette.
- Add a belt to highlight your waist.
Non-obvious insight:
The new shape can change how the pants sit at your ankle. You might need to adjust your favorite shoes or socks.
Caring For Altered Pants
After you change the flare, take care of your pants so they last.
- Wash gently, especially if you used fusible tape.
- Iron seams flat after each wash to keep the shape.
- Store folded or hanging to avoid creases in the new seam.
Tip:
Check the seam after the first wash. Repair any loose threads right away.
Special Cases: Dealing With Patterns And Details
Some pants have prints, embroidery, or special designs near the hem. Reducing flare can change the look of these details.
- Try to keep the design centered on the leg.
- If you must cut through a pattern, plan how to match it when resewing.
- Save extra fabric for repairs or patches.
Flare Reduction For Different Body Types
Not all pant shapes suit every body type. Here’s how to choose the best silhouette after removing flare.
- Petite:
Go for a slim or straight leg to elongate your frame.
- Tall:
You can keep a slight flare or go for a wider straight cut.
- Curvy:
Aim for a gentle taper from knee to ankle for balance.
- Athletic:
A slim or straight leg works well with a muscular build.
Key point:
Try on the pants at each stage to see what looks best on you.
Sustainability: Why Reducing Flare Is Eco-friendly
Changing the shape of your pants instead of buying new ones is good for the planet. It reduces waste and saves resources.
- Less clothing goes to landfill.
- You use fewer materials and water.
- You support a circular wardrobe.
Tip:
Donate or recycle any leftover fabric scraps.
When Not To Reduce Flare
Sometimes, it’s better to leave the flare as it is.
- If the pants have a valuable vintage style.
- If the fabric is too delicate or likely to tear.
- If the change would make the pants uncomfortable.
Consider:
Try a non-permanent method first, like pinning, before making major changes.
Where To Find Inspiration And Tutorials
If you need more visual guidance, online platforms like YouTube and sewing blogs offer detailed tutorials. For fashion ideas, check social media for before-and-after photos. You can also find design inspiration on sites like Vogue.
Tip:
Join online sewing communities for support and advice.
Frequently Asked Questions
How Do I Know How Much Flare To Remove?
Start small. Pin and try on the pants after each adjustment. Compare to a pair you like or measure your favorite pants for reference.
Can I Reduce Flare Without A Sewing Machine?
Yes. You can hand-sew or use fusible tape for small changes. For best durability, a sewing machine is recommended, but hand-stitching works for lightweight fabrics.
Will Reducing The Flare Make My Pants Shorter?
A little, yes. You usually lose about 0. 5 to 1 inch in length, depending on how much you take in and if you need to re-hem. Always check the final length before cutting fabric.
What If I Make A Mistake?
Don’t panic. If you haven’t cut away fabric, you can unpick the seam and try again. If you’ve cut too much, consider adding a strip of matching fabric or turning the pants into another style.
Is It Worth Paying A Tailor To Reduce The Flare?
If the pants are expensive or you’re not confident in your skills, a tailor can create a professional finish. It’s especially worth it for tricky fabrics or pants with special details.
Changing the flare in your pants is a smart way to refresh your style and make your wardrobe more personal. With patience and careful planning, you can achieve a look you love—often without buying anything new. Whether you sew or use a simple no-sew fix, these techniques will help you get the perfect fit.