
How to Make Your Own Rash Guard: Easy DIY Guide for Beginners
Looking for a rash guard that fits you perfectly and shows off your unique style? Making your own rash guard is easier than you think.
You’ll save money, get exactly what you want, and enjoy the satisfaction of wearing something you created yourself. In this guide, you’ll learn simple steps and insider tips to craft a rash guard that feels great and protects you during your favorite water activities.
Ready to take control of your gear? Let’s dive in!
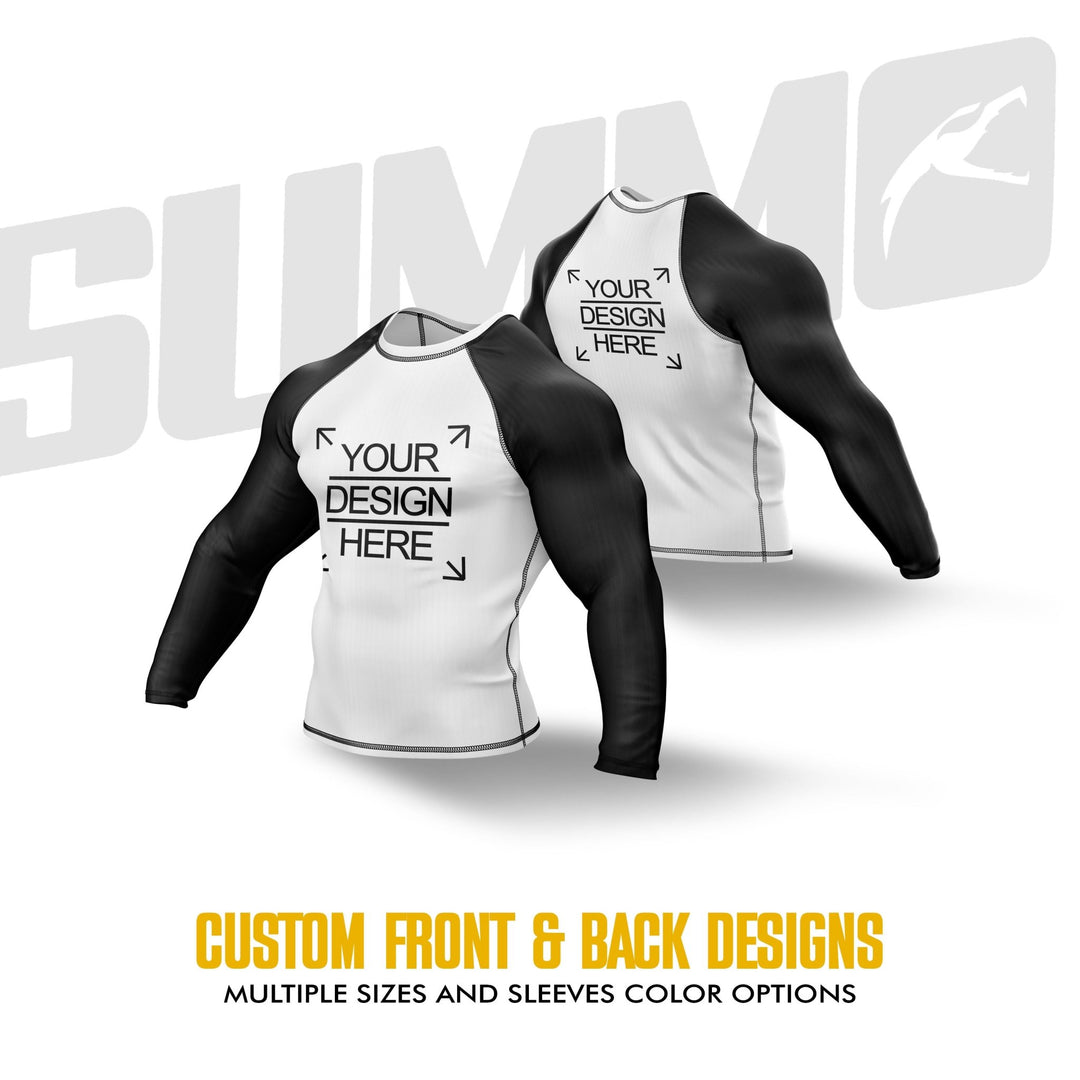
Credit: summosports.com
Materials Needed
Gathering the right materials is the first step to make your own rash guard. Choosing quality supplies ensures comfort and durability. This section explains the key materials you need.
Choosing The Right Fabric
Pick a fabric that feels soft and stretches well. Look for polyester or nylon blends with spandex. These fabrics dry fast and protect from the sun. Avoid thick or stiff materials. Thin and stretchy fabrics fit better and move with your body.
Essential Sewing Supplies
Have a good sewing machine ready for stretchy fabrics. Use polyester thread for strength and flexibility. Sharp scissors help cut fabric cleanly. Pins or clips hold fabric pieces in place. A measuring tape and fabric chalk improve accuracy.
Optional Accessories
Consider adding a zipper for easy wear. Flatlock thread can reduce skin irritation. Reflective strips increase safety for outdoor use. A fabric adhesive tape can help seal seams. These extras improve your rash guard’s function and style.
Selecting A Pattern
Choosing the right pattern is the first step in making your own rash guard. The pattern guides you through cutting and sewing the fabric. It shapes your rash guard to fit your body. Picking a simple and clear pattern makes the process easier and more fun.
Finding Beginner-friendly Patterns
Start with patterns made for beginners. These patterns have fewer pieces and simple instructions. They avoid complex sewing techniques. Patterns labeled "easy" or "beginner" are best. Look for ones with clear diagrams and step-by-step guides. This helps you avoid confusion and mistakes. Simple patterns let you focus on learning basic skills.
Customizing The Fit
Every body is different. Adjusting the pattern helps your rash guard fit well. Check the size chart carefully. Compare it to your own measurements. You can change sleeve length, torso size, or neckline shape. Small tweaks make the garment more comfortable. Mark your changes on the pattern before cutting fabric. A good fit improves how the rash guard feels and looks.
Cutting The Fabric
Cutting the fabric is a key step in making your own rash guard. It shapes the material to fit your body perfectly. Careful cutting ensures the rash guard looks good and feels comfortable. Taking time here saves problems later.
Measuring Accurately
Start by measuring your body with a soft tape. Measure the chest, waist, shoulders, and arm length. Write down each number clearly. Double-check measurements to avoid mistakes. Accurate numbers help cut the right size pieces. Use a flat surface to keep the tape steady.
Marking And Cutting Tips
Lay the fabric on a clean, flat table. Use chalk or a fabric marker for clear lines. Mark the fabric following your measurements. Add extra space for seams and movement. Cut slowly and follow the marks exactly. Sharp scissors make clean cuts and avoid jagged edges. Keep fabric smooth to prevent mistakes.
Sewing Techniques
Sewing a rash guard needs special techniques. The fabric is stretchy and tight. It needs strong and flexible stitches. These keep the rash guard comfortable and long-lasting. Using the right methods helps avoid rips and loose seams. Let’s explore the key sewing techniques for rash guards.
Basic Stitches For Rash Guards
Choose stitches that stretch with the fabric. A zigzag stitch works well. It allows the fabric to stretch without breaking the thread. Another good stitch is the stretch stitch. It looks like a narrow zigzag. Both stitches keep seams strong and flexible.
Use a ballpoint needle with your sewing machine. It slides between fabric threads. This stops holes or snags in the material. Keep the stitch length medium to avoid weak seams. Test on scrap fabric first.
Seam Finishing Methods
Seam finishing makes the rash guard neat and durable. Overlock or serger machines trim and bind edges in one step. This prevents fraying. If you don’t have a serger, use a zigzag stitch along the edges.
Flatlock seams are popular for rash guards. They lie flat against the skin. This avoids chafing during activity. To sew flatlock seams, use a twin needle or serger. Press seams open with a warm iron for a smooth finish.
Adding Features
Adding features to your rash guard makes it more comfortable and useful. These details also give your rash guard a professional look. Focus on key parts like sleeves, necklines, and cuffs. These areas need strong stitching and good fabric choices.
Inserting Sleeves
Start by cutting sleeve pieces from stretchy fabric. Use fabric that matches the body of the rash guard. Sew the sleeves to the armholes carefully. Stretch the fabric a little as you sew to avoid puckers. Use a zigzag stitch or a serger for flexibility. Check the sleeves for smooth movement after sewing.
Creating Necklines And Cuffs
Cut strips of fabric to make necklines and cuffs. Fold them in half lengthwise to create a clean edge. Attach these strips to the neckline and sleeve ends by stretching slightly. Use a zigzag stitch or coverstitch to keep the fabric stretchy. Make sure the neckline fits snug but not too tight. Smooth cuffs prevent irritation and keep sleeves in place.
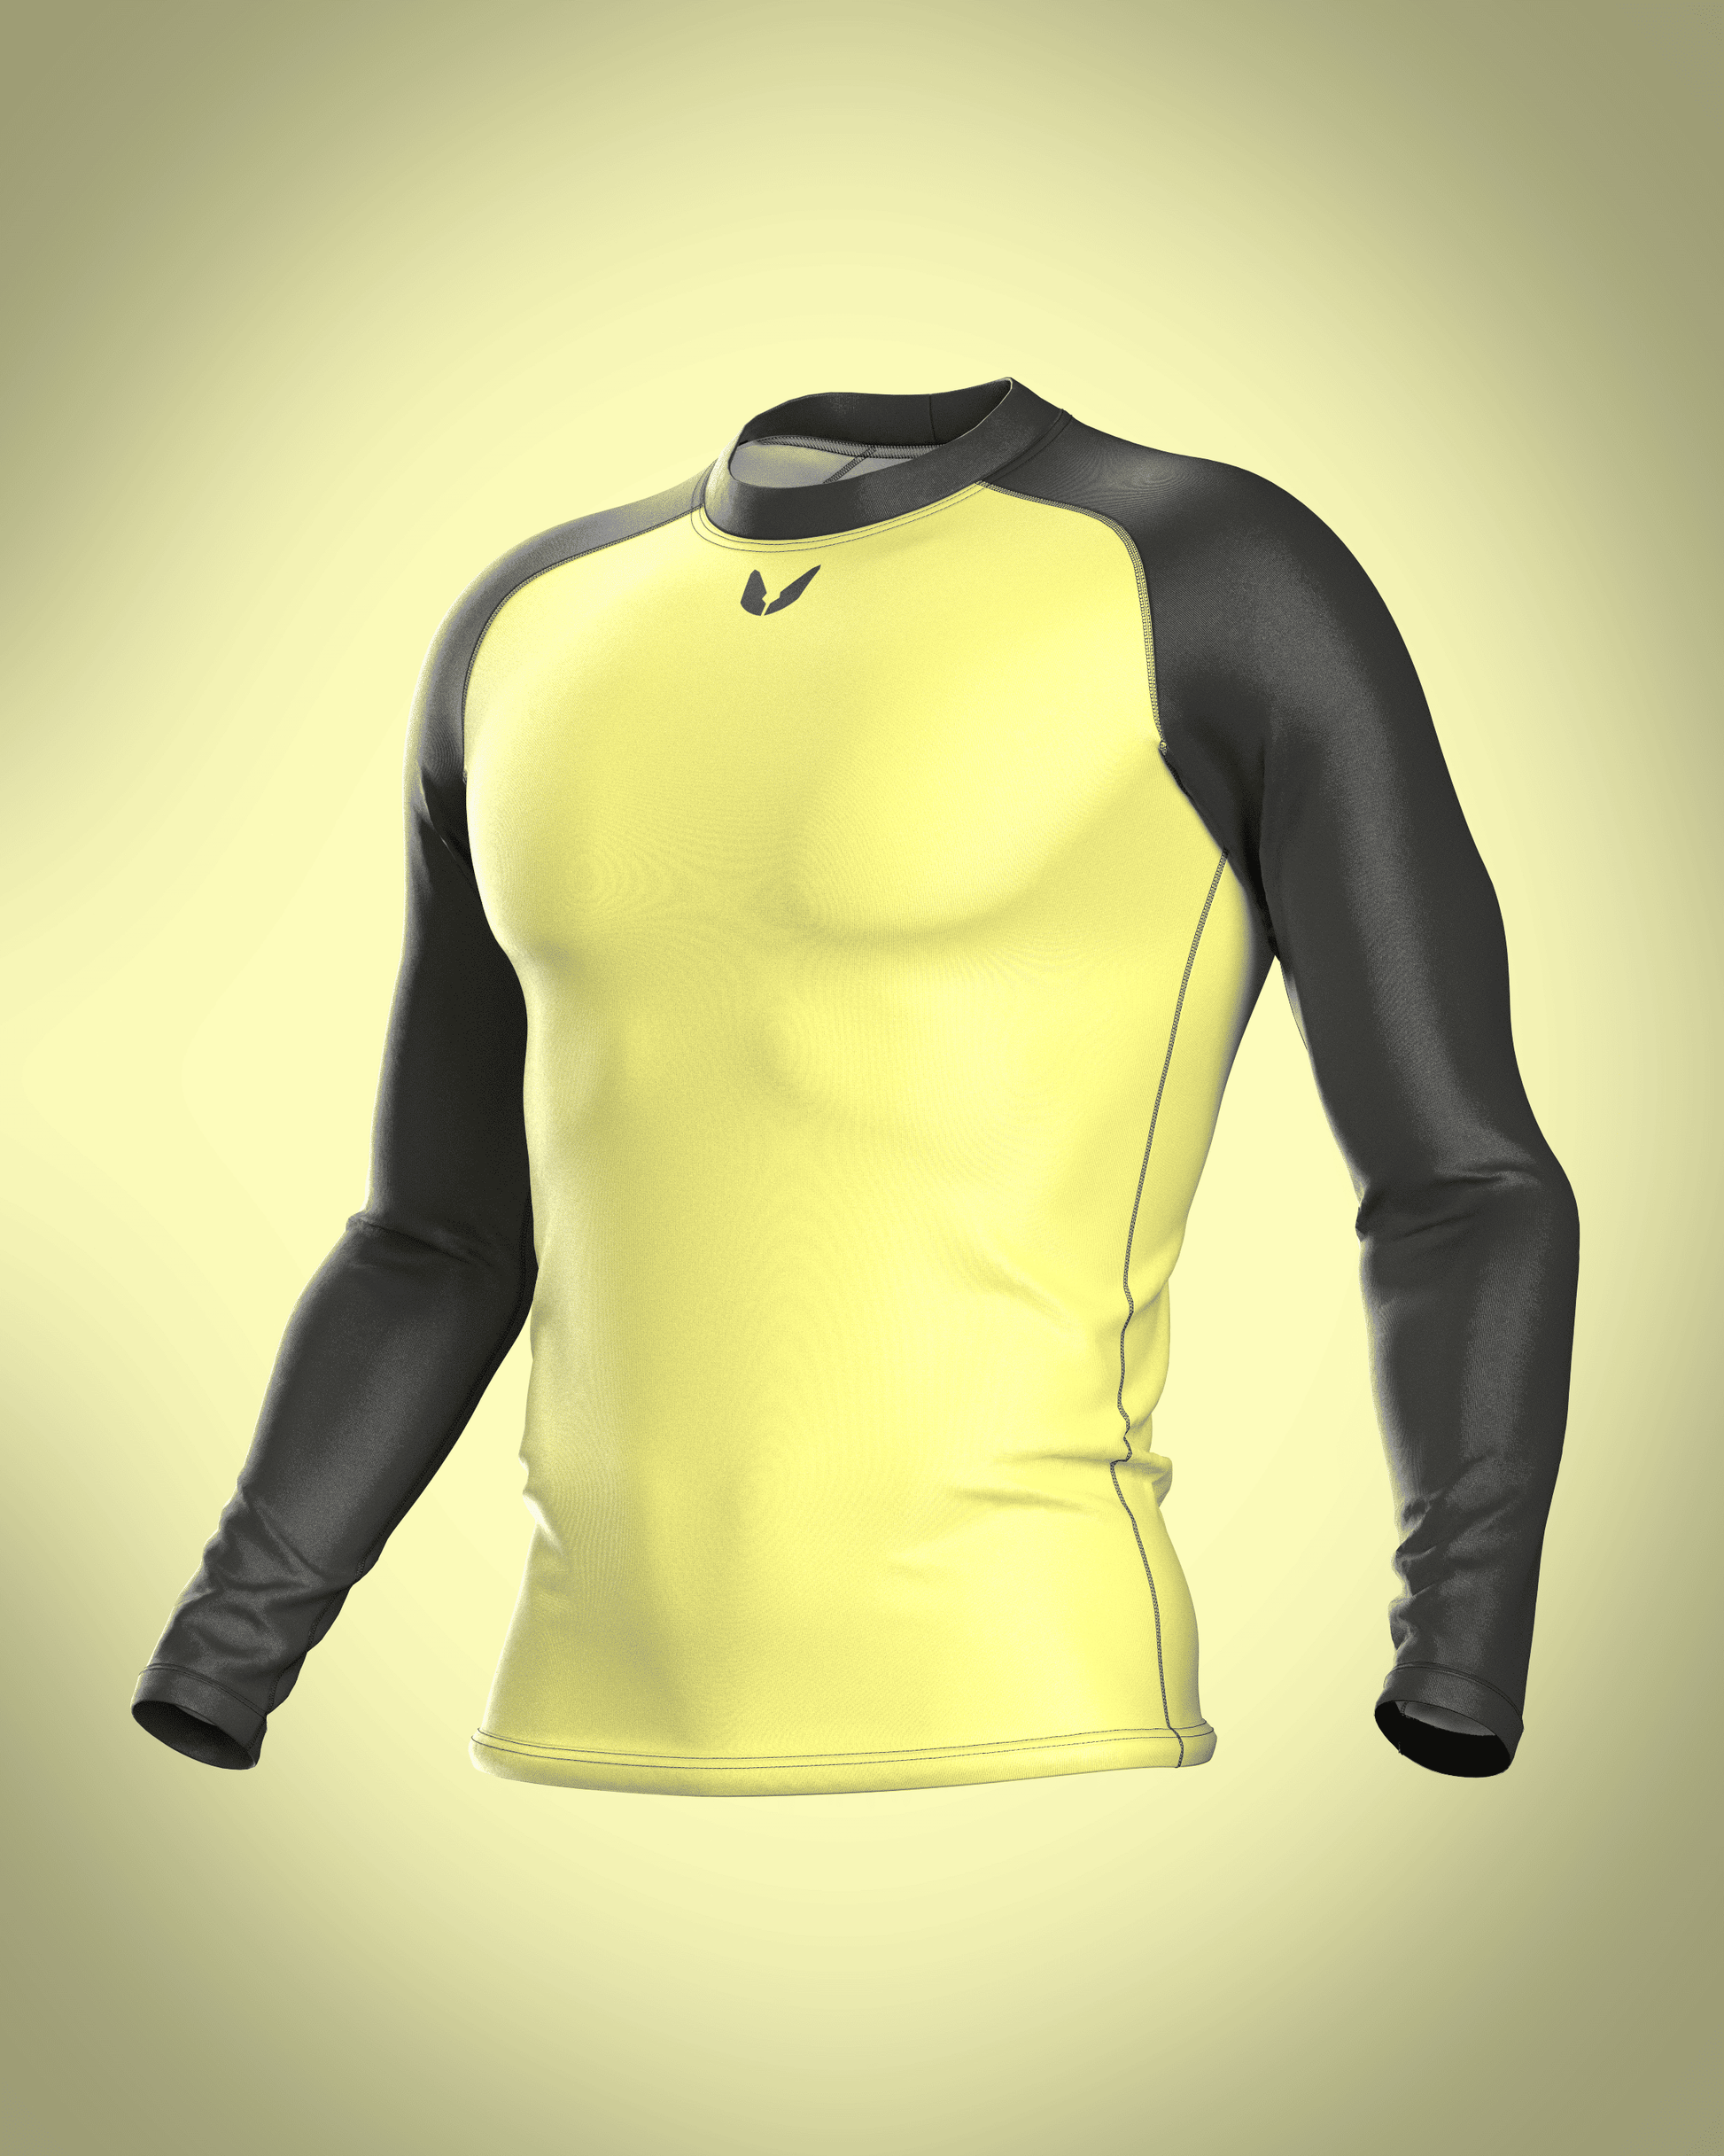
Credit: custominferno.com
Testing And Adjustments
Testing and adjustments are crucial steps in making your own rash guard. This stage ensures the garment fits well and feels comfortable. You need to check the fit carefully before finalizing your rash guard. Small changes can improve comfort and performance significantly.
Fitting The Rash Guard
Put on the rash guard and move around. Stretch your arms, bend your elbows, and twist your torso. The fabric should feel snug but not tight. Check for any areas that feel loose or too tight. Pay attention to the seams and edges. Make sure they do not cause irritation or restrict movement. A good fit supports your skin and protects against rashes.
Making Alterations
Mark any spots that need adjustment with pins or chalk. Adjust the side seams to tighten or loosen the body. Shorten or lengthen the sleeves for better coverage. Use a sewing machine or hand stitch to make changes. Try the rash guard again after each alteration. Repeat until you get the perfect fit. Proper adjustments make your rash guard more durable and comfortable.
Care And Maintenance
Taking care of your homemade rash guard helps keep it in good shape. Proper care stops damage and keeps the fabric strong. It also helps the colors stay bright and the fit just right. Small steps during washing and storage make a big difference.
Washing Tips
Wash your rash guard in cold water only. Hot water can ruin the fabric and fade colors. Use a gentle detergent without bleach or fabric softeners. These chemicals break down the material quickly.
Turn the rash guard inside out before washing. This protects the printed design and fabric surface. Avoid washing it with heavy items like jeans or towels. These can cause pilling or stretching.
Choose a gentle or hand wash cycle. Harsh machine cycles can stretch or tear the fabric. Rinse thoroughly to remove all detergent. Leftover soap can irritate your skin during use.
Storage Advice
Store your rash guard in a cool, dry place. Avoid direct sunlight which fades colors. Do not leave it damp or crumpled in a bag. This causes mold and bad smells.
Hang the rash guard on a wide hanger to keep its shape. Folding can cause creases and weaken the fabric over time. Make sure it is completely dry before storing.
Keep it away from rough surfaces or sharp objects. These can cause snags or tears. Proper storage extends the life of your rash guard significantly.

Credit: combatcorner.com
Frequently Asked Questions
What Materials Are Best For Making A Rash Guard?
The best materials are polyester, nylon, and spandex blends. These fabrics offer stretch, durability, and quick-drying properties. They provide UV protection and comfort during water activities. Choosing the right fabric ensures your rash guard performs well and lasts longer.
How Do I Choose The Right Size For A Rash Guard?
Measure your chest, waist, and hips accurately. Compare your measurements with the size chart of your fabric or pattern. Rash guards should fit snugly but not restrict movement. A proper fit enhances comfort and protection during sports.
Can I Add Custom Designs To My Rash Guard?
Yes, you can use fabric paint, heat transfer vinyl, or sublimation printing. These methods allow personalized logos, patterns, or text. Custom designs make your rash guard unique and stylish. Ensure the materials used are water-resistant and flexible.
How Do I Sew A Rash Guard At Home?
Use a stretchy fabric and a serger or stretch stitch on a sewing machine. Cut fabric according to your pattern, then sew seams with stretch-friendly stitches. Finish edges with binding or elastic for durability. Take your time to ensure comfort and strength.
Conclusion
Making your own rash guard can be fun and rewarding. You control the style, fit, and fabric. It saves money and lets you express creativity. With basic tools and some patience, anyone can try it. The steps are simple and easy to follow.
Enjoy wearing something made by your own hands. Keep practicing to improve your skills. Your unique rash guard will protect you and look great. Give it a try and see the difference yourself.