
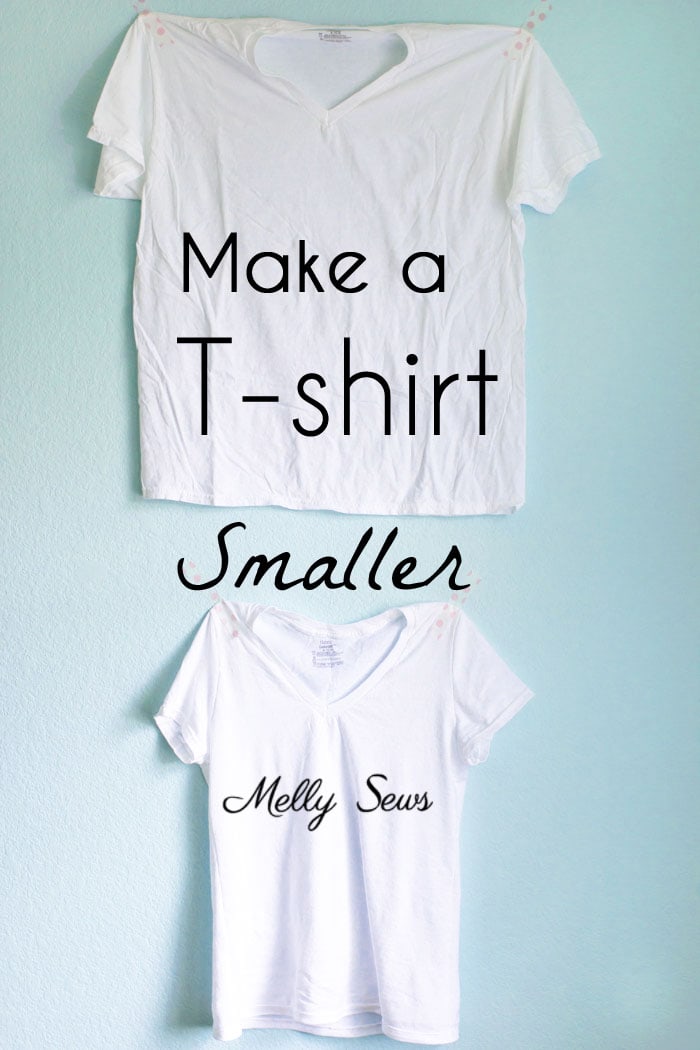
How to Make Oversized T Shirt Smaller: Easy DIY Tricks
How To Make Oversized T Shirt Smaller
Everyone has that one oversized T-shirt in their closet. Maybe it’s a gift from a friend, a concert souvenir, or just a shirt you liked but could only find in a larger size. While loose shirts can be comfortable, sometimes they just don’t look right or feel practical for daily wear. The good news is that you don’t have to leave your favorite big tee behind or pay someone to fix it. There are many effective ways to make an oversized T-shirt smaller at home, and most don’t require advanced sewing skills or expensive tools.
In this guide, you’ll learn practical, step-by-step methods to shrink, alter, or style your T-shirt so it fits better. Whether you want to permanently resize your shirt or just make a quick adjustment for a special day, you’ll find solutions that suit your needs.
You’ll also discover common mistakes, tips for different fabrics, and ways to add your own creative touch. By the end, you’ll have the confidence to tackle any oversized tee with ease. You might even discover a new favorite way to wear your old shirts and save money by reviving clothes you thought were unwearable.
Understanding Why T-shirts Are Oversized
Before making any changes, it’s important to know why your T-shirt is oversized. Sometimes, the shirt was simply bought in a size too large. Other times, the brand’s sizing runs big, or the shirt is meant to be “relaxed fit.” Some shirts even stretch out over time due to repeated washing and wearing. Fabric type also plays a role; cotton and blends behave differently when altered.
Another reason for oversized shirts is the trend of “unisex” or “one-size-fits-most” designs. These often don’t fit anyone perfectly. Also, some T-shirts are designed for men but worn by women, so the fit is different at the shoulders, bust, and waist.
Knowing the reason helps you pick the right method. For example, if your shirt is made with preshrunk cotton, shrinking it further may not work as well as altering the seams. Similarly, synthetic materials like polyester react differently to heat and sewing than pure cotton.
It’s also helpful to check if your shirt has sentimental value or is a collector’s item. If so, you may want to avoid permanent changes and stick with reversible methods.
Quick Ways To Make An Oversized T Shirt Smaller Without Sewing
Not everyone likes sewing or has access to a sewing machine. Luckily, there are several no-sew methods that can give your shirt a better fit in minutes. These methods are easy, fast, and great for people with little time or experience.
1. Shrinking The T-shirt In The Wash
One of the oldest tricks is to use heat to shrink your shirt. This method works best with 100% cotton shirts or those with a high cotton content.
Steps:
- Turn your T-shirt inside out to protect any prints.
- Wash it in hot water using your washing machine.
- Immediately dry the shirt on the highest heat setting in your dryer.
- Check the fit. If still too big, repeat the process.
Tips:
- Shrinking works best on natural fibers.
- Avoid over-shrinking or the shirt may become misshapen.
- This method is less effective on polyester or pre-shrunk cotton.
- For more control, wet only the parts you want to shrink, then use a hair dryer or iron.
Extra insight: Some people try boiling water to shrink a shirt. This can work, but it’s risky for certain fabrics and prints. Always test on a less visible area first.
2. Using Fabric Tape For Quick Adjustments
Fabric tape is a double-sided adhesive that holds fabric together without sewing. It’s ideal for temporary fixes, such as shortening sleeves or tightening the sides.
How to use:
- Turn the shirt inside out.
- Place fabric tape along the area you want to alter (e.g., side seams).
- Press the fabric together firmly.
- Flip the shirt right-side out and check the fit.
Note: Fabric tape is washable but may lose its grip after several washes. It’s best for short-term adjustments.
Pro tip: You can use hem tape (a special type of fabric tape) to “hem” the bottom of a shirt for a cropped look without sewing. Just fold the fabric up, place the tape inside, and press with an iron if the tape is heat-activated.
3. Tying Knots For A Fitted Look
A simple way to style an oversized tee is by tying knots at the hem, sides, or back.
- Gather extra fabric at the front or side.
- Twist and tie a knot.
- Tuck in any loose ends for a cleaner look.
This method doesn’t permanently change the shirt, and you can undo it anytime.
Creative ideas: Try two knots on each side for a symmetrical look, or a knot at the back for a more fitted waist. Some people braid the excess fabric before knotting for a unique detail.
4. Using Rubber Bands Or Hair Ties
For a quick and creative twist, use rubber bands or hair ties to gather fabric. This method is popular in street fashion and works well for casual occasions.
- Pinch extra fabric and secure with a band.
- Hide the band under the shirt or make it a design feature.
- This can be used at the waist, back, or sleeves.
Extra tip: For a more polished look, wrap the fabric tightly and cover the band with a decorative scrunchie or ribbon.
5. Layering Or Tucking Techniques
Layering your oversized shirt under a jacket or tucking it into high-waisted pants can instantly make it look more fitted.
- Tuck just the front for a “French tuck.”
- Tuck all around for a neat look.
- Use a belt over the shirt to define your waist.
Layering doesn’t change the shirt’s size but changes its appearance on your body.
Example: Pairing an oversized tee with a fitted blazer instantly upgrades the style. For a sporty look, tuck the shirt into leggings and add a bomber jacket.
Non-obvious insight: Adding a thin tank top underneath helps keep the shirt tucked in, especially if your fabric is slippery.

Credit: www.youtube.com
Sewing Methods To Resize An Oversized T Shirt
If you want a permanent and custom fit, sewing is the best way. You don’t need to be a professional tailor; basic hand or machine sewing skills are enough. Here are the most reliable sewing methods.
1. Taking In The Side Seams
This is the most common alteration for oversized shirts.
What you need:
- Sewing machine or needle and thread
- Fabric chalk or marker
- Scissors
- Pins
Steps:
- Turn your shirt inside out and put it on.
- Pin along the sides to mark the new, slimmer fit.
- Take off the shirt carefully.
- Draw a new seam line along the pinned area.
- Sew along the line from the armpit to the bottom hem.
- Trim off excess fabric, leaving a small seam allowance.
- Try on the shirt to check the fit. Adjust if needed.
Pro tip: Use a zigzag stitch if your T-shirt is stretchy, so the seam doesn’t break.
Extra detail: If your shirt has side splits or a curved hem, you can keep these by starting and ending your new seam a few centimeters above the hem, then blend into the original seam.
2. Shortening The Sleeves
Oversized tees often have long, baggy sleeves. You can easily shorten and slim them.
How to do it:
- Decide how much to cut off, using another shirt as a guide if needed.
- Mark the new sleeve length with chalk.
- Cut off the extra fabric.
- Fold under the raw edge and sew a new hem.
Extra tip: If you want more fitted sleeves, sew a new seam along the underarm, tapering in before hemming.
3. Cropping The Shirt
Cropped T-shirts are trendy and simple to make.
- Put the shirt on and mark the desired length.
- Lay the shirt flat and cut straight across.
- To prevent fraying, sew a new hem or leave raw for a casual look (knit fabrics usually don’t fray much).
Creative idea: For a curved hem, use a plate or bowl as a guide when cutting.
4. Creating Darts For A Shaped Fit
Darts are small, sewn folds that make fabric curve, giving your shirt a more fitted shape.
- Pinch fabric where you want the shirt to be tighter (often under the bust or at the back).
- Pin and mark lines to sew.
- Stitch along these lines, then press with an iron.
Darts are great for turning boxy shirts into more flattering tops.
Extra detail: Try vertical darts down the back for a slimming effect without making the shirt tight at the hips.
5. Adding Elastic For A Gathered Effect
Adding elastic at the waist or sleeves can give your tee a cinched look.
- Cut a piece of elastic slightly shorter than your waist or arm opening.
- Stretch the elastic as you sew it onto the inside of the shirt.
- Release, and the shirt will gather to the new size.
This technique works well for creating peplum or balloon sleeve effects.
Tip: Use clear elastic for a lightweight finish that won’t show through thin fabrics.
Comparing Methods: No-sew Vs. Sewing
Some people wonder which method is best for them. Here’s a side-by-side look at the pros and cons:
| Method | Difficulty | Durability | Best For |
|---|---|---|---|
| No-sew (Shrinking, Tying, Tape) | Easy | Temporary | Quick fixes, beginners |
| Sewing (Side Seams, Darts, Elastic) | Moderate | Permanent | Custom fit, long-term |
Insight: Many beginners forget that combining methods is possible. For example, shrink your shirt first, then sew for a perfect fit.
Extra insight: Some people add fabric glue to keep knots or folds in place for longer without sewing, but be careful—glue can sometimes leave marks or stiff spots.
Credit: mellysews.com
Choosing The Right Method For Your Fabric
Not all fabrics react the same way. It’s important to know what your shirt is made of before starting.
| Fabric Type | Best Method | What to Avoid |
|---|---|---|
| Cotton | Shrinking, sewing | High heat for too long |
| Polyester | Sewing, tying | High heat (may melt) |
| Blends | Shrinking (mild), sewing | Extreme heat |
| Rayon, Modal | Sewing, layering | High heat, rough handling |
Tip: Always read the care label before using heat or strong chemicals.
Extra note: If your shirt is delicate or vintage, try reversible methods first to avoid damage.
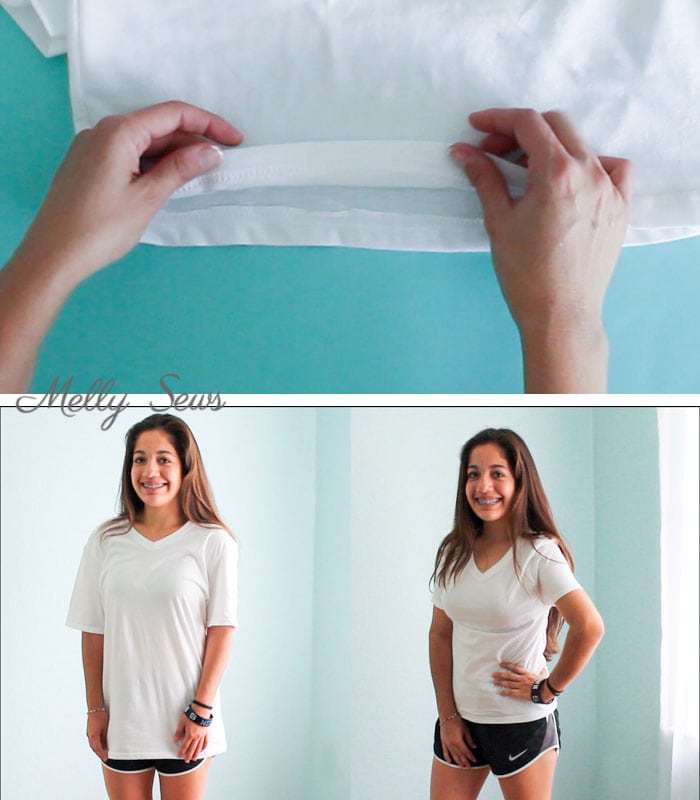
Step-by-step Example: Taking In A T-shirt With A Sewing Machine
Let’s walk through a full example to show how you can take in an oversized tee for a better fit.
What You Need
- Oversized T-shirt
- Sewing machine or hand needle
- Matching thread
- Fabric chalk or washable marker
- Pins
- Scissors
Optional: A friend to help with pinning for a more accurate fit, especially at the back.
Steps
- Try on the shirt inside out.
- Use pins to mark where you want the new, slimmer sides.
- For a more fitted shape, curve the pinning slightly at the waist.
- Lay the shirt flat.
- Draw a line along the pins with chalk for your new seam.
- Sew along the line.
- Start at the armpit, sew down to the hem.
- Use a stretch or zigzag stitch for knits.
- Trim excess fabric.
- Leave about 1 cm seam allowance.
- Try on the shirt.
- If it’s still too loose, repeat the process, taking in more fabric.
- Finish the seam.
- Zigzag or serge the edge to prevent fraying.
- Iron the seams flat.
- This helps the shirt lay nicely.
Non-obvious tip: If you want a more fitted look, curve your sewing line slightly inward at the waist.
Extra example: Some people add a small dart at the bust area for a more feminine fit if needed.
Fixing Oversized T-shirt Shoulders
Large shirts often have shoulders that hang down too far. Here’s how you can adjust them.
- Put on the shirt inside out.
- Pin along the shoulder seam to bring it closer to your natural shoulder.
- Sew a new seam along the pins.
- Trim away excess fabric.
This step gives a cleaner and more tailored look.
Extra tip: For shirts with dropped shoulders, you can also reshape the armhole by sewing a new curve from the shoulder seam into the body of the shirt.
Making A T-shirt Smaller Without Cutting Or Sewing
Some people want to keep their shirt intact, maybe for sentimental value. Here are gentle methods that don’t involve cutting or stitching.
- Use a knot or tie at the back, then cover with a jacket.
- Wear a fitted tank top underneath and tuck the T-shirt into your pants.
- Use small safety pins inside the shirt to gather fabric temporarily.
These methods are safe and reversible, perfect for valuable or collectible shirts.
Non-obvious insight: Fashion tape (the kind used for keeping clothes in place) can help hold folds or tucks inside the shirt without damage.
Creative Customization Options
While resizing your shirt, why not add some personality? Customizing makes your tee unique.
- Add iron-on patches for style.
- Use fabric paint to add designs.
- Cut the sleeves into a muscle tee or make a fringe hem for a festival look.
- Add lace trim or studs for an edgy vibe.
These ideas help you turn a basic oversized tee into a statement piece.
Extra idea: Try adding a pocket from leftover fabric or another shirt for a color-block effect.
Pro tip: If you make a mistake, cover it up with an applique or patch instead of throwing the shirt away.
Common Mistakes When Making A T-shirt Smaller
It’s easy to make errors, especially when doing this for the first time. Here are frequent mistakes and how to avoid them:
- Over-shrinking: Using too much heat can make the shirt too small or warp the fabric. Always check fit between cycles.
- Cutting too much: Once you cut, you can’t go back. Cut small amounts first, then adjust.
- Ignoring fabric type: Treating all fabrics the same leads to poor results. Check the label and adjust your method.
- Skipping pinning/marking: Sewing without marking leads to uneven seams.
- Wrong thread or needle: Stretch fabrics need a ballpoint needle and polyester thread for best results.
- Not securing raw edges: Unfinished seams can unravel after washing.
- Using permanent methods on collectible shirts: If the shirt is valuable, avoid permanent changes.
- Not pre-washing fabric: If your shirt is new, wash it first to avoid post-alteration shrinking.
Key insight: Always measure twice and cut once. If unsure, practice on an old shirt first.
Bonus tip: If you feel stuck, ask a friend for a second opinion or try on the shirt between steps to catch problems early.
Credit: mellysews.com
Frequently Asked Questions
How Can I Shrink A T-shirt Without Damaging The Print?
To protect prints, turn the shirt inside out before washing and drying with heat. Avoid ironing directly on the design. Always use gentle cycles and check the care label for special instructions.
Extra advice: Air-dry printed shirts when possible, or place a thin cloth between the iron and the print if you must iron.
Is It Possible To Make A Polyester T-shirt Smaller?
Polyester does not shrink much with heat. The best way is to sew or tie the shirt to make it smaller. Avoid high temperatures as polyester can melt or lose shape.
Can I Make A T-shirt Smaller Without Cutting It?
Yes. You can use knots, tucks, fabric tape, or rubber bands for temporary changes. These methods let you return the shirt to its original size anytime.
What Is The Easiest Method For Beginners?
The simplest way is to shrink in the wash if your shirt is cotton, or tie a knot for instant results. For a permanent change, taking in the side seams with a sewing machine is beginner-friendly.
Where Can I Learn More About Diy Clothing Alterations?
You can find helpful guides and video tutorials on trusted DIY and sewing sites like wikiHow.
Making an oversized T-shirt smaller is a practical skill that saves money and helps you enjoy your favorite shirts again. Whether you choose quick fixes or a full alteration, these methods are easy to follow and adapt to your style.
With a bit of patience and creativity, you can transform baggy tees into perfectly fitted, one-of-a-kind pieces. Now, grab that oversized shirt and start experimenting—your best-fitting tee is just a few steps away.