
How to Make Flare Leggings Without Sewing: Easy DIY Guide
Making your own flare leggings without sewing can feel like a big task, especially if you have never tried DIY fashion before. But it’s easier than you think. With a few simple materials and some creative steps, you can turn regular leggings into trendy flare pants—no needle or thread needed.
This method is great if you want to customize your style or save money. You will learn how to transform leggings at home, avoid common mistakes, and get a great result even if you have never made clothes before.
Why Choose No-sew Flare Leggings?
Sewing is not always an option for everyone. Not everyone owns a sewing machine, and hand-stitching can take a lot of time. No-sew methods use glue, tape, or clever folding, making the process faster and easier. Flare leggings are popular because they make your legs look longer and add a retro vibe to your outfit.
If you have old leggings you do not wear anymore, you can give them new life with this project.
Some people choose no-sew projects for convenience, while others simply want to try something new. The best part is that if you make a mistake, you can often fix it easily. Plus, you can experiment with different fabrics and styles.
This guide will walk you through each step so you can create your own flare leggings with confidence.
Materials You Will Need
Before you start, gather all the materials. Using the right tools will help you get a better finish and make the process smoother.
| Material | Purpose | Tips |
|---|---|---|
| Leggings | Main base for the project | Choose stretchy, good-quality fabric |
| Stretchy fabric (for flares) | Creates the flare panels | Match or contrast with your leggings |
| Fabric glue | Attaches new fabric without sewing | Look for washable, flexible glue |
| Scissors | Cut fabric smoothly | Fabric scissors give cleaner edges |
| Measuring tape or ruler | Helps create even panels | Important for symmetry |
| Chalk or fabric marker | Marks where to cut | Choose washable marker |
| Clips or pins | Holds fabric in place while glue dries | Prevents shifting and mistakes |
| Iron-on tape (optional) | Alternative to fabric glue | Needs an iron to activate |
How To Choose The Right Leggings
Pick leggings that fit you well at the waist and hips. The legs should be tight or slim since you will be adding fabric to make the flare. Avoid old leggings with holes or thin spots near the ankle, since these areas will be stretched and may tear easily.
Selecting The Flare Fabric
The flare fabric should stretch and move like your leggings. Jersey, spandex, or lycra work well. You can use a matching color for a seamless look or pick a bold contrast for a unique style. If you want extra drama, you can use mesh or patterned fabric for the flare panels.
Planning Your Flare Leggings Design
Before you cut anything, decide what kind of flare you want. There are several shapes and sizes to choose from, and your choice will affect how much fabric you need.
Flare Styles
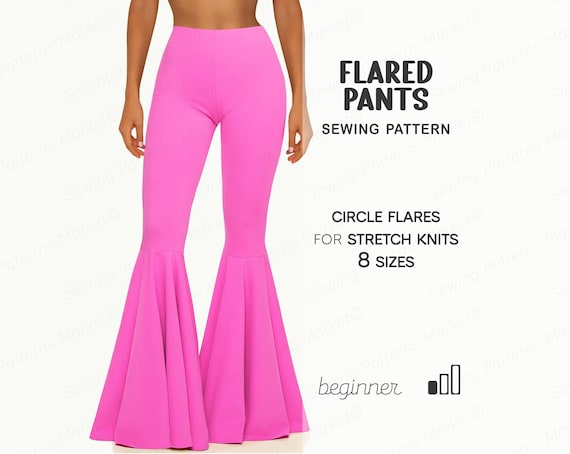
- Classic Bell Flare – Wide flare starting from the knee.
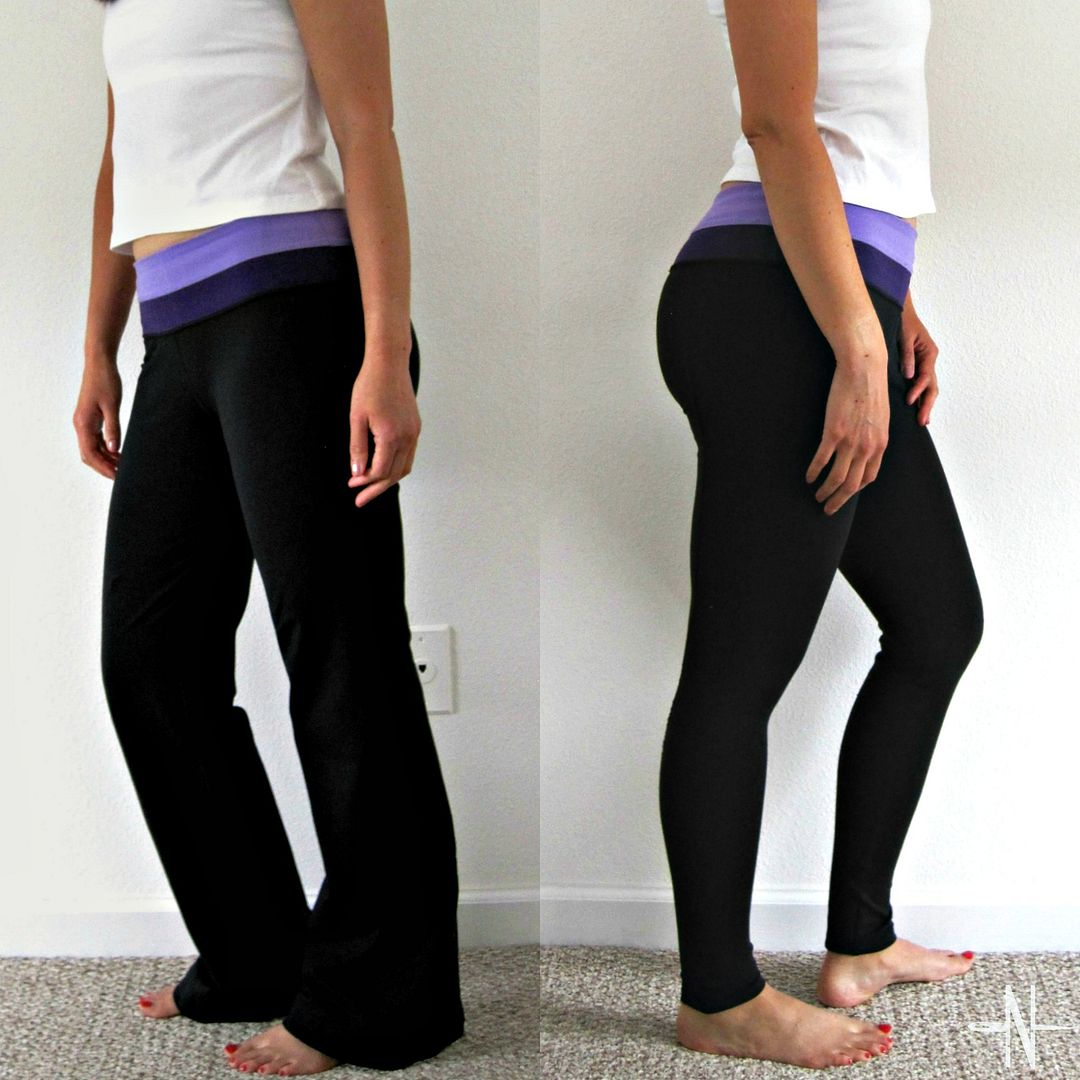
- Subtle Bootcut – Slight flare, less dramatic, starts lower on the leg.
- Extreme Flare – Very wide, almost skirt-like, for a bold look.
- Paneled Flare – Uses two or more pieces of different fabrics.
- Asymmetric Flare – One side is longer or shaped differently for a modern twist.
The shape you choose will change the cutting and gluing steps. A classic bell flare is the most popular and easiest for beginners, so this guide will focus on that method but will give tips for other styles too.
Measuring For The Flare
Put on your leggings and mark where you want the flare to start (usually just below the knee). Use a fabric marker or chalk to make a small dot. Measure from this point to the bottom of the leggings. This will be the length of your flare panel.
Decide how wide you want the flare at the bottom. A common width is 10-12 inches (25-30 cm) for each side. For a bigger flare, add more inches. Remember, you will need two panels—one for each leg.
Planning Panel Shape
Most flare panels are shaped like a triangle or wedge. The narrow end attaches at the knee; the wide end becomes the bottom of your leggings. You can make a pattern on paper first if you want more accuracy.
Step-by-step Guide To Making Flare Leggings Without Sewing
You are now ready to start. Follow these steps in order. Take your time—rushing can lead to mistakes you cannot undo.
1. Try On And Mark The Leggings
Put on your leggings. Stand straight and look in a mirror. Mark the spot just below your knee on both legs. This is where the flare will begin.
Use a fabric marker or chalk to draw a line around the leg at this point. Make sure both legs are marked at the same height so your flares are even.
2. Cut The Side Seams
Take off the leggings and lay them flat. Using sharp scissors, cut a straight line along the outside seam from the bottom of the leggings up to your mark. Do this on both legs. This creates an opening where you will add the flare fabric.
Non-obvious tip: If your leggings have no side seam, cut along the outermost part of the leg. Make sure your cut is smooth and straight, as jagged cuts can make the finish look messy.
3. Prepare The Flare Panels
Lay your flare fabric flat. Using your measurements, mark two triangle shapes for the flare panels. The length should match the distance from your knee mark to the bottom of the leggings. The width at the wide end should be your chosen flare width (for example, 12 inches).
Cut out the two panels. Double-check that both are the same size and shape. Uneven panels will make your flares look lopsided.
Beginner insight: Always cut the fabric slightly larger than needed. You can trim later, but you cannot add fabric back if it’s too small.
4. Attach The Flare Panels
Place one flare panel inside the opening of one leg. The narrow end should line up with the knee mark; the wide end should reach the bottom hem. Use clips or pins to hold the panel in place.
Apply fabric glue along the cut edges of the leggings and the sides of the flare panel. Press the fabric together firmly. Repeat this step for the other leg.
Pro tip: Start gluing from the top (knee area) and work down to the ankle. This helps keep the fabric smooth and prevents bubbles or wrinkles.
If using iron-on tape instead of glue, place the tape between the leggings and the flare panel, then press with a hot iron. Make sure your flare fabric can handle heat.
5. Secure And Let Dry
Once both panels are glued in place, press the seams together again. Use clips or pins to keep them secure while drying. Fabric glue usually needs several hours to set completely. Read the instructions on your glue bottle for drying time.
Non-obvious tip: Do not move the leggings until the glue is fully dry, or the seams might come apart. Some beginners try on the leggings too soon and stretch the glue.
6. Trim And Finish
When the glue is dry, remove all clips or pins. Try on your leggings and check the flare. If the panels are too wide or uneven, use scissors to trim them. You can also trim the bottom hem if the flare hangs lower than you like.
If you want a finished edge, you can use more fabric glue to fold the raw edge under and secure it. This step is optional, but it gives a cleaner look.
7. Style And Wear
Your no-sew flare leggings are ready! Pair them with sneakers, boots, or heels. The flare style makes your legs look longer and adds movement to your outfit. Wash them gently by hand or on a delicate cycle, as the glue needs time to bond fully.

Credit: www.youtube.com
Common Mistakes And How To Avoid Them
Even simple DIY projects can go wrong if you rush or skip steps. Here are some mistakes beginners often make and how to prevent them.
Cutting Too High Or Low
If you cut the leggings too high above the knee, the flare will start at your thigh and look odd. Too low, and the flare is too short. Always try on your leggings and mark carefully before cutting.
Using The Wrong Glue
Not all glues work for fabric. If you use regular craft glue, the panels will peel off after one wash. Buy fabric glue that is labeled as flexible and washable. If possible, read reviews or ask for recommendations.
Uneven Panels
Cutting freehand can lead to one flare being larger than the other. Make a paper pattern first and use it for both panels. Check that both sides are symmetrical before gluing.
Not Letting Glue Dry
Trying on leggings before the glue is dry is a common mistake. This can ruin your work and make the panels fall off. Patience is key—wait the full drying time.
Choosing Poor Quality Leggings
If your base leggings are too thin or old, they might not hold the glue well. Choose a pair with some thickness and stretch. Test the glue on a small area first.
Creative Ideas To Personalize Your Flare Leggings
One great thing about DIY fashion is that you can make your project unique. Here are some creative ideas to try:
Add Decorative Elements
- Attach iron-on patches or fabric paint to the flare panels.
- Use glitter fabric for a party look.
- Add ribbon or lace along the flare seam for extra detail.
Mix Fabrics
Combine different textures for the flare and the base leggings. For example, pair black leggings with silver metallic flares, or use soft velvet for a winter style.
Play With Lengths
Make one leg’s flare longer than the other for an asymmetric look. You can also create a high-low hem where the back is longer than the front.
Try Patterns
Use patterned fabric for the flare—like stripes, polka dots, or animal print—to make your leggings stand out. Mix and match colors for a bold effect.
Add Slits
Cut a small slit in the back or side of the flare panel for extra movement. This detail looks stylish and lets you show off your shoes.
Comparing No-sew Methods
Different no-sew techniques can be used to make flare leggings. Here is a comparison to help you choose the best method for your needs:
| Method | Pros | Cons | Best For |
|---|---|---|---|
| Fabric Glue | Easy to use, flexible, strong hold | Needs drying time, not instant | Most beginners, quick projects |
| Iron-On Tape | Clean finish, quick | Requires iron, not all fabrics are suitable | People comfortable using an iron |
| Fusible Webbing | Strong bond, washable | More steps, needs heat | Durable projects, heavier fabric |
| Fabric Tape | No mess, instant bond | May peel over time, visible seam | Temporary flares, costumes |
Non-obvious insight: If you want to wash your leggings often, fabric glue or fusible webbing is usually more reliable than fabric tape.
How To Care For Your No-sew Flare Leggings
No-sew leggings need a little more care than regular ones. Since the panels are glued, not stitched, rough handling can weaken the bond.
- Wash by hand or use a gentle machine cycle.
- Air dry flat. Avoid tumble dryers, as heat can soften the glue.
- If edges start to lift, reapply a small amount of fabric glue and press firmly.
- Avoid ironing directly on glued seams.
With good care, your custom leggings will last through many wears.
When To Choose No-sew Over Sewing
No-sew is best if:
- You do not have a sewing machine or do not like sewing by hand.
- You want a fast project that can be finished in a day.
- You like to change your style often and want temporary flares.
- You are making leggings for a costume or one-time event.
If you want a super-durable, everyday pair, sewing may be better. But for most people, no-sew methods offer a fun way to try DIY fashion with less commitment and skill needed.
Troubleshooting: Fixing Common Issues
Sometimes things do not go as planned. Here is how to fix common problems:
Panel Comes Loose After Washing
Apply more fabric glue to the seam, press, and let dry again. Consider using a stronger glue or switching to iron-on tape for future projects.
Flare Panel Feels Stiff
You may have used too much glue. Next time, use a thin line. Wash the leggings a few times; the panel will usually soften.
Edges Fray Or Curl
Fold the raw edge under and secure with more glue. You can also use fabric sealant or clear nail polish on the edge.
Panels Are Uneven
Trim the longer side with scissors. Try on the leggings each time you trim to avoid making the panel too short.
The Flare Is Not Dramatic Enough
Cut the opening higher or make wider panels. Add a contrasting fabric to increase the effect.
Sustainable Fashion And Upcycling
Making your own flare leggings is a great way to practice sustainable fashion. Instead of buying new clothes, you can upcycle old leggings and leftover fabric. This reduces waste and saves money. Many people are choosing DIY and upcycling as a way to express their style and help the planet.
If you do not have fabric scraps, check thrift stores or ask friends for old clothes they do not want. You can even use old T-shirts or dresses for the flare panels.
Examples And Inspiration
Some people have made amazing flare leggings using this no-sew method. Here are a few ideas to inspire you:
- Turn plain black leggings into festival-ready pants with metallic gold flare panels.
- Use old patterned scarves as fabric for the flare.
- Add ruffles or fringe to the bottom edge for a boho look.
- Make matching flare leggings for friends as a group project.
You can find more ideas and step-by-step photos on fashion DIY blogs or social media. Seeing other people’s projects can help you decide what style and fabric you want.
Credit: www.etsy.com
Comparing Flare Leggings To Other Diy Pants
How do no-sew flare leggings compare to other types of DIY pants projects?
| Type | Difficulty | Style Impact | Best For |
|---|---|---|---|
| No-sew Flare Leggings | Easy | High | Beginners, quick fashion updates |
| Cut-off Shorts | Very Easy | Moderate | Summer, casual wear |
| Sewn Wide-leg Pants | Advanced | Very High | Experienced DIYers |
| Painted Jeans | Easy | Custom look | Art projects, events |
No-sew flare leggings offer a unique combination of easy process and big style change, making them perfect for anyone wanting to refresh their wardrobe quickly.
Safety Tips For Diy Fashion Projects
DIY projects are fun, but safety matters:
- Always use fabric scissors and keep them away from children.
- If using an iron for tape, keep your fingers away from hot surfaces.
- Use glue in a well-ventilated area.
- Test all adhesives on a small area to check for allergies.
Taking simple precautions will help you avoid accidents and enjoy the creative process.
Credit: www.shesgotthenotion.com
Where To Find Materials
You do not need expensive supplies for this project. Here are some places to find what you need:
- Fabric stores: Offer a wide range of stretch fabrics and glue.
- Craft stores: Often have fabric glue, tape, and tools.
- Online retailers: Good for buying in bulk or finding special colors.
- Thrift shops: Great for finding cheap leggings or fabric for panels.
- Friends and family: Ask for old clothes to upcycle.
Quality matters more than price. Choose strong, stretchy fabrics and reliable glue for best results.
How To Make Flare Leggings For Kids
The process for kids is the same as for adults but on a smaller scale. Use child-size leggings and smaller flare panels. Let kids help pick the fabric for a fun family project. Make sure to use non-toxic glue and check for any skin sensitivities.
How To Make Removable Flares
If you want to keep your base leggings unchanged, you can make removable flare panels:
- Cut triangle panels as before.
- Add Velcro strips or fabric snaps to the side seam and the panel.
- Attach the panel when you want the flare look and remove it for regular leggings.
This method gives you even more flexibility and lets you swap different panels for different outfits.
Final Thoughts
Making flare leggings without sewing is a creative, easy way to update your wardrobe. You do not need sewing skills or fancy tools—just some fabric, glue, and imagination. Whether you want a subtle bootcut or a dramatic bell flare, you can achieve the look at home. The process lets you experiment with color, texture, and style while saving money and reducing waste. With the right care, your custom leggings will look great and last for many wears.
If you want more ideas or tips, you can find inspiration on DIY fashion websites like WikiHow. Remember, the best part of DIY fashion is making something that fits your personality and style.
Frequently Asked Questions
How Long Does It Take To Make No-sew Flare Leggings?
Most people can finish this project in 1-2 hours, not counting drying time for the glue. If you are new to DIY, allow extra time to measure and cut carefully. Waiting for the glue to dry is the longest part, but the actual steps are quick.
Can I Wash My No-sew Flare Leggings In A Machine?
Yes, but use a gentle cycle with cold water. It’s better to hand wash for the first few washes. Avoid high heat and tumble drying, as this can weaken the glue.
What Kind Of Glue Is Best For Making Flare Leggings?
Use fabric glue labeled as flexible and washable. Avoid regular craft or school glue, as they do not bond well to stretchy fabric. Some people also use iron-on tape as an alternative.
Can I Remove The Flare Panels Later?
If you used fabric glue, removing the panels is difficult and may damage the leggings. For removable flares, attach them with Velcro or snaps instead of glue so you can change styles easily.
What If I Do Not Have Extra Fabric For The Flares?
Be creative! Use old T-shirts, scarves, or dresses for the flare panels. Thrift stores and fabric scraps are great, affordable sources. Just make sure the fabric is stretchy so it matches the leggings’ movement.