
How to Make Bjj Rash Guard: Ultimate DIY Guide for Fighters
Are you ready to create your very own BJJ rash guard that fits perfectly and shows off your style? Making a rash guard might sound tricky, but with the right steps, you can craft one that protects your skin, keeps you comfortable, and stands out on the mat.
This guide will walk you through everything you need to know, from choosing the right fabric to sewing the final stitches. By the end, you’ll have the skills to make a rash guard that feels like it was made just for you.
Keep reading, and let’s get started on making your own BJJ gear!
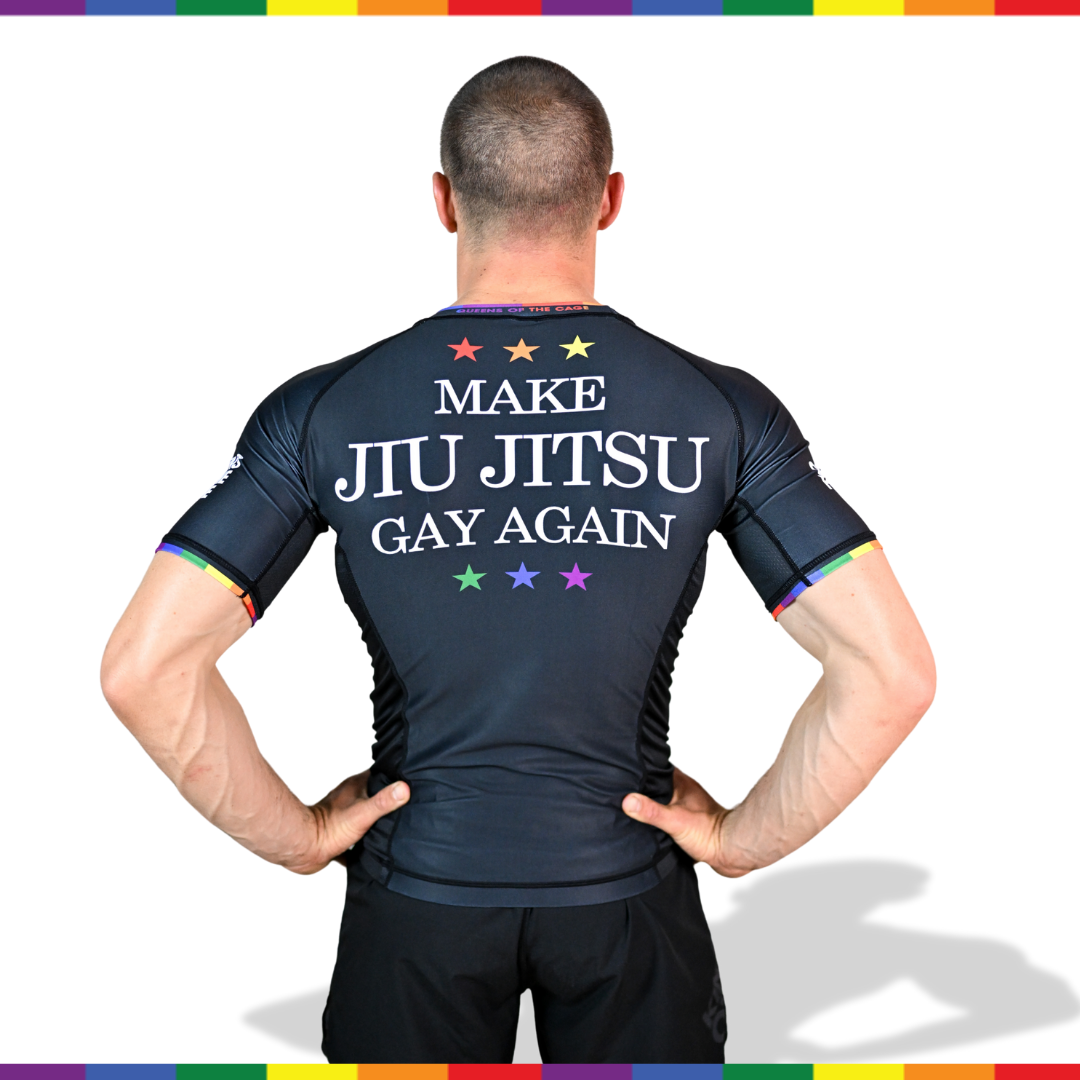
Credit: www.cagekit.com.au
Materials Needed
Making a BJJ rash guard starts with gathering the right materials. The choice of fabric and tools impacts comfort and durability. Prepare everything before you start sewing. This section covers the basics needed to create a quality rash guard.
Fabric Selection
Choose a fabric that stretches well and dries fast. Polyester and spandex blends work best for rash guards. These materials offer good breathability and keep you cool during training. Look for fabrics labeled "compression" or "performance" for added support. Avoid cotton as it traps sweat and slows drying.
Essential Sewing Supplies
Use a sewing machine with a stretch or zigzag stitch option. Get polyester thread for strong seams. Sharp fabric scissors help cut clean edges. Pins or clips hold pieces together without damage. A measuring tape ensures accurate sizing and fit. Don’t forget a seam ripper for fixing mistakes.
Optional Accessories
Consider adding flatlock tape to reduce chafing. Iron-on patches enhance design and protect high-wear areas. Fabric markers or stencils help customize logos or names. Elastic bands improve wrist and waist fit. These extras boost comfort and style but are not mandatory.
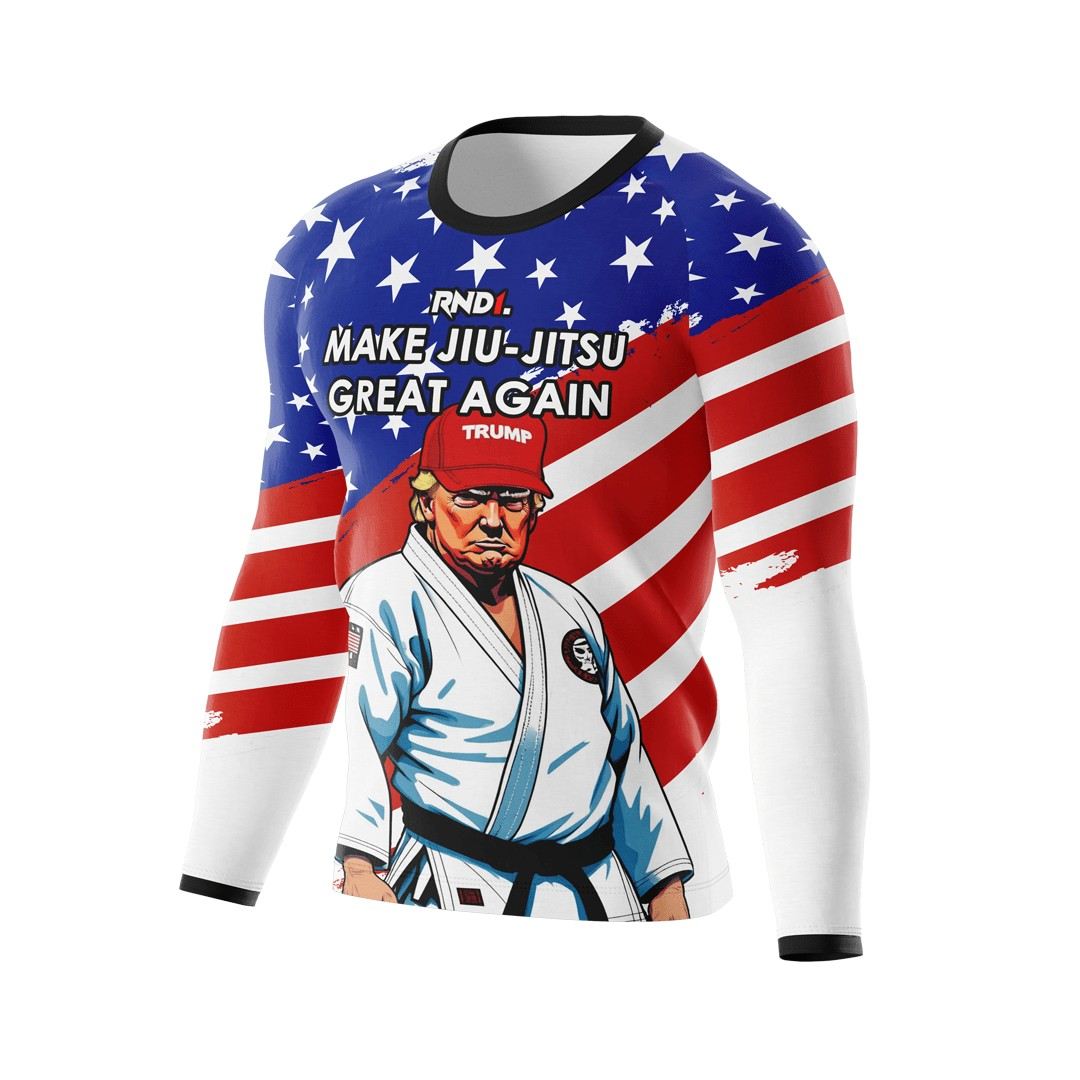
Credit: rnd1mma.co.uk
Designing Your Rash Guard
Designing your BJJ rash guard is an exciting step. It lets you show your style and stay comfortable during training. Good design helps with movement and keeps you cool and protected.
Focus on your preferences and how you want to use the rash guard. Keep it simple but unique. Think about colors, shapes, and fit that suit your needs.
Choosing The Right Style
Pick a style that matches your training intensity. Long sleeves offer more protection from mats and burns. Short sleeves feel cooler and allow more air flow. Compression fit helps with muscle support and reduces fatigue. Loose fit gives more freedom but less support. Choose the style that fits your body and training type best.
Creating Patterns
Patterns make your rash guard stand out. Use geometric shapes, stripes, or abstract designs. Keep the colors balanced and not too bright. Dark colors hide stains better. Add logos or symbols that represent your gym or team. Make sure patterns do not distract during training. Simple and clean designs often look more professional.
Sizing Tips
Correct size ensures comfort and performance. Measure your chest, waist, and arms carefully. Rash guards should fit snugly but not be too tight. Check the size chart of the brand you choose. Remember that some materials stretch after use. If unsure, pick a size that allows easy movement. A good fit prevents skin irritation and improves durability.
Cutting The Fabric
Cutting the fabric is a key step in making a BJJ rash guard. It shapes the garment to fit well and perform during training. Precision during this step helps avoid wasting material. It sets the base for sewing and final assembly.
Preparing The Fabric
Start by washing and drying the fabric. This prevents shrinking later. Lay the fabric flat on a clean, hard surface. Smooth out all wrinkles to get accurate cuts. Use weights or pins to keep the fabric from moving.
Accurate Measurements
Measure the body parts carefully. Use a soft measuring tape for curves. Write down the length, width, and sleeve size clearly. Double-check each measurement before cutting. Mark the fabric with chalk or a fabric pen.
Cutting Techniques
Use sharp fabric scissors for clean edges. Cut slowly following your marks precisely. Avoid lifting the fabric while cutting. Keep the scissors at a slight angle for smooth cuts. Save scraps for testing stitches or patches.
Sewing Process
The sewing process is a key step in making a BJJ rash guard. It joins all parts firmly. Proper sewing ensures strength and comfort during training. Each stitch and seam plays a role in durability and fit.
Quality sewing prevents tears and keeps the rash guard flexible. You need the right tools and techniques. Let’s explore the important details in sewing a rash guard.
Stitch Types For Rash Guards
Use flatlock stitches for rash guards. This stitch lies flat against the skin. It stops chafing and irritation during movement. Overlock stitches are also common. They finish edges and prevent fraying. Both stitch types add stretch and strength.
Seam Construction
Seams must be strong but flexible. Double-needle stitching is popular for seams. It holds fabric securely without breaking. Seams often use reinforced stitching for extra strength. Position seams away from high-stress areas. This improves comfort and lasts longer.
Adding Elastic And Cuffs
Elastic keeps rash guards tight and secure. Sew elastic bands at the waist and sleeves. Use zigzag stitches to keep elasticity. Adding cuffs helps rash guards stay in place. They also add a clean, finished look. Proper sewing of cuffs improves fit and function.
Customizing Your Rash Guard
Customizing your BJJ rash guard makes it truly yours. It shows your style and spirit. You can create a unique look that fits you perfectly. Personal touches make training more fun and boost your confidence on the mat.
Adding Logos And Designs
Choose logos that represent your team or values. You can print them on the chest, back, or sleeves. Designs can be simple or bold. Use high-quality prints to ensure they last through washes and hard training.
Color Options
Pick colors that match your personality or team colors. Dark colors hide stains better. Bright colors stand out and make you easy to spot. Some brands offer color combinations to mix and match for a fresh look.
Personalized Features
Add your name or nickname for a personal touch. Some rash guards allow you to add motivational words. Choose the fabric type that feels best on your skin. Customized fits help improve comfort and movement during training.
Care And Maintenance
Taking good care of your BJJ rash guard keeps it strong and fresh. Proper care helps the fabric last longer. It also keeps the colors bright and the fit perfect.
Simple steps in washing, storing, and fixing small damages make a big difference. These easy tips protect your rash guard from wear and tear.
Washing Instructions
Wash your rash guard after every use. Use cold water to protect the fabric. Choose a gentle detergent without bleach or fabric softener. Hand washing is best, but machine wash on a gentle cycle if needed. Avoid using hot water or harsh chemicals. Do not wring it out; gently squeeze excess water instead. Air dry flat or hang in the shade. Avoid direct sunlight to stop fading.
Storage Tips
Store your rash guard in a cool, dry place. Avoid folding it tightly to prevent creases. Use a hanger or lay it flat in a drawer. Keep it away from sharp objects that can cause tears. Do not store it in damp or humid areas. Proper storage helps keep the fabric smooth and ready for training.
Repairing Small Damages
Check your rash guard regularly for small tears or loose threads. Fix minor holes with a needle and thread before they get bigger. Use strong polyester thread that matches the color. Avoid using glue, which can damage the fabric. Small repairs extend the life of your rash guard. Early care prevents costly replacements.
Troubleshooting Common Issues
Making your own BJJ rash guard can be fun and rewarding. Sometimes, small problems appear during the process. These common issues can slow you down or affect the final product. Fixing these quickly helps you get a rash guard that fits well and lasts long.
Fixing Fit Problems
A rash guard that is too tight or too loose feels uncomfortable. Check your measurements carefully before cutting fabric. Adjust the pattern by adding or removing width at the sides. Use stretchy fabric to allow some give. Try on the rash guard during sewing to find tight spots. Make small changes bit by bit for the best fit.
Handling Fabric Stretch
Stretchy fabric is essential for rash guards but can be tricky to sew. Use a ballpoint needle to avoid holes. Stretch the fabric gently while sewing, but don’t pull too hard. Use a stretch stitch or zigzag stitch for seams. Test your stitches on scrap fabric first to see how much stretch they allow. This helps prevent seams from breaking.
Dealing With Seams
Strong seams keep your rash guard durable. Use flatlock seams to reduce irritation on the skin. Sew slowly to keep stitches even and tight. Trim seam allowances to avoid bulkiness. Reinforce stress points like underarms and shoulders with extra stitching. Check seams after sewing and fix any loose threads immediately.
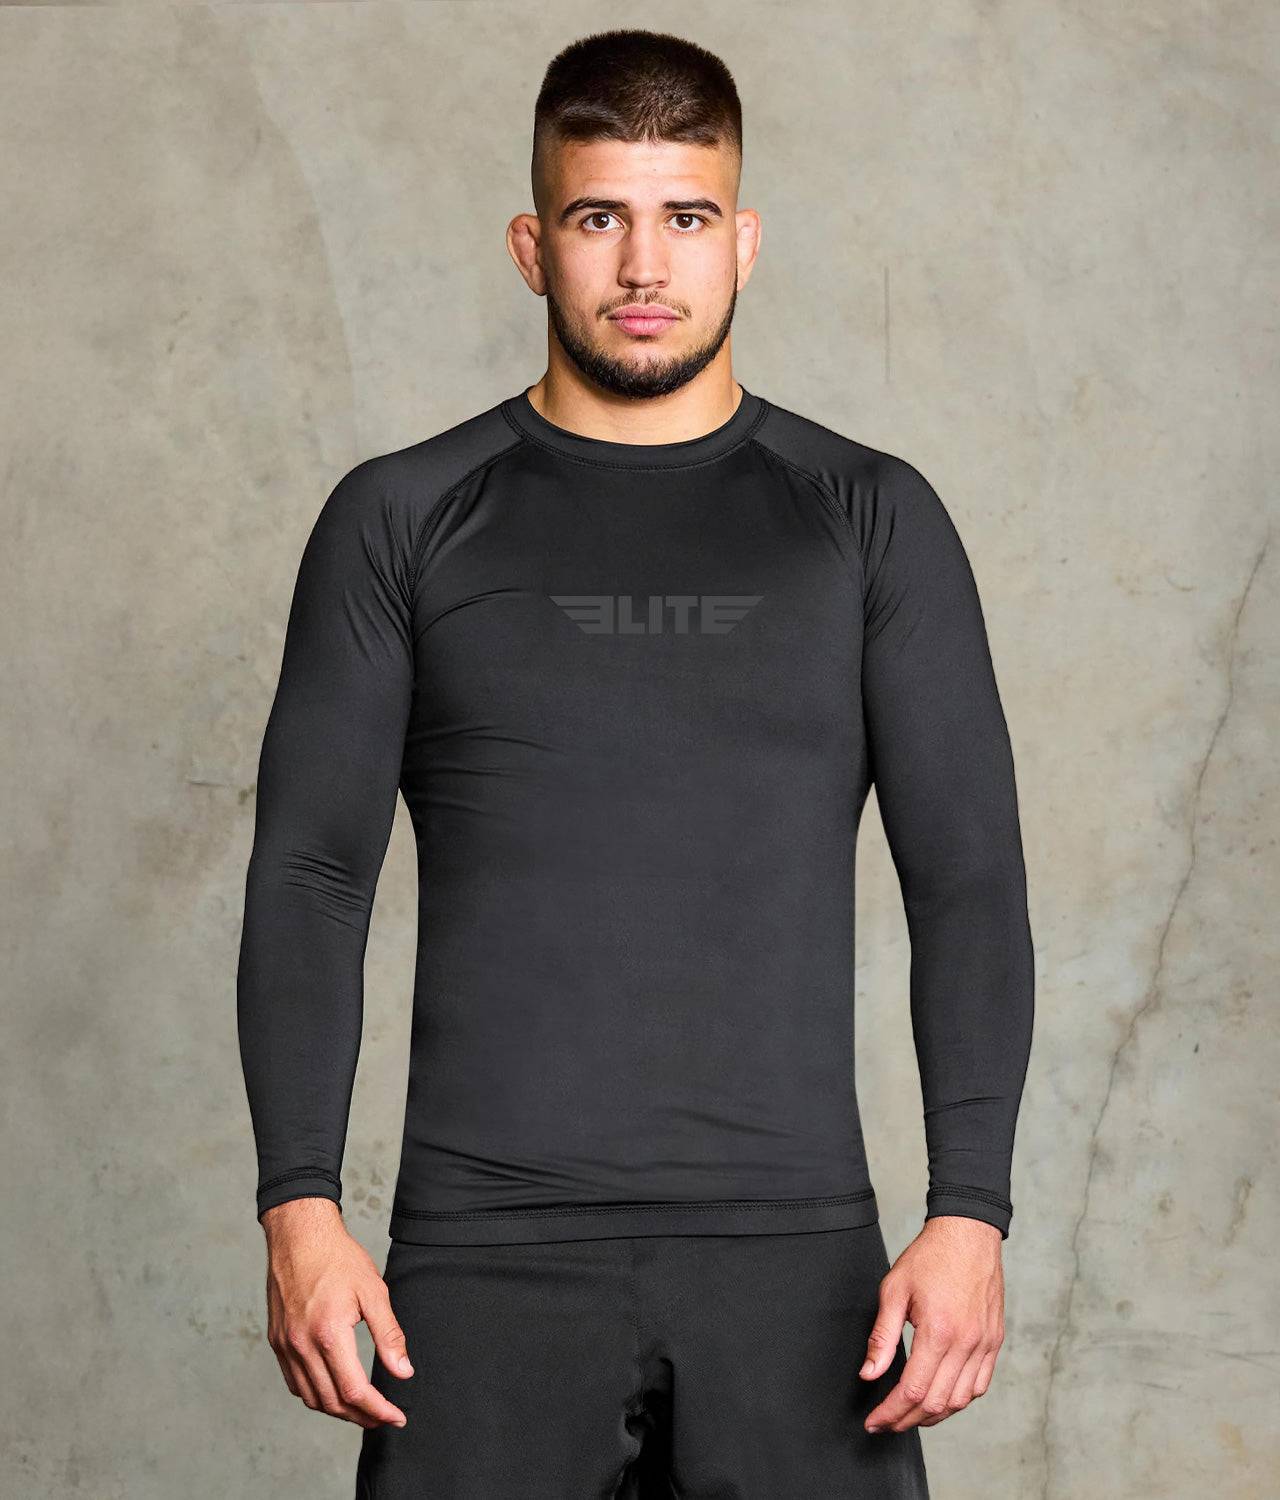
Credit: www.elitesports.com
Frequently Asked Questions
What Materials Are Best For Making A Bjj Rash Guard?
The best materials are polyester and spandex blends. They offer stretch, durability, and moisture-wicking properties. These fabrics keep you comfortable and prevent skin irritation during training.
How Do I Choose The Right Fit For A Rash Guard?
Choose a rash guard that fits snugly but allows full movement. Avoid loose or overly tight options. Proper fit improves performance and prevents fabric bunching or skin chafing.
Can I Customize The Design Of My Bjj Rash Guard?
Yes, many suppliers offer custom printing and embroidery. You can add logos, colors, and personal designs. Custom rash guards help showcase your team or personal style.
How Do I Care For My Homemade Bjj Rash Guard?
Wash in cold water with mild detergent. Avoid bleach and fabric softeners to maintain fabric elasticity. Air dry to prevent shrinking and preserve the rash guard’s lifespan.
Conclusion
Making your own BJJ rash guard takes time and patience. Start with the right materials and tools. Cut and sew carefully to ensure a good fit. Choose designs that show your style and personality. Practice will help you improve your skills.
Enjoy the process and wear your rash guard with pride. This project is both fun and useful for your training. Keep trying, and you will create something unique and personal.