
How to Flare Pants: Easy DIY Guide for Trendy Style
How To Flare Pants: A Complete Guide For Beginners
Flaring pants is an exciting way to refresh your wardrobe. It can turn old, straight-legged jeans into trendy, wide-legged styles. Many people want to make their pants unique, but feel unsure where to start. The truth is, flaring pants is easier than it seems. With the right tools, a bit of patience, and careful steps, you can create custom flared pants at home.
This guide takes you through the whole process. You’ll learn about different flare styles, how to choose the best materials, and every detail from measuring to sewing. Whether you want a dramatic bell-bottom or a subtle bootcut, you’ll find clear instructions here.
Even if you have little sewing experience, you’ll understand each step. You’ll also pick up useful tips that most beginners miss. By the end, you’ll feel ready to transform your favorite pants into a standout piece.
Understanding Flared Pants
Before you begin, it’s important to know what flared pants are. Flared pants have a wider bottom compared to the knee or thigh. This gives them a signature “flare” shape. There are different types:
- Bootcut: Slight flare, just enough to fit over boots.
- Classic Flare: Noticeable flare, but not dramatic.
- Bell-bottom: Very wide and bold flare.
The shape and width you choose affect how your pants look and feel. Each style fits different body shapes and occasions. For example, bootcut is great for daily wear, while bell-bottoms stand out at parties or festivals.
Choosing The Right Pants For Flaring
Not every pair of pants is suitable for flaring. Some fabrics or fits work better than others. Here’s how to pick the best base pants:
- Material: Denim, cotton, and twill are easiest for beginners. Stretchy pants can be tricky to sew.
- Fit: Straight-leg or slightly fitted pants give the cleanest results. Skinny jeans can work but may need more fabric for a dramatic flare.
- Condition: Use pants without holes or heavy wear in the lower legs. This prevents weak seams or uneven results.
- Length: Longer pants are better. Flaring makes them appear shorter, so extra length helps.
Before you start, wash and iron your pants. This prevents shrinking or warping after you flare them.

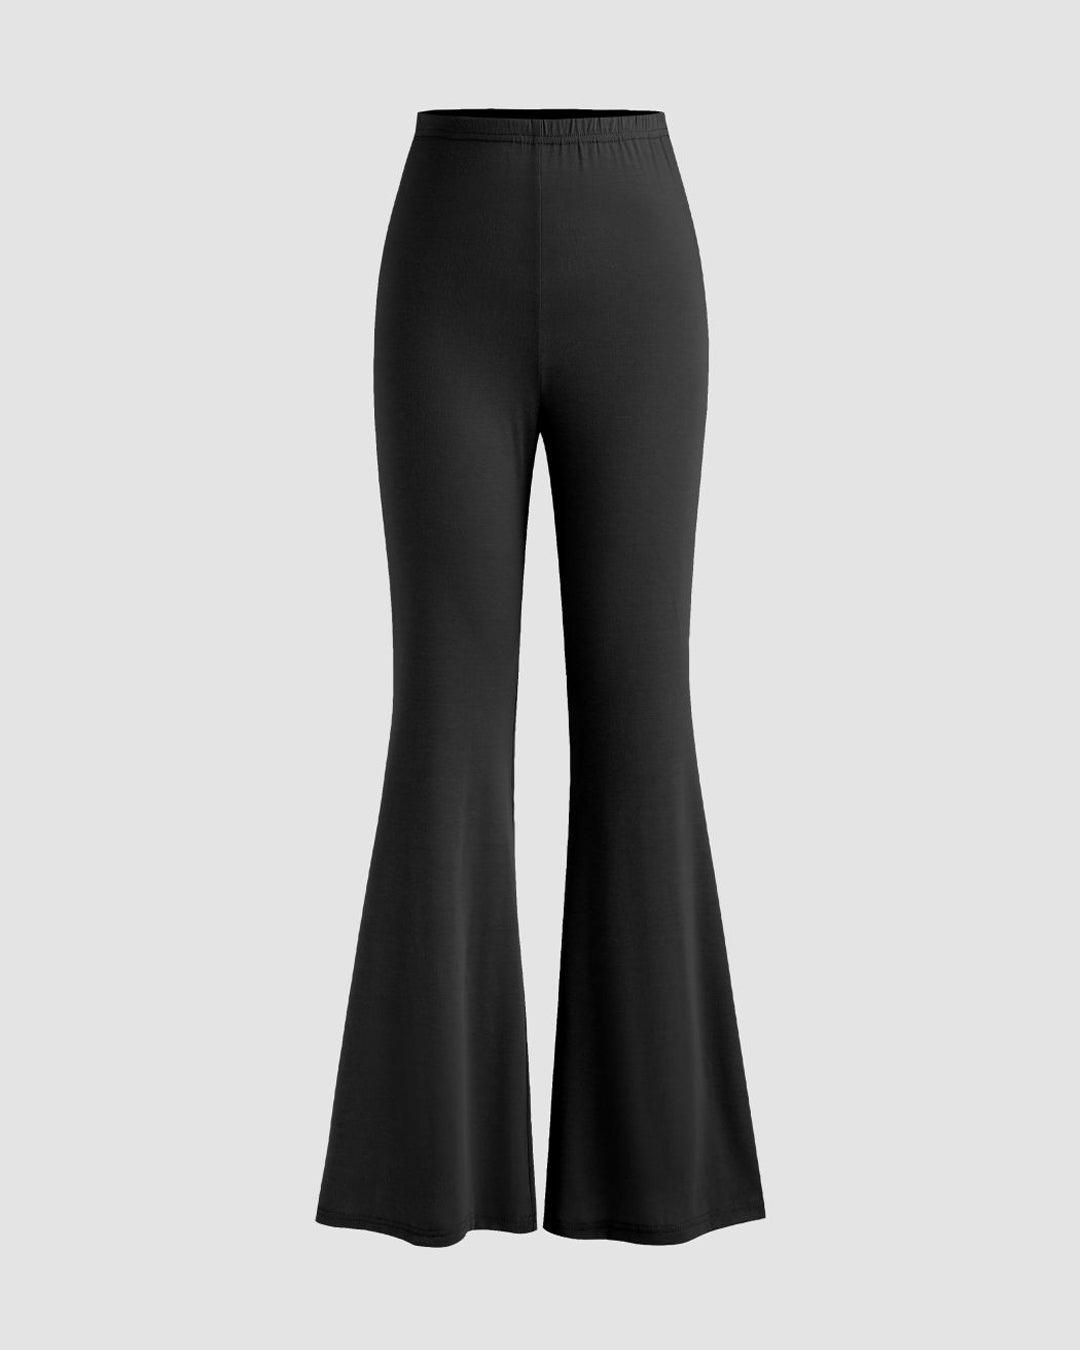
Credit: boody.com
Tools And Materials You’ll Need
Gathering the right tools makes the process much smoother. Here’s a list to keep handy:
- Sewing machine (or needle and thread for hand-sewing)
- Fabric scissors
- Pins or clips
- Measuring tape or ruler
- Chalk or washable fabric marker
- Matching thread
- Extra fabric for the flare panels (denim or cotton works best)
- Seam ripper (for mistakes)
- Iron
Optional but helpful:
- Rotary cutter and cutting mat for neat edges
- Serger or overlocker for strong, clean seams
Having everything ready saves time and avoids frustration.
Planning Your Flare Design
Decide what kind of flare you want. Do you prefer a gentle bootcut or a dramatic bell-bottom? Think about where you’ll wear the pants. For everyday, a small flare is practical. For parties, a wide flare makes a statement.
Sketch your design or find reference photos. This helps you visualize the final look. Measure the width of the flare at the hem (bottom of pants). Most bootcuts are 1-2 inches wider than the knee, classic flares are 3-5 inches wider, and bell-bottoms can be 6 inches or more.
For example, if your pants are 8 inches wide at the knee, a classic flare might be 12-14 inches at the bottom.
Measuring And Cutting Your Pants
Accurate measuring is key for a professional result. Here’s how to do it:
- Try on the pants. Decide where you want the flare to start (usually just below the knee).
- Mark the spot. Use chalk or a pin to mark both legs.
- Measure from the mark to the hem. Write down this length.
- Decide the flare width. Measure how much wider you want the bottom compared to the knee.
- Turn the pants inside out. Lay them flat on a table.
Now, you need to cut open the side or inner seam (not both). Most people choose the outer seam for style, but the inner seam can be more subtle. Use a seam ripper to carefully open the seam from the mark to the bottom.
Pro tip: Cutting a straight line is easier if you use a ruler and chalk to guide your scissors.
Choosing And Preparing Flare Fabric
The new flare will be made from extra fabric. Choose a fabric that matches your pants in weight and color, or pick a bold contrast for style.
How Much Fabric Do You Need?
Calculate the panel size based on your measurements:
- Height: Same as the length from your marked knee point to the hem, plus 1 inch for seam allowance.
- Width: Half the added width you want for each leg, plus 1 inch for seam allowance.
For example, if you want to add 8 inches to the bottom (4 inches per side), your panel width should be 5 inches.
Wash and iron the fabric before cutting. This prevents shrinking and puckering later.
Cutting The Flare Panels
Lay the fabric flat. Use your measurements to mark a triangle with chalk. The narrow tip matches the knee mark, and the wide base matches the hem.
Cut two identical panels (one for each leg). Make sure the fabric grain runs the same direction as your pants for even drape.
Insight beginners miss: Cut a test panel from old fabric and pin it in place. Try on the pants to check the flare shape before you cut your good fabric.
Attaching The Flare Panels
Now you’ll sew the panels into your pants. Here’s a step-by-step method:
- Pin the panel in place. Match the narrow end to the knee mark and the wide end to the hem. Both raw edges should line up with the opened seam.
- Pin carefully. Start at the top and work down, smoothing out any wrinkles.
- Sew one side of the panel to the pant leg. Use a straight stitch, about 1/2 inch from the edge.
- Sew the other side of the panel to the other side of the pant leg. Continue from knee to hem.
- Finish the seam. Trim any extra threads and press open with an iron.
Repeat for the other leg. Turn the pants right-side out and check the flare. Adjust if needed.
Common mistake: Rushing the pinning can cause puckers or uneven seams. Take your time to smooth the fabric as you pin.
Finishing The Hems
The new flare panel needs a finished hem to look polished. Here’s how:
- If the panel is longer than the original pant leg, trim to match.
- Fold the raw edge under 1/2 inch and press with an iron.
- Fold again 1/2 inch and pin in place.
- Sew around the hem with a straight stitch.
If you want a frayed look (popular with denim), sew a line 1/2 inch from the edge and leave the rest raw. The fabric will fray naturally after washing.
Styling Ideas And Customizations
One of the best parts about flared pants is personal style. You can make them subtle or bold. Here are ways to add extra flair:
- Use contrasting fabric for the flare panel (like floral or animal print).
- Add trim or lace along the seam.
- Use decorative stitching or embroidery.
- Dye the flare panel a different color before sewing.
Some people add patches, beads, or even sequins for a festival look. Don’t be afraid to experiment.
Comparison: Flared Pants Styles
To help you choose a style, here’s a comparison of the most popular flare types.
| Style | Flare Width (per leg) | Best For | Look |
|---|---|---|---|
| Bootcut | 1-2 inches | Everyday wear | Subtle |
| Classic Flare | 3-5 inches | Casual or parties | Noticeable |
| Bell-bottom | 6+ inches | Festivals, retro style | Bold, dramatic |
Care And Maintenance Tips
Flared pants need a bit more care, especially if you used a different fabric for the flare. Here’s how to keep them looking great:
- Wash in cold water to prevent shrinking and fading.
- Turn inside out before washing to protect seams.
- Avoid using bleach unless you want a faded look.
- Air dry or use a low dryer setting to protect the fabric.
If you notice loose threads, trim them neatly with scissors. Iron the seams flat after each wash for a crisp look.
Flare Pants For Different Body Types
Not every flare style suits every body shape. Here’s a quick guide to choosing the best flare for you:
| Body Type | Best Flare Style | Why |
|---|---|---|
| Pear-shaped | Classic Flare | Balances wider hips |
| Petite | Bootcut or Small Flare | Elongates legs, avoids overwhelm |
| Tall | Bell-bottom | Shows off long legs |
| Hourglass | Any style | Emphasizes curves |
Non-obvious insight: The starting point of the flare (higher or lower on the leg) can change your whole look. Starting higher elongates the leg, while a lower flare gives a more vintage vibe.
Common Mistakes When Flaring Pants
Many people make avoidable mistakes their first time. Here’s what to watch out for:
- Using the wrong fabric: Heavy or stiff fabrics can be hard to sew and may not flare smoothly.
- Not pre-washing fabric: Unwashed fabric can shrink or bleed color after sewing.
- Cutting uneven panels: Always double-check measurements before cutting.
- Ignoring seam allowance: Forgetting to add extra for seams makes the flare too tight.
- Rushing the sewing: Slow, steady stitches make for a stronger, cleaner seam.
Fixing mistakes takes more time than preventing them. Lay out all materials and double-check every step.
How To Flare Pants Without Sewing
If you don’t sew, you can still create flared pants with fabric glue or iron-on tape.
- Fabric glue: Lay the flare panel in place and glue along the edges. Press firmly and let dry overnight.
- Iron-on tape: Place the tape between the pant leg and flare panel. Use a hot iron to bond.
This method isn’t as durable as sewing, but it works for costumes or occasional wear. Wash these pants by hand to prevent the panels from coming loose.
Beginner tip: Even if you use glue, pin the fabric first to check the shape.
How To Flare Pants For Kids
Kids outgrow pants quickly, so flaring is a smart way to extend their life. Use bright, fun fabrics for the panels. Involve kids in picking the designs—they’ll love custom pants!
Use the same steps as for adults, but double-check the measurements often. Kids’ pants are smaller, so accuracy matters.
Extra insight: If pants are too short, add extra length with the flare panel. Cut the panel longer and sew it just above the hem for a cool, layered effect.
Creative Ways To Flare Pants
Flare panels don’t have to be plain. Here are creative twists:
- Patchwork panels: Sew together small fabric pieces for a boho look.
- Sheer panels: Use lace or mesh for a dressy style.
- Fringe or tassels: Add fringe along the flare seams.
- Paint or dye: Decorate the flare with fabric paint or tie-dye.
These options make your pants one-of-a-kind. They also let you use up fabric scraps.
How To Fix Flared Pants That Don’t Fit Right
Sometimes, the flare doesn’t look as expected. Maybe it’s too wide, too narrow, or uneven. Here’s how to adjust:
- If the flare is too wide, resew the seam closer to the panel’s edge to reduce width.
- If it’s too narrow, add a wider panel or insert extra fabric.
- For uneven hems, trim both legs to match before hemming.
Try on the pants after pinning but before sewing. This lets you see the shape and fix any problems early.
Pro tip: Take small steps when adjusting. It’s easier to remove more fabric than to add it back.
Step-by-step Example: Transforming Straight Jeans
Let’s walk through a real example. Suppose you have a pair of straight-leg jeans:
- Wash and iron the jeans.
- Decide you want a classic flare, adding 4 inches per leg at the hem.
- Mark the spot just below the knee.
- Open the outer seam from mark to hem using a seam ripper.
- Cut two triangle panels from matching denim, each 13 inches tall and 5 inches wide at the base.
- Pin each panel into the opened seam.
- Sew both sides of each panel using a straight stitch.
- Trim and hem the bottom to match the original length.
- Iron all seams flat.
The result: fresh, stylish flared jeans for a fraction of store prices.
Credit: littleboxindia.com
How To Make Flared Pants From Scratch
If you want to sew pants from scratch, you can build the flare into your pattern.
- Use a basic pants pattern.
- At the knee point, draw a line outward to the hem for your desired flare width.
- Cut and sew as usual.
Sewing from scratch gives you even more control over shape and fit. For detailed patterns, check out guides from sewing communities or books.
Flared Pants And Fashion Trends
Flared pants are more than a DIY project—they’re a style statement. Over the years, they’ve come in and out of fashion. Today, they’re seen on runways, street style, and in music festivals. Celebrities and influencers wear them with everything from sneakers to high heels.
Data point: According to Vogue, searches for flared pants have increased in recent years, reflecting their renewed popularity.
Wearing your own flared pants not only saves money but also shows creativity.
Sustainability Benefits Of Flaring Pants
Flaring old pants is a smart way to support sustainability. Instead of throwing away jeans that no longer fit your taste, you give them new life. This reduces waste and the demand for new clothing.
If you use fabric scraps for your flares, you save resources and lower your environmental impact even more. Many eco-conscious people make flared pants from thrift store finds or old clothes.
Frequently Asked Questions
How Much Fabric Do I Need To Flare My Pants?
The amount of fabric depends on how wide and long you want the flare. For most adult pants, 1/2 yard (about 45 cm) of fabric is enough for both legs. Always measure before buying, and add extra for seam allowance.
Can I Flare Pants Without A Sewing Machine?
Yes, you can hand-sew the panels, use fabric glue, or iron-on tape. However, machine sewing gives the strongest, longest-lasting results. If you hand-sew, use small, tight stitches for durability.
What Kind Of Fabric Works Best For Flare Panels?
Choose a fabric similar in weight and stretch to your pants. Denim and sturdy cotton are popular. For creative styles, try lace, corduroy, or even velvet. Avoid fabrics that are too thin or too stiff.
How Do I Keep The Flare Even On Both Legs?
Measure carefully and cut both panels at the same time. Pin the panels in place and try on the pants before sewing. Mark any adjustments with chalk. After sewing, check the hem length with a ruler.
Will Flaring Pants Make Them Shorter?
Yes, flaring often makes pants a bit shorter, especially after hemming. If you need extra length, make the flare panels longer than the original pants and attach them slightly above the hem.
Transforming pants with a flare is a fun, creative way to refresh your wardrobe. With careful planning, the right materials, and patience, you can achieve a polished, custom look. Whether you’re updating old jeans or making a fashion statement, the steps above will help you succeed.
Enjoy your new flared pants and the confidence that comes with wearing something you made yourself.

Credit: www.shopcsb.com