
How to Tank Top a Shirt: Easy DIY Guide for Beginners
Transforming a simple shirt into a tank top is a clever way to give old clothes new life. Whether you want a cool summer look, a workout top, or just want to get creative, learning how to tank top a shirt is a practical skill.
With a few tools, some patience, and the right techniques, you can make your own stylish tank top at home, even if you have never tried DIY fashion before. This guide will show you every step, from choosing your shirt to the finishing touches, along with professional tips and tricks to get the best result.
Why Turn A Shirt Into A Tank Top?
There are many reasons to turn a regular shirt into a tank top. Sometimes, shirts become too worn at the sleeves or feel too warm for the season. Other times, you might want a more relaxed fit for sports or just want to refresh your wardrobe without spending money.
Making your own tank top also allows you to pick a style, cut, and fit that matches your body and fashion sense.
Upcycling is another great reason. By reusing clothes, you reduce waste and support a more sustainable lifestyle. Plus, customizing your tank top means no one else will have the exact same piece.
Choosing The Right Shirt
Before you start, it’s important to pick the right shirt. Not every shirt will look good as a tank top. Here are some things to consider:
- Material: Cotton and cotton blends are the easiest to cut and sew. They also feel comfortable.
- Fit: Choose a shirt that fits your body the way you want the tank top to fit. If you want a loose tank, pick a larger size.
- Design: Plain shirts work best, but you can also use shirts with graphics or logos if you want to keep those in the final design.
- Condition: Avoid shirts with holes or stains unless you plan to cut those areas away.
Types Of Shirts You Can Use
You can use different types of shirts, such as:
- T-Shirts – The most common and easiest to work with.
- Polo Shirts – Can give a unique look, but the collar will need special attention.
- Long-Sleeve Shirts – Good if you want a tank with wider shoulder coverage.
Some fabrics, like very thin synthetics, can be hard to cut cleanly. If you are new to DIY projects, stick with medium-weight cotton.
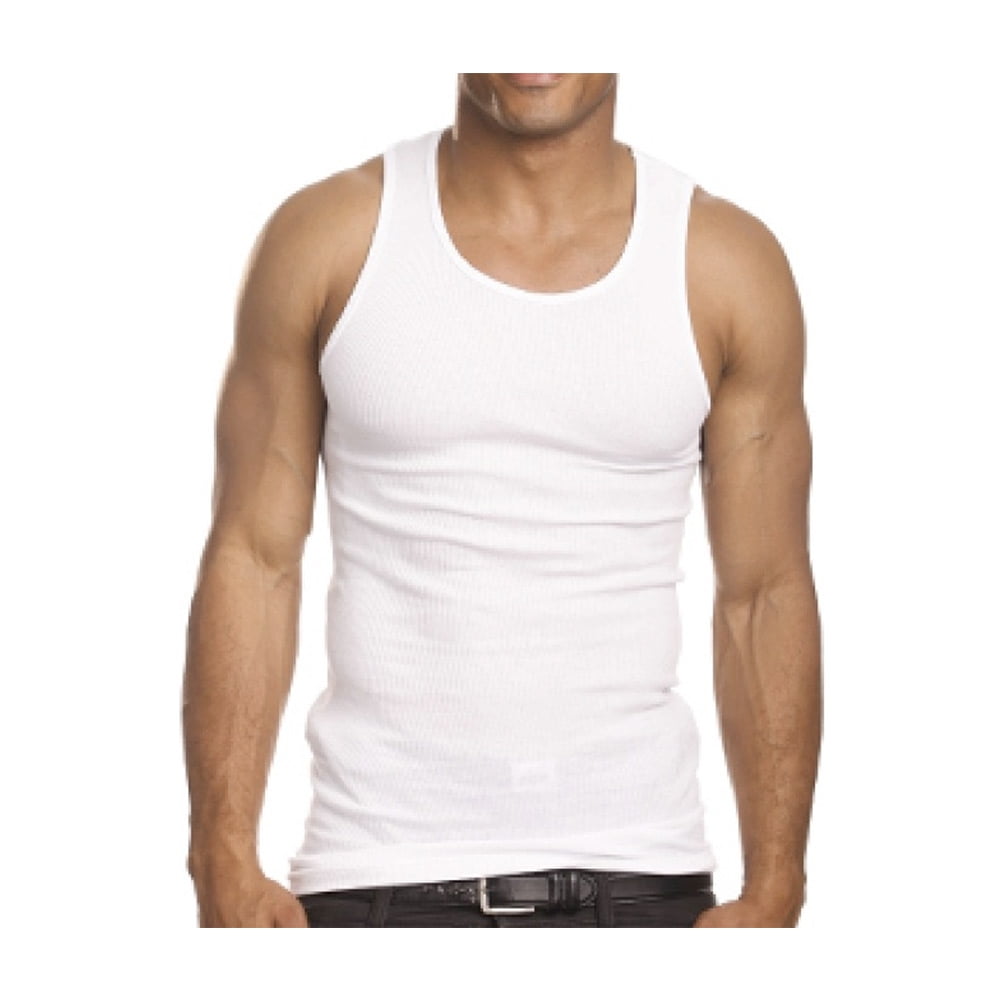
Credit: www.walmart.com
Tools And Materials You’ll Need
To tank top a shirt, you don’t need many tools. Here’s what you should gather:
- Scissors: Sharp fabric scissors are best. Dull scissors can create jagged edges.
- Chalk or Fabric Marker: For marking your cutting lines.
- Measuring Tape or Ruler: Helps with even lines and symmetry.
- Pins or Clips: To keep fabric in place while marking or cutting.
- Needle and Thread or Sewing Machine: Optional, for finishing edges.
- Iron: For pressing seams if you sew the edges.
- Safety Pins: For pinning before cutting, especially useful for beginners.
- Pattern Paper or Cardboard (optional): If you want to create a reusable template.
Having the right tools makes the process easier and gives a cleaner result. If you don’t have fabric scissors, use the sharpest pair you own, but be extra careful.
Planning Your Tank Top Style
Before you cut, decide what kind of tank top you want. There are a few popular styles:
- Classic tank: Standard armholes and a round neckline.
- Racerback: Armholes curve toward the center of the back.
- Muscle tank: Larger, deeper armholes and a boxier fit.
- Crop tank: Shortened length for a cropped look.
- Tie-back or knotted: Extra length at the bottom to tie a knot.
If you have a favorite tank top, you can use it as a guide by laying it over your shirt and tracing the shape. Otherwise, sketch your design on paper or directly on the shirt with chalk.
How To Tank Top A Shirt: Step-by-step Guide
Turning a shirt into a tank top is easier than you might think. Here’s a clear, step-by-step process, with tips for each stage.
1. Wash And Iron The Shirt
Start with a clean, dry shirt. Iron it flat to remove wrinkles. This helps your cuts stay straight and even.
2. Lay Out Your Shirt
Find a flat, clean surface like a table or large desk. Lay your shirt flat, smoothing out any folds or bumps. Make sure the seams line up, especially at the shoulders and sides.
3. Mark Your Cutting Lines
Use chalk or a fabric marker to draw where you’ll cut:
- Neckline: Decide how low you want the front and back to go.
- Armholes: Mark curves under the shoulder seams. For a classic tank, the curve starts at the shoulder seam and ends just above the side seam.
- Strap Width: Most tank tops have shoulder straps that are 1–2 inches wide. Measure and mark evenly on both sides.
- Length: If you want a crop tank, measure the desired length from the shoulder and mark a straight line.
Double-check your lines for symmetry. If you want both sides to match perfectly, fold the shirt in half and mark one side, then cut through both layers.
4. Pin The Fabric
Pin along your cutting lines, especially if your fabric is slippery. This keeps both layers together and makes for cleaner cuts.
5. Cut The Sleeves
Start with the sleeves. Cut just outside your marked line to allow for adjustments. Use smooth, long cuts rather than short snips for a cleaner edge. If you’re nervous, cut less first—you can always trim more.
6. Cut The Neckline
Cut along your marked neckline. Start with a shallow curve; you can always cut more if needed. For a racerback, curve the back neckline more deeply and bring the armholes closer together at the back.
7. Cut The Bottom (if Cropping)
If you want a cropped tank, measure the length from the shoulder, mark with a ruler, and cut straight across. Try on the shirt before making the final cut to be sure you like the length.
8. Try It On And Adjust
Put on your tank top and check the fit. Look for:
- Armhole size and shape
- Neckline depth
- Strap width
- Overall length
Make any needed adjustments, trimming carefully.
9. Finish The Edges (optional)
Raw edges will curl after washing, which some people like. If you want a cleaner look, there are a few ways to finish the edges:
- Fold and sew: Fold the edge over about 1/4 inch, pin, and sew with a straight stitch.
- Use bias tape: Sew bias tape around the edges for a professional finish.
- Serge or zigzag: If you have a sewing machine, use a zigzag stitch or serger on the raw edges.
Finishing the edges helps prevent stretching and fraying, especially with frequent washing.
10. Wash And Wear
After you finish, wash your tank top to let the edges settle. Iron if needed. Now, your custom tank top is ready to wear!
Tips For A Professional Finish
Getting a clean, stylish tank top takes more than just cutting a shirt. Here are some expert tips for a better result:
- Cut less first: You can always remove more fabric, but you can’t put it back.
- Use sharp scissors: Dull blades make rough, uneven edges.
- Measure twice, cut once: Double-check all your lines and measurements.
- Fold and mirror: Fold the shirt in half vertically before cutting to ensure both sides are the same.
- Test on an old shirt: If you’re new, practice on a shirt you don’t mind ruining.
- Finish the edges: A quick hem or bias tape can make your tank top look store-bought.
Two things beginners often miss: First, the importance of even straps—uneven straps can make the tank top uncomfortable and look awkward. Second, the way fabric stretches after cutting—especially cotton, which can curl at the edges or lose shape if not handled gently.
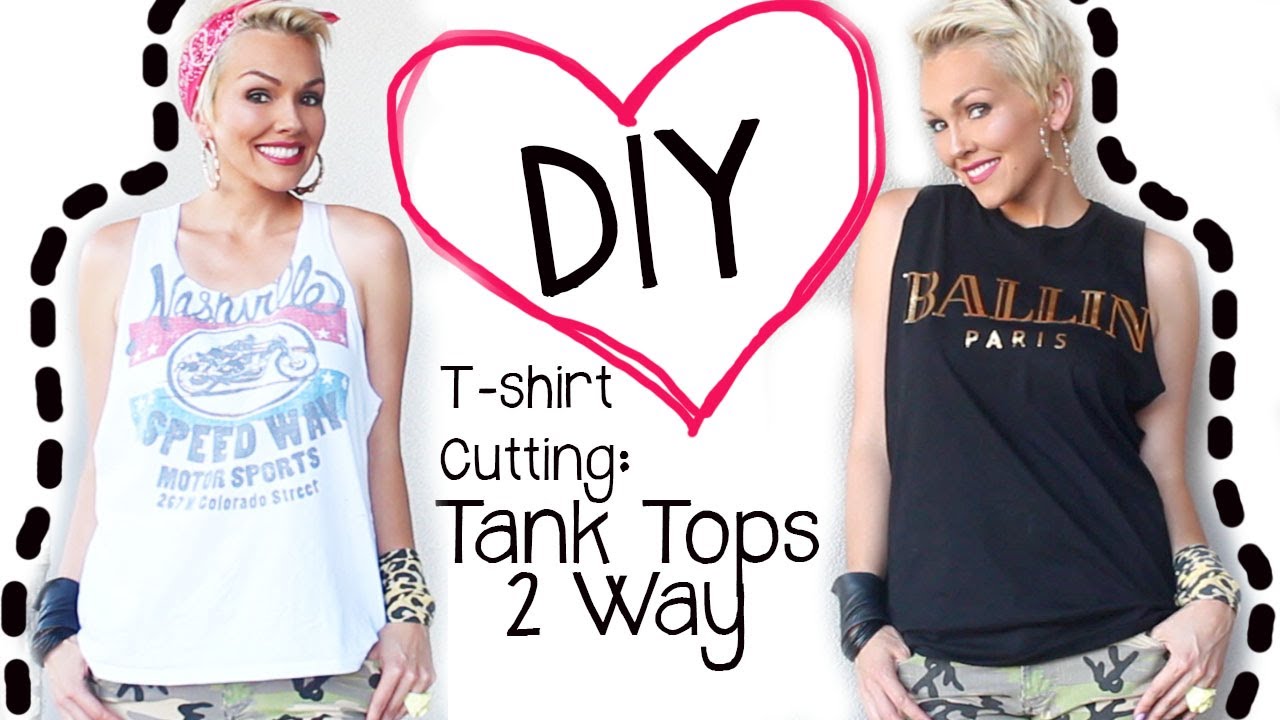
Credit: www.youtube.com
Common Mistakes And How To Avoid Them
DIY projects often come with small problems. Here’s how to avoid the most frequent mistakes:
- Cutting too much at once: Always start with a conservative cut. You can trim more later.
- Uneven armholes: Use a ruler and fold the shirt in half to ensure symmetry.
- Fraying edges: If your fabric frays easily, finish the edges with a zigzag stitch or bias tape.
- Neckline too low: Mark your desired neckline, but cut just above it at first. Try it on before trimming more.
- Wavy cuts: Cut slowly and use long, smooth motions for clean lines.
- Straps too thin: Thin straps can stretch and break. Keep them at least 1 inch wide for durability.
A smart trick: after the first wash, check the tank for stretching or curling. If the armholes or neckline have stretched too much, you can add a quick stitch or sew in elastic for a better fit.
Creative Ideas For Custom Tank Tops
Once you master the basic method, you can get creative. Here are some ideas to personalize your tank top:
- Add iron-on patches or fabric paint for a unique look.
- Tie-dye your shirt before or after cutting for colorful patterns.
- Sew on lace or ribbon along the neckline or armholes.
- Cut fringe at the bottom for a boho style.
- Add a pocket from another shirt for contrast.
Experimenting with these ideas can make your DIY tank top truly one-of-a-kind.
Tank Top Styles: Comparison
Different tank top styles give different looks and comfort. Here’s a helpful comparison:
| Style | Main Features | Best For |
|---|---|---|
| Classic Tank | Regular armholes, round neckline, moderate fit | Everyday wear |
| Racerback | Armholes curve to center back, narrow straps | Sports, activewear |
| Muscle Tank | Large armholes, boxy shape | Workouts, casual style |
| Crop Tank | Shortened length, any armhole style | Summer, layering |
Knowing the differences helps you plan your cut and pick the style that fits your needs.
Tank Top Vs. T-shirt: Key Differences
Understanding how a tank top compares to a regular t-shirt helps you set realistic expectations for your DIY project.
| Feature | T-Shirt | Tank Top |
|---|---|---|
| Sleeves | Yes, short or long | No sleeves |
| Neckline | Higher, round or v-neck | Lower, more open |
| Fit | Standard or loose | Can be loose or fitted |
| Usage | All seasons | Hot weather, sports |
Tank tops are more breathable and better for hot weather or workouts, while t-shirts offer more coverage.
How To Make A Tank Top Without Sewing
If you don’t want to sew, you can still make a tank top with a few extra tricks:
- Cut slightly inside your marked lines. The raw edges will curl, giving a natural finish.
- Tug gently on the cut edges to encourage curling. This makes the edges look intentional.
- Use fabric glue on the inside if you want to prevent fraying without sewing.
- Double-knot the straps if you accidentally cut them too thin for added strength.
This no-sew method is fast and easy, but keep in mind the edges may not last as long as sewn hems, especially after many washes.
Sizing Tips For Tank Tops
Sizing is important for comfort and style. Here’s how to get the best fit:
- Measure your chest at the widest point and compare to the shirt.
- Check shoulder width. Tank tops often look better with straps that start closer to the edge of your shoulder.
- Length matters. Decide if you want a full-length or cropped top.
- Armhole size. Too small is uncomfortable, but too large can reveal too much.
If you’re unsure, start with a bigger shirt. It’s easier to make a tank top smaller than to add fabric back.
How To Use A Tank Top Pattern
Using a pattern can help you get a professional result. Here’s how:
- Buy or print a basic tank top pattern online.
- Place the pattern over your shirt and pin it in place.
- Trace the pattern with chalk or a fabric marker.
- Cut along the traced lines for a symmetrical finish.
Patterns are especially helpful if you want to make several tank tops or prefer a specific style.
How To Add A Custom Touch
Adding personal touches makes your tank top special:
- Stenciled designs: Use fabric paint and stencils for messages or art.
- Embroidery: Hand-stitch small designs or initials.
- Contrast fabric: Use a different shirt for the straps or pocket.
These small changes make your tank top unique and can turn simple clothes into statement pieces.
Care And Maintenance Of Your Diy Tank Top
Taking care of your new tank top will help it last longer:
- Wash in cold water to prevent shrinking and fading.
- Avoid harsh detergents that can weaken fabric.
- Air dry if possible to keep the fabric strong.
- Iron on low heat if needed.
If you finished the edges with a stitch, check for loose threads after washing. If you chose a raw edge, expect some curling and minor fraying over time—this is normal.
Upcycling And Sustainability
Making your own tank top is a great way to upcycle old clothes and reduce waste. According to the U.S. Environmental Protection Agency, millions of tons of clothing end up in landfills each year. DIY projects like this extend the life of your clothes and help the environment.
Another benefit: you can use scraps from the sleeves or bottom to make headbands, cleaning cloths, or even small bags.
When Not To Tank Top A Shirt
While this method works for many shirts, there are times when it’s not ideal:
- Delicate or expensive fabrics: Silk or cashmere are hard to cut and finish well.
- Shirts with important logos or prints at the sleeves: You might cut away the design.
- Shirts that are already too small: Cutting can make them too tight.
When in doubt, test your design on an older shirt first.
Example: Transforming A Graphic Tee
Let’s walk through a quick example. Say you have a favorite graphic tee that’s too tight at the arms. Lay it flat, mark the new armholes wider, and cut away the sleeves just outside your marks. Trim the neckline a bit deeper for a relaxed fit.
Try it on, adjust as needed, and sew a quick hem around the openings for a polished look. Now you can keep wearing your favorite graphic design in a fresh, comfortable style.

Credit: www.wikihow.com
Comparing Diy Vs. Store-bought Tank Tops
You might wonder: is it worth making your own tank top? Let’s compare.
| Aspect | DIY Tank Top | Store-Bought Tank Top |
|---|---|---|
| Cost | Low (reuse old shirt) | Medium to high |
| Customization | Full control | Limited |
| Time | 30 minutes to 1 hour | Instant |
| Skill Needed | Basic DIY | None |
| Sustainability | High | Varies |
DIY tank tops are affordable and eco-friendly, but require a bit of time and effort. Store-bought ones are fast, but less personal.
Frequently Asked Questions
How Can I Stop The Edges Of My Tank Top From Fraying?
To prevent fraying, finish the edges with a zigzag stitch, bias tape, or fabric glue. If you like a raw look, expect some minor fraying, but most cotton shirts will only fray a little after washing.
Can I Turn Any Shirt Into A Tank Top?
Most shirts can be turned into tank tops, but cotton t-shirts are the easiest. Avoid shirts made from delicate fabrics or those with complex seams. Practice on older shirts if you’re unsure.
Do I Need A Sewing Machine To Tank Top A Shirt?
No, a sewing machine is not required. You can cut and leave the edges raw, or hand-sew the hems if you prefer. A sewing machine makes finished edges faster and neater, but is optional.
What If I Cut The Armholes Too Big?
If the armholes are too large, try adding fabric strips or sewing elastic inside the edges to pull them in. Alternatively, wear a sports bra or bandeau underneath for extra coverage.
Is It Possible To Make A Racerback Style Without A Pattern?
Yes, you can make a racerback by marking and cutting a deeper curve at the back neckline and bringing the armholes closer together in the back. Use a favorite racerback tank as a guide, or look up images for reference.
Transforming a shirt into a tank top is a fun, practical project that anyone can try. With the right steps and a bit of creativity, you can refresh your wardrobe, save money, and help the environment—all with a single shirt.