
How to Take Up Gym Leggings: Easy Steps for a Perfect Fit
How To Take Up Gym Leggings
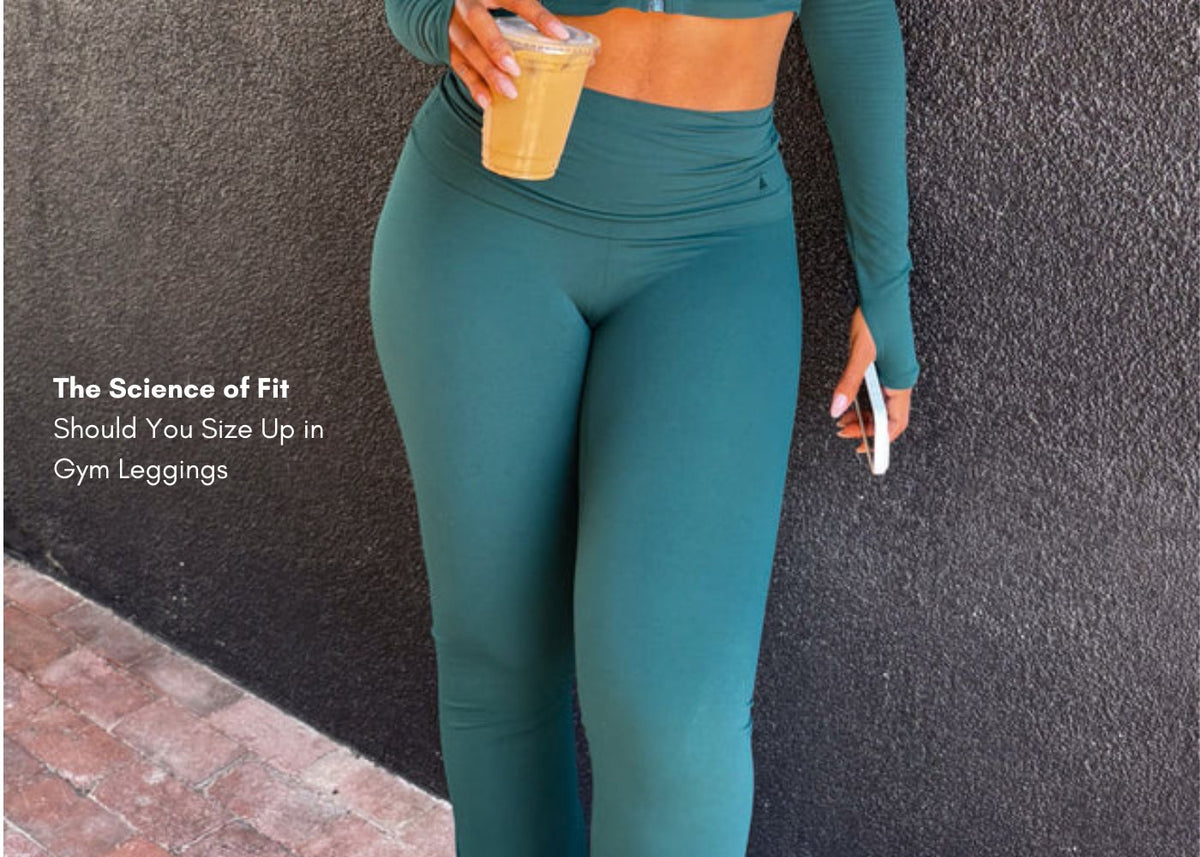
Finding the right gym leggings can transform your workout experience. But even the best leggings won’t fit perfectly every time. Sometimes, the legs are too long, the waistband too high, or the fit just isn’t right for your body. Instead of tossing them aside, you can learn how to take up gym leggings and make them truly yours.
This guide will walk you through everything you need to know, from the tools you’ll need to professional tips for a flawless finish.
Why Adjusting Your Gym Leggings Matters
Gym leggings are a wardrobe staple for fitness lovers. But mass-produced options rarely match every body type. If your leggings are too long, they can bunch at the ankles, look sloppy, or even cause you to trip during exercise. Waistbands that sit too high or low can slip, twist, or feel uncomfortable.
Customizing your leggings ensures they complement your movement, style, and comfort. It can also extend the life of your activewear, saving you money and reducing waste.
Even small changes—like hemming the legs or adjusting the rise—can make a big difference. You’ll move more freely, feel more confident, and avoid common workout distractions like rolling waistbands or sagging fabric.
Common Reasons To Take Up Gym Leggings
People decide to take up their gym leggings for various reasons. Here are some of the most frequent:
- Leg length is too long – The leggings bunch at the ankle or drag on the floor.
- Waistband sits too high – Causes discomfort or doesn’t match your torso length.
- Improper fit for body shape – Standard sizes don’t always fit curvy, petite, or tall frames.
- Personal style preferences – Some prefer a cropped look or want a specific ankle height.
- Fabric stretching over time – Repeated washing and wearing can cause leggings to stretch and lose shape.
- Performance issues – Extra fabric can hinder movement, especially during activities like yoga or running.
Recognizing why you want to adjust your leggings helps you choose the best method and avoid unnecessary work.
Credit: shopvitality.com
Tools And Materials You’ll Need
Before you start, gather these essentials for a smooth process:
- Sharp fabric scissors – For clean, even cuts.
- Sewing machine (preferably with a stretch stitch) or a needle and thread for hand sewing.
- Matching thread – To keep seams invisible.
- Seam ripper – For undoing stitches if needed.
- Pins or fabric clips – To hold fabric in place while sewing.
- Measuring tape – For accurate adjustments.
- Chalk or washable fabric marker – To mark cut lines.
- Iron and ironing board – To press seams flat.
- Stretch twin needle (optional) – For a professional double-stitch hem.
- Elastic (if adjusting waistband) – To replace or adjust the waistband if necessary.
Not every project will require all these tools, but being prepared can prevent frustration and mistakes.
Measuring For The Perfect Fit
The first step in adjusting your gym leggings is getting the measurements right. Here’s how to do it:
Measuring Leg Length
- Put on the leggings and stand in front of a full-length mirror.
- Decide where you want the leggings to end (ankle, mid-calf, etc. ).
- Use pins or clips to mark the desired length on one leg while standing straight.
- Use a measuring tape to check the distance from the crotch seam to the new hemline.
- Remove the leggings and lay them flat. Transfer the measurement to the other leg for symmetry.
Measuring Waistband Height
- Fold or roll the waistband to your desired height while wearing the leggings.
- Mark the new top edge with chalk or a pin.
- If removing excess waistband, measure the amount to be trimmed.
Allowing For Hem And Stretch
Always add extra fabric (usually ½ to 1 inch) for folding under the hem. This prevents the leggings from ending up too short.
Common Measuring Mistakes
- Measuring while sitting instead of standing (can change the fit)
- Forgetting to account for seam allowance
- Marking only one leg and not matching the other
Taking time with this step leads to professional-looking results.
Methods For Taking Up Gym Leggings
There are several ways to shorten or adjust your gym leggings. The right method depends on your tools, skills, and the leggings’ construction.
1. Simple Fold And Sew (most Common)
This technique is great for shortening legs or adjusting the waistband.
Steps:
- Try on leggings and mark the new length with chalk.
- Take them off and lay flat.
- Cut off extra fabric, leaving ½ to 1 inch for the hem.
- Fold the raw edge to the inside, pin in place.
- Sew around the edge using a stretch stitch or zigzag on your machine. If sewing by hand, use a small backstitch.
- Press the seam with an iron for a crisp finish.
2. No-sew Hem With Fabric Tape
If you don’t have a sewing machine, fabric tape is an alternative for minor adjustments.
Steps:
- Mark and cut the leggings as above.
- Place double-sided fabric tape on the inside of the hem.
- Fold the edge over and press firmly.
- Follow the tape instructions for washing and drying—some are permanent, others are temporary.
Downside: This method is less durable and may not hold up to heavy exercise or frequent washes.
3. Using A Stretch Twin Needle (advanced Finish)
For a store-bought look, use a stretch twin needle on your sewing machine.
Steps:
- Mark, cut, and fold the hem as before.
- Sew with the twin needle, which creates two parallel lines of stitching on the outside and a stretchy zigzag on the inside.
- Press the hem flat.
This method gives a professional finish, especially on high-quality leggings.
4. Waistband Adjustment
If the waistband is too high or loose:
- Remove the original waistband carefully using a seam ripper.
- Trim the excess fabric from the top, making sure to keep the cut even.
- If there’s elastic, check if it needs to be shortened or replaced.
- Reattach the waistband (or sew a new casing for elastic) using a stretch stitch.
Tip: Always try on the leggings after pinning but before sewing to check comfort.
5. Creating A Cropped Or Capri Style
Transform full-length leggings into cropped or capri leggings for warmer weather or style.
- Decide the new length and mark it while wearing the leggings.
- Cut, fold, and hem as described above.
- Try on after sewing to check the look and fit.
Sewing Techniques For Stretch Fabric
Gym leggings are usually made from stretchy materials like spandex, nylon, or polyester blends. Using the right sewing methods is crucial.
Choosing The Right Stitch
- Stretch stitch (lightning bolt stitch) – Allows the seam to stretch without breaking.
- Zigzag stitch – Simple alternative if your machine doesn’t have a stretch stitch.
- Overlock/serger – For finishing raw edges and professional seams.
- Hand sewing – Use a small backstitch and stretch the fabric slightly as you sew.
Needle Choice
Use a ballpoint needle or stretch needle to avoid damaging the fabric. Regular needles can cause snags or holes.
Thread Tension And Settings
Test on a fabric scrap first. If the seam is too tight, it may snap during wear. Adjust thread tension for a balanced, flexible seam.
Finishing Hems
Always press hems with an iron (on low heat) after sewing. This sets the stitches and smooths the edge.
Hemming Vs. Altering: What’s The Difference?
It’s important to know the difference between hemming and altering:
- Hemming: Shortening the length by folding up and sewing the edge. Simple and quick.
- Altering: Making bigger changes, such as adjusting the waistband, tapering the legs, or reshaping the entire fit.
Hemming works for minor adjustments, while altering is needed for leggings that are too loose, too tight, or need reshaping. If you’re not confident, professional tailors can handle complex alterations, especially for expensive or technical leggings.
Step-by-step Example: Shortening Leg Length
Let’s walk through a common scenario—your gym leggings are too long.
- Try on and mark: Put on your leggings, stand tall, and mark where you want the new hem to fall.
- Measure and match: Lay leggings flat, use a measuring tape to ensure both legs are the same length, and mark a straight line.
- Cut carefully: Use sharp fabric scissors to cut along the marked line, leaving extra for the hem.
- Pin and fold: Fold the fabric under, pin in place, and check that the folds are even.
- Sew the hem: Use a stretch stitch or zigzag around the edge. Remove pins as you sew.
- Press and finish: Iron the seam flat for a neat look.
This simple process can be adapted for different lengths and styles.
Table: Pros And Cons Of Diy Vs. Professional Alterations
Here’s a comparison of doing it yourself versus hiring a professional.
| Method | Pros | Cons |
|---|---|---|
| DIY Alteration | Low cost, fully customizable, learn new skills | Time-consuming, requires tools, risk of mistakes |
| Professional Tailor | Expert finish, saves time, ideal for expensive leggings | Higher cost, less control over fit, may take several days |
Table: Common Types Of Gym Leggings And Ease Of Alteration
Different leggings need different approaches.
| Type of Legging | Material | Ease of Hemming | Special Considerations |
|---|---|---|---|
| Basic Stretch | Polyester/Spandex | Easy | Use stretch stitch, match thread color |
| Compression | Nylon/Spandex | Moderate | Maintain tight fit, avoid overstretching seams |
| Seamless | Knitted blends | Challenging | Raw edge may curl, hemming may show |
| Patterned | Printed fabric | Easy to moderate | Align patterns, avoid visible stitching |
Table: Hem Allowance Recommendations
How Much Extra Fabric Should You Leave For The Hem?
| Style | Hem Allowance | Notes |
|---|---|---|
| Ankle Legging | 1 inch | Allows for a secure double-fold hem |
| Capri/Cropped | 0.75 inch | Shorter styles need less allowance |
| Raw Edge/No Hem | 0.25 inch | Only for non-fraying knits |
Dealing With Special Features
Some gym leggings come with mesh panels, zippers, or reflective strips. Altering these requires extra care:
- Mesh panels: Avoid cutting through mesh; adjust only solid fabric areas.
- Zippers: If the leg has a zipper, move or reattach it after hemming.
- Reflective strips: Keep strips visible and symmetrical on both legs.
If you’re unsure, consult a tailor for these tricky features.

Credit: www.walmart.com
Tips For A Professional Finish
- Use matching thread for invisible seams.
- Sew slowly to avoid uneven stitches.
- Test stitches on scrap fabric first.
- Try on leggings before final sewing to confirm fit.
- Press seams with a cool iron for a polished look.
- Reinforce stress points like the crotch or waistband.
- Wash inside out after hemming to protect new seams.
Pro insight: Stretch fabric slightly as you sew. This prevents the seam from popping when you put on the leggings.
Common Mistakes And How To Avoid Them
- Cutting too much fabric: Always measure twice and cut once. It’s better to trim a little at a time.
- Using the wrong stitch: Straight stitches will break. Always use a stretch stitch or zigzag.
- Not accounting for hem allowance: Leggings will end up too short.
- Ignoring fabric direction: Knit fabrics have a grain. Hem along the grain for smooth results.
- Skipping a test fit: Pin and try on before sewing.
One non-obvious issue: Some synthetic fabrics shrink slightly after washing, so wash and dry leggings before altering.
When To See A Professional
There are times when it’s best to consult a tailor:
- Expensive or technical leggings (like those with compression panels)
- Leggings with complex features (mesh, zippers, pockets)
- Major fit changes (waist to hip reshaping)
- If you lack the right tools or sewing experience
A professional can make changes that last and look seamless. If you want to learn more about fabric types and sewing, check the Spandex Wikipedia page for a deeper understanding of the materials you’re working with.
Caring For Altered Gym Leggings
Proper care keeps your adjustments looking sharp:
- Wash on gentle cycles to protect new hems.
- Avoid high heat in the dryer; air dry when possible.
- Turn inside out before washing.
- Check seams after a few wears and reinforce if needed.
Even high-quality alterations may need occasional touch-ups, especially if you exercise intensely or frequently.
Diy Vs. Buying The Perfect Fit
Altering your leggings isn’t the only option. Some brands now offer inseam choices or custom sizing. However, if you love the style or already own a pair, DIY alteration is more affordable and eco-friendly.
Insider tip: Many athletic brands use similar fabric blends, so learning to adjust one pair can help you with others, too.
Environmental Benefits Of Adjusting Your Leggings
Customizing your gym leggings isn’t just about comfort. It’s also a sustainable choice:
- Reduces waste by extending the life of your clothes.
- Lowers demand for new production.
- Decreases textile landfill impact.
By making your leggings last, you help the planet and your wallet.
Real-life Example: A Quick Legging Hem At Home
Imagine you just bought a pair of high-waisted gym leggings online. The fabric feels great, but the legs are two inches too long. Here’s how you’d tackle this:
- Try them on and mark the new length with chalk.
- Lay flat and double-check the measurements.
- Cut off excess, leaving 1 inch for the hem.
- Fold under twice to hide the raw edge.
- Pin and sew with a zigzag stitch.
- Press the hem and try them on again.
You’ve saved money, improved the fit, and learned a new skill—all in under an hour.
How To Take Up Leggings For Different Body Types
Petite: Shorten the leg and possibly adjust the rise for a better fit.
Tall: Sometimes, you need to add fabric or a cuff if leggings are too short, but most often, tall people just avoid hemming.
Curvy: Choose a tapered hem to keep the leggings close-fitting at the ankle.
Athletic: For muscular calves, check that the new hem doesn’t make the leg too tight at the bottom.
A custom fit means better comfort and confidence for every body shape.
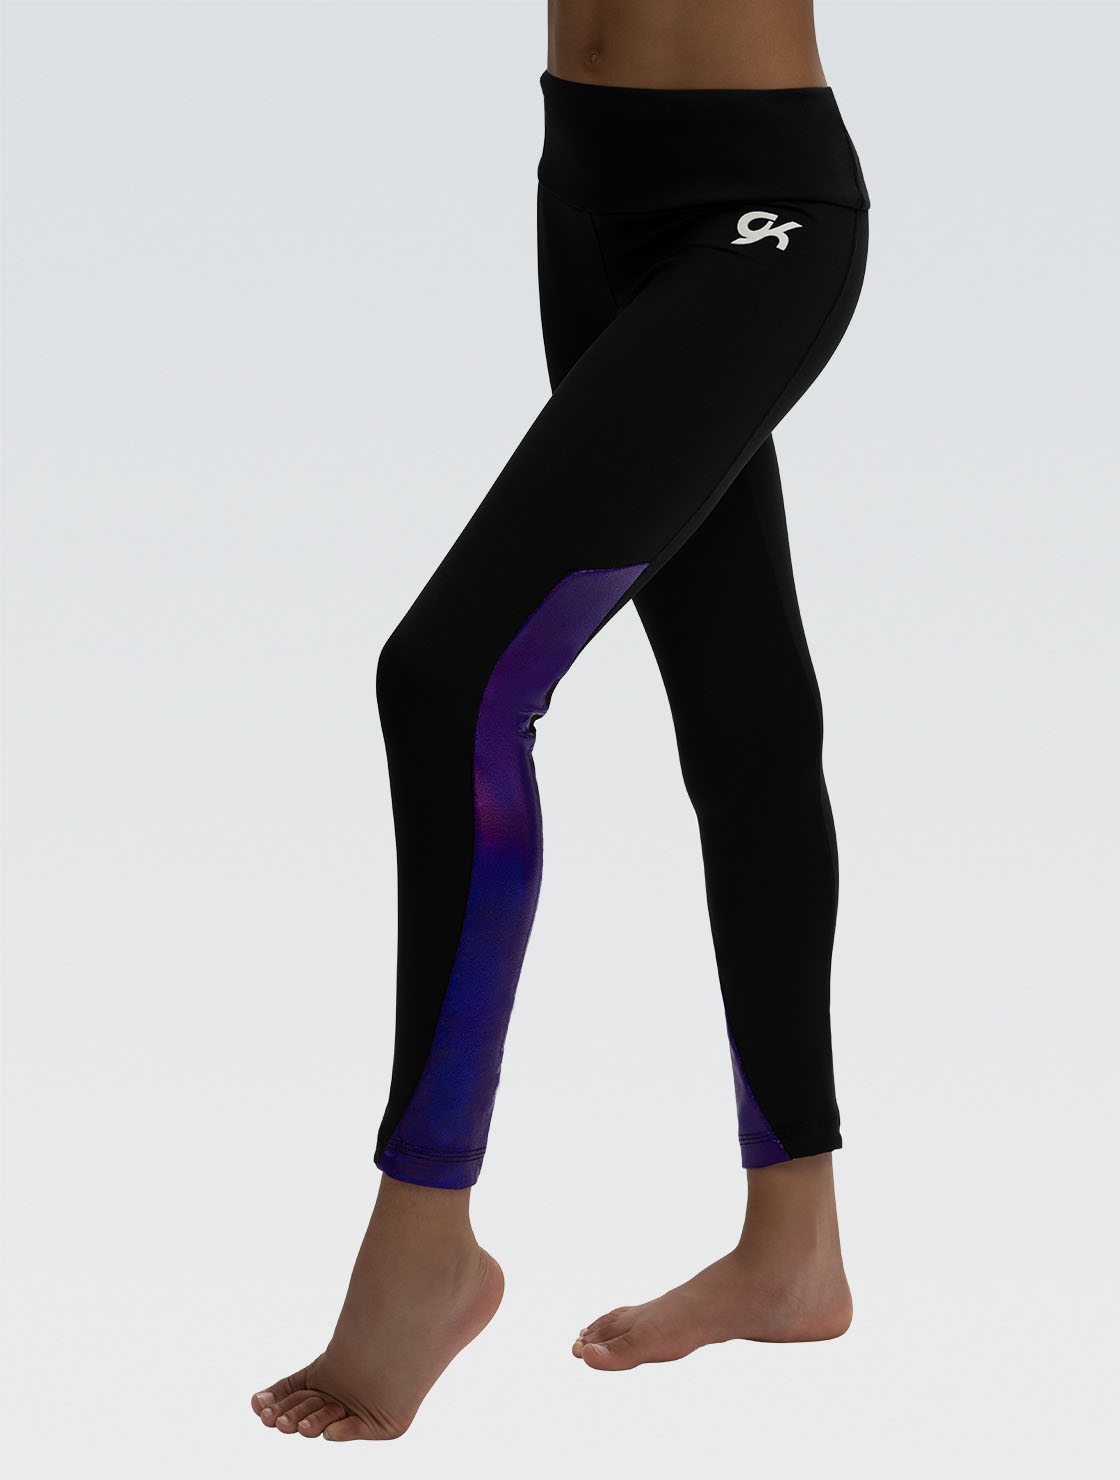
Credit: www.gkelite.com
What To Do With Leftover Fabric
Don’t throw away scraps after hemming! Use them for:
- Headbands or hair ties
- Test swatches for future sewing projects
- Cleaning cloths
Repurposing even small pieces supports a zero-waste approach.
Practice Makes Perfect
The first time you alter gym leggings, you might feel nervous. Start with an old or inexpensive pair. With practice, your confidence and skill will grow. Soon, you’ll be able to adjust any activewear to your exact needs.
Frequently Asked Questions
How Do I Hem Gym Leggings Without A Sewing Machine?
You can use fabric tape for a no-sew hem. Cut leggings to the desired length, apply double-sided fabric tape inside the hem, fold, and press. For more durability, hand-sew a small backstitch using a ballpoint needle and stretch thread.
Will Hemming Gym Leggings Ruin The Stretch?
If you use a stretch stitch (or zigzag stitch) and a ballpoint needle, the leggings will keep their stretch. Avoid straight stitches, as they can break when the fabric stretches.
Can I Shorten Leggings With Mesh Panels Or Zippers?
Yes, but with care. Avoid cutting through mesh. If a zipper is at the hem, you’ll need to remove and reattach it or finish the new edge carefully. For complex features, consider professional help.
How Much Should I Cut Off When Hemming?
Always leave at least ½ to 1 inch of extra fabric for the hem. Try on the leggings and mark the new length while standing, then cut off the excess. Err on the side of caution; you can trim more if needed.
What Is The Best Stitch For Hemming Gym Leggings?
A stretch stitch or zigzag stitch on a sewing machine is best. If sewing by hand, use a small backstitch and stretch the fabric slightly as you go. This keeps the hem flexible and durable.
Making your gym leggings fit perfectly is not only possible—it’s practical and empowering. With the right tools, a bit of patience, and these tips, you can tackle any legging adjustment project and enjoy a better workout experience.