

How to Make Your Own Graphic Hoodies: Step-by-Step Guide
How To Make Your Own Graphic Hoodies
Graphic hoodies are more than just comfortable clothing; they’re a way to express your personality, support a cause, or show your creativity. Whether you want a unique fashion statement, a group hoodie for friends, or a small batch for your brand, making your own graphic hoodies can be surprisingly easy and very rewarding.
You do not need to be a professional designer to start. With some basic tools, simple steps, and a bit of imagination, you can create graphic hoodies that look professional and match your style.
People of all ages love hoodies because they’re practical and stylish. A graphic hoodie adds something special—a design, logo, or artwork that catches the eye. But store-bought options can be expensive and not personal enough. Making your own lets you control every detail, from fabric color to print technique, and even the placement of your design.
This guide will show you exactly how to do it, step by step, with useful tips that even beginners often miss. By the end, you’ll feel confident to make a graphic hoodie that’s uniquely yours.
Choosing The Right Hoodie
The base hoodie you choose is very important. Quality, fit, and fabric type all affect the final result.
Fabric Types
Hoodies come in different fabrics:
- Cotton: Soft, breathable, easy to print on, but can shrink if not pre-shrunk.
- Polyester: Keeps color well, doesn’t shrink, but less breathable.
- Blends (Cotton/Polyester): Mix of comfort and durability, great for printing.
- Fleece: Very warm and soft, good for cold weather.
For most projects, a cotton or cotton-blend hoodie is best. They hold color well and are comfortable. Avoid hoodies with too much texture, as prints can look uneven.
Fit And Style
Think about who will wear the hoodie. Do you prefer a relaxed fit or a slim fit? Pullover or zip-up? Choose a style that matches your design and purpose. For example, a zip-up hoodie isn’t best for large center graphics because the zipper will split the design.
Color
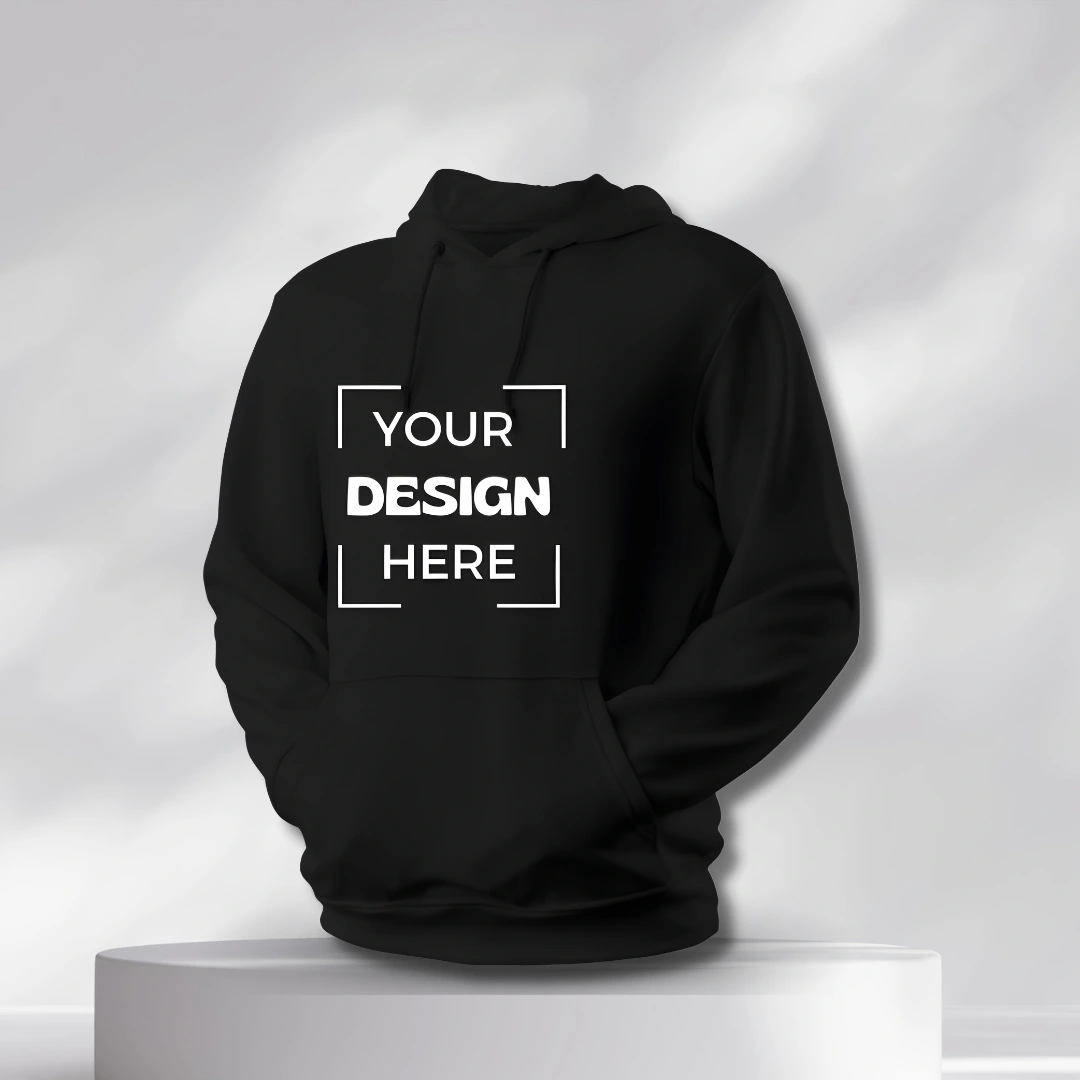
Lighter colors are easier to print on, especially for beginners. White, gray, and pastels are good choices. Dark colors need special inks or vinyl, which can be harder to work with. If you want a black hoodie, choose printing methods that work well on dark fabric.
Sizing
If you’re making hoodies for others, check their sizes first. Most blank hoodie sellers have size charts—compare measurements to avoid ordering the wrong fit.
Where To Buy
You can buy blank hoodies online or in local stores. Popular options are Gildan, Hanes, and Bella+Canvas. Online shops like Amazon, Michaels, and specialty suppliers offer bulk discounts.
Non-obvious tip: Always wash and dry your hoodie before starting. This helps avoid shrinking or wrinkling after you add your graphic.
Planning Your Graphic Design
A great hoodie starts with a great graphic. Take time to plan your design before you print.
Finding Inspiration
Look at what you like. Check social media, clothing brands, or art sites for ideas. Notice what catches your eye and why. Save or sketch ideas that inspire you.
Design Basics
Your graphic can be anything: text, logos, drawings, or photos. Keep these points in mind:
- Simplicity works best: Bold, simple designs are easier to see and print.
- High contrast: Light designs on dark hoodies, dark designs on light hoodies.
- Size matters: Measure your hoodie and decide how big you want the graphic.
- Placement: Center chest is most common, but left chest, back, sleeves, or hood are also options.
Creating Your Design
You don’t need expensive software. Free tools like Canva or Photopea are enough for simple graphics. For more control, try Adobe Illustrator or CorelDRAW.
Practical tip: Always create your design in high resolution (300 DPI or higher). Low-quality images look blurry when printed.
File Types
Save your design as a PNG (with transparent background) for most printing methods, or SVG for vinyl cutting. Avoid JPG because it can have background color and lower quality.
Choosing The Right Printing Method
There are several ways to add your graphic to a hoodie. The best method depends on your design, budget, and how many hoodies you want to make.
Heat Transfer Vinyl (htv)
HTV uses a vinyl sheet cut into your design, then pressed onto the fabric with heat.
Pros:
- Great for bold, single-color designs
- Very durable
- Works well on cotton and blends
Cons:
- Not ideal for photos or complex gradients
- Needs a vinyl cutter (Cricut, Silhouette) and a heat press or iron
Screen Printing
Ink is pushed through a mesh screen onto the fabric.
Pros:
- Ideal for large quantities
- Bright, long-lasting colors
- Works on most fabrics
Cons:
- Set-up is complex for beginners
- Not cost-effective for one or two hoodies
Direct-to-garment (dtg) Printing
A special printer sprays ink directly onto the hoodie.
Pros:
- Best for full-color, photo, or complex designs
- Soft feel, no raised texture
Cons:
- Expensive equipment
- Only works well on cotton
Sublimation Printing
A design is printed on special paper, then transferred to the hoodie with heat.
Pros:
- Great for all-over prints
- Colors don’t fade or crack
Cons:
- Only works on polyester or blends with high polyester content
- White or light-colored hoodies only
Hand Painting
Use fabric paint and brushes for a unique, artistic look.
Pros:
- 100% original
- No equipment needed
Cons:
- Takes practice
- Not as durable as other methods
Iron-on Transfers
Print your design on special paper, then transfer with an iron.
Pros:
- Cheap and easy for beginners
- Works on most hoodies
Cons:
- May not last as long
- Can feel stiff
| Method | Best For | Equipment Needed | Durability |
|---|---|---|---|
| Heat Transfer Vinyl | Simple graphics | Vinyl cutter, heat press/iron | High |
| Screen Printing | Bulk orders | Screen, squeegee, ink | Very High |
| DTG Printing | Complex images | DTG printer | High |
| Sublimation | Polyester hoodies | Sublimation printer, heat press | Very High |
| Hand Painting | Custom art | Fabric paint, brushes | Medium |
| Iron-On Transfers | Quick DIY | Printer, transfer paper, iron | Medium |
Non-obvious insight: If you want to make just one or two hoodies, consider using HTV or iron-on transfers. For larger batches, screen printing saves money.
Preparing Your Hoodie
Before you print, prepare your hoodie so the design sticks well and looks professional.
Wash And Dry
Wash the hoodie without fabric softener. This removes any chemicals or dust. Dry it fully so it won’t shrink after printing.
Iron Flat
Wrinkles can ruin a print. Iron the area where you’ll add the design until it’s smooth.
Position Your Design
Lay the hoodie flat. Mark the center point using a ruler and chalk or a washable marker. This helps keep your graphic straight.
Helpful tip: Try on the hoodie and use painter’s tape to mark the top and bottom of where you want the graphic. This is more accurate than guessing on a table.
Creating And Applying Your Graphic
The steps will depend on your chosen method. Here are step-by-step guides for the most common DIY options.
Using Heat Transfer Vinyl (htv)
- Cut the Design
- Upload your design to the vinyl cutter software.
- Mirror the image (very important).
- Cut the design out of the vinyl sheet.
- Weed the Vinyl
- Remove the extra vinyl, leaving only the design.
- Position on Hoodie
- Place the vinyl, clear side up, on your hoodie where you marked.
- Heat Press or Iron
- Set your heat press or iron (no steam) to the correct temperature (usually 300–320°F).
- Press for 10–15 seconds with firm pressure.
- Peel the Backing
- Wait a few seconds, then peel off the clear backing sheet.
- Check for Lifting
- If the vinyl lifts, press again for a few seconds.
Beginner mistake: Not mirroring your design before cutting. Always double-check before sending to the cutter.
Using Iron-on Transfers
- Print the Design
- Print your graphic onto transfer paper (use “mirror image” setting for text).
- Cut Out the Design
- Cut close to the edge for best results.
- Position and Press
- Place the transfer face down. Cover with parchment paper if required.
- Press with a hot iron (no steam) for 30–60 seconds.
- Peel Backing
- Let it cool, then peel off the backing gently.
- Set the Print
- Iron again for a few seconds with parchment paper on top for extra durability.
Pro tip: Use a flat, hard surface (not an ironing board) for more even pressure.
Hand Painting
- Sketch the Design
- Draw lightly with chalk or pencil on the hoodie.
- Paint
- Use fabric paint and brushes. Work in layers for bold color.
- Dry and Set
- Let the paint dry for 24 hours. Set the paint with an iron (follow paint instructions).
Practical tip: Place cardboard inside the hoodie to prevent paint from bleeding through.
Advanced Printing Techniques
If you want to try more professional methods, here’s what you need to know.
Screen Printing At Home
- Make a Screen
- Stretch mesh over a frame and block out areas not to be printed.
- Apply Ink
- Place screen on hoodie, add ink, and use a squeegee to pull ink across design.
- Lift and Dry
- Carefully lift the screen. Let the ink dry completely.
- Heat Set
- Heat press or iron to set the ink.
This method takes more time and practice, but gives amazing results for simple graphics.
Direct-to-garment (dtg) Printing
Most people don’t own a DTG printer because of cost. However, many print shops offer this service. You can send your design and hoodie, or buy directly from shops that let you customize online.
Non-obvious insight: If you want a photo or detailed art, find a local or online DTG service. The quality is much higher than home methods for complex designs.
Caring For Your Graphic Hoodie
To make your hoodie last, follow these care tips:
- Wash inside out to protect the design.
- Use cold water and mild detergent.
- Avoid bleach and fabric softeners.
- Hang dry or use low heat in the dryer.
- Never iron directly on the graphic.
If you used HTV, iron-on, or paint, these steps will keep your print looking fresh. For screen printed or DTG hoodies, these steps help the colors stay bright.
Common Mistakes And How To Avoid Them
Even experienced crafters make mistakes. Here are problems to watch for:
- Wrong Temperature
- Each transfer method needs a specific temperature. Too hot can scorch, too cool won’t stick.
- Design Off-Center
- Mark your placement before pressing. Use a ruler for accuracy.
- Skipping Test Prints
- Always test on scrap fabric or an old t-shirt before using your hoodie.
- Poor Quality Images
- Low-resolution images will look pixelated. Use high-resolution graphics.
- Not Washing First
- New hoodies shrink after washing. Always pre-wash to avoid a wrinkled design later.
Credit: www.greggio.com
Adding Extra Touches
A graphic hoodie doesn’t have to stop with one print. Add more creativity:
Layered Designs
Use multiple colors of HTV to make layered graphics. Cut each color separately and press in stages.
Embellishments
- Fabric patches: Sew or iron on for extra texture.
- Embroidery: Add text or outlines with a basic sewing machine.
- Rhinestones or beads: Glue or sew for sparkle.
Custom Labels
Print or sew your name or logo inside the hoodie for a professional finish.
Non-obvious insight: Use fabric markers to sign your work or add a hidden message inside the pocket.
Where To Find Inspiration And Resources
There are many places to learn and get inspired:
- Pinterest: Search “graphic hoodie ideas.”
- Instagram hashtags like #customhoodie or #diyhoodie.
- YouTube tutorials for each printing method.
- Craft blogs and forums for troubleshooting tips.
If you want to learn more about printing methods, visit Wikipedia’s T-shirt printing article for detailed explanations.

Credit: agriturismopalagetto.com
Cost And Time Comparison
How much does it cost and how long does each method take? Here’s a quick overview.
| Method | Typical Cost (per hoodie) | Setup Time | Print Time |
|---|---|---|---|
| HTV | $10–$20 | 15 min | 5–10 min |
| Iron-On | $8–$15 | 10 min | 10 min |
| Screen Printing | $5–$12 (bulk) | 1–2 hr | 2–5 min per hoodie |
| DTG (shop) | $25–$40 | None (outsourced) | — |
| Hand Painting | $7–$20 | 5 min | 30–60 min |
Practical tip: If you plan to make many hoodies, the cost per hoodie drops. For one-off projects, HTV or iron-on is most affordable.
Turning Your Hoodie Hobby Into A Business
If you enjoy making graphic hoodies, you can turn your passion into a small business. Here’s how to get started:
- Start Small: Make a few samples and ask friends for feedback.
- Set Up an Online Shop: Use Etsy, Shopify, or Instagram to reach buyers.
- Offer Customization: Let buyers choose colors, text, or designs.
- Take Quality Photos: Good pictures help sell your hoodies.
- Price Carefully: Include material, time, and shipping costs.
Beginner mistake: Undervaluing your time. Make sure your prices cover all your costs and effort.
Credit: akinz.com
Frequently Asked Questions
How Do I Keep My Graphic Hoodie From Fading?
Wash inside out with cold water and mild detergent. Hang dry if possible. Avoid ironing directly on the graphic.
Which Printing Method Is Best For Beginners?
Heat Transfer Vinyl (HTV) and iron-on transfers are easiest. They need only basic tools and give good results quickly.
Can I Print A Photo On A Hoodie At Home?
Yes, but you need a good printer and transfer paper. For best quality, use a DTG service or professional print shop.
What File Type Should I Use For My Design?
Use PNG for most home methods (HTV, iron-on) because it supports transparent backgrounds. Use SVG for vinyl cutting.
How Do I Fix A Mistake On My Hoodie?
Small mistakes can be covered with another layer of vinyl, a patch, or fabric paint. For big errors, consider turning it into a test hoodie and starting over.
Making your own graphic hoodies is fun and lets you wear exactly what you want. With the right tools, a bit of practice, and these tips, you’ll be making hoodies that look and feel amazing. Try different techniques, learn from mistakes, and soon you’ll have a closet full of original designs—or maybe even your own clothing brand.
