
How to Make Graphic Sweatshirts: Easy DIY Guide for Beginners
How To Make Graphic Sweatshirts
Graphic sweatshirts are everywhere. They are comfortable, stylish, and allow you to show off your personality or creativity. Maybe you want one with your favorite quote, a unique design, or even your own artwork. The good news? You do not need to be a professional designer or own expensive equipment to make your own.
With the right methods and tips, anyone can create high-quality graphic sweatshirts at home.
This guide will take you step-by-step through every part of the process. You will learn about choosing materials, designing graphics, using different application techniques, and even how to care for your custom sweatshirt. Whether you want to make one for yourself, as a gift, or to start a small business, this article will help you succeed.
Along the way, you will discover practical tips and avoid beginner mistakes that can ruin a project. Ready to make something awesome? Let’s get started.
Understanding The Basics Of Graphic Sweatshirts
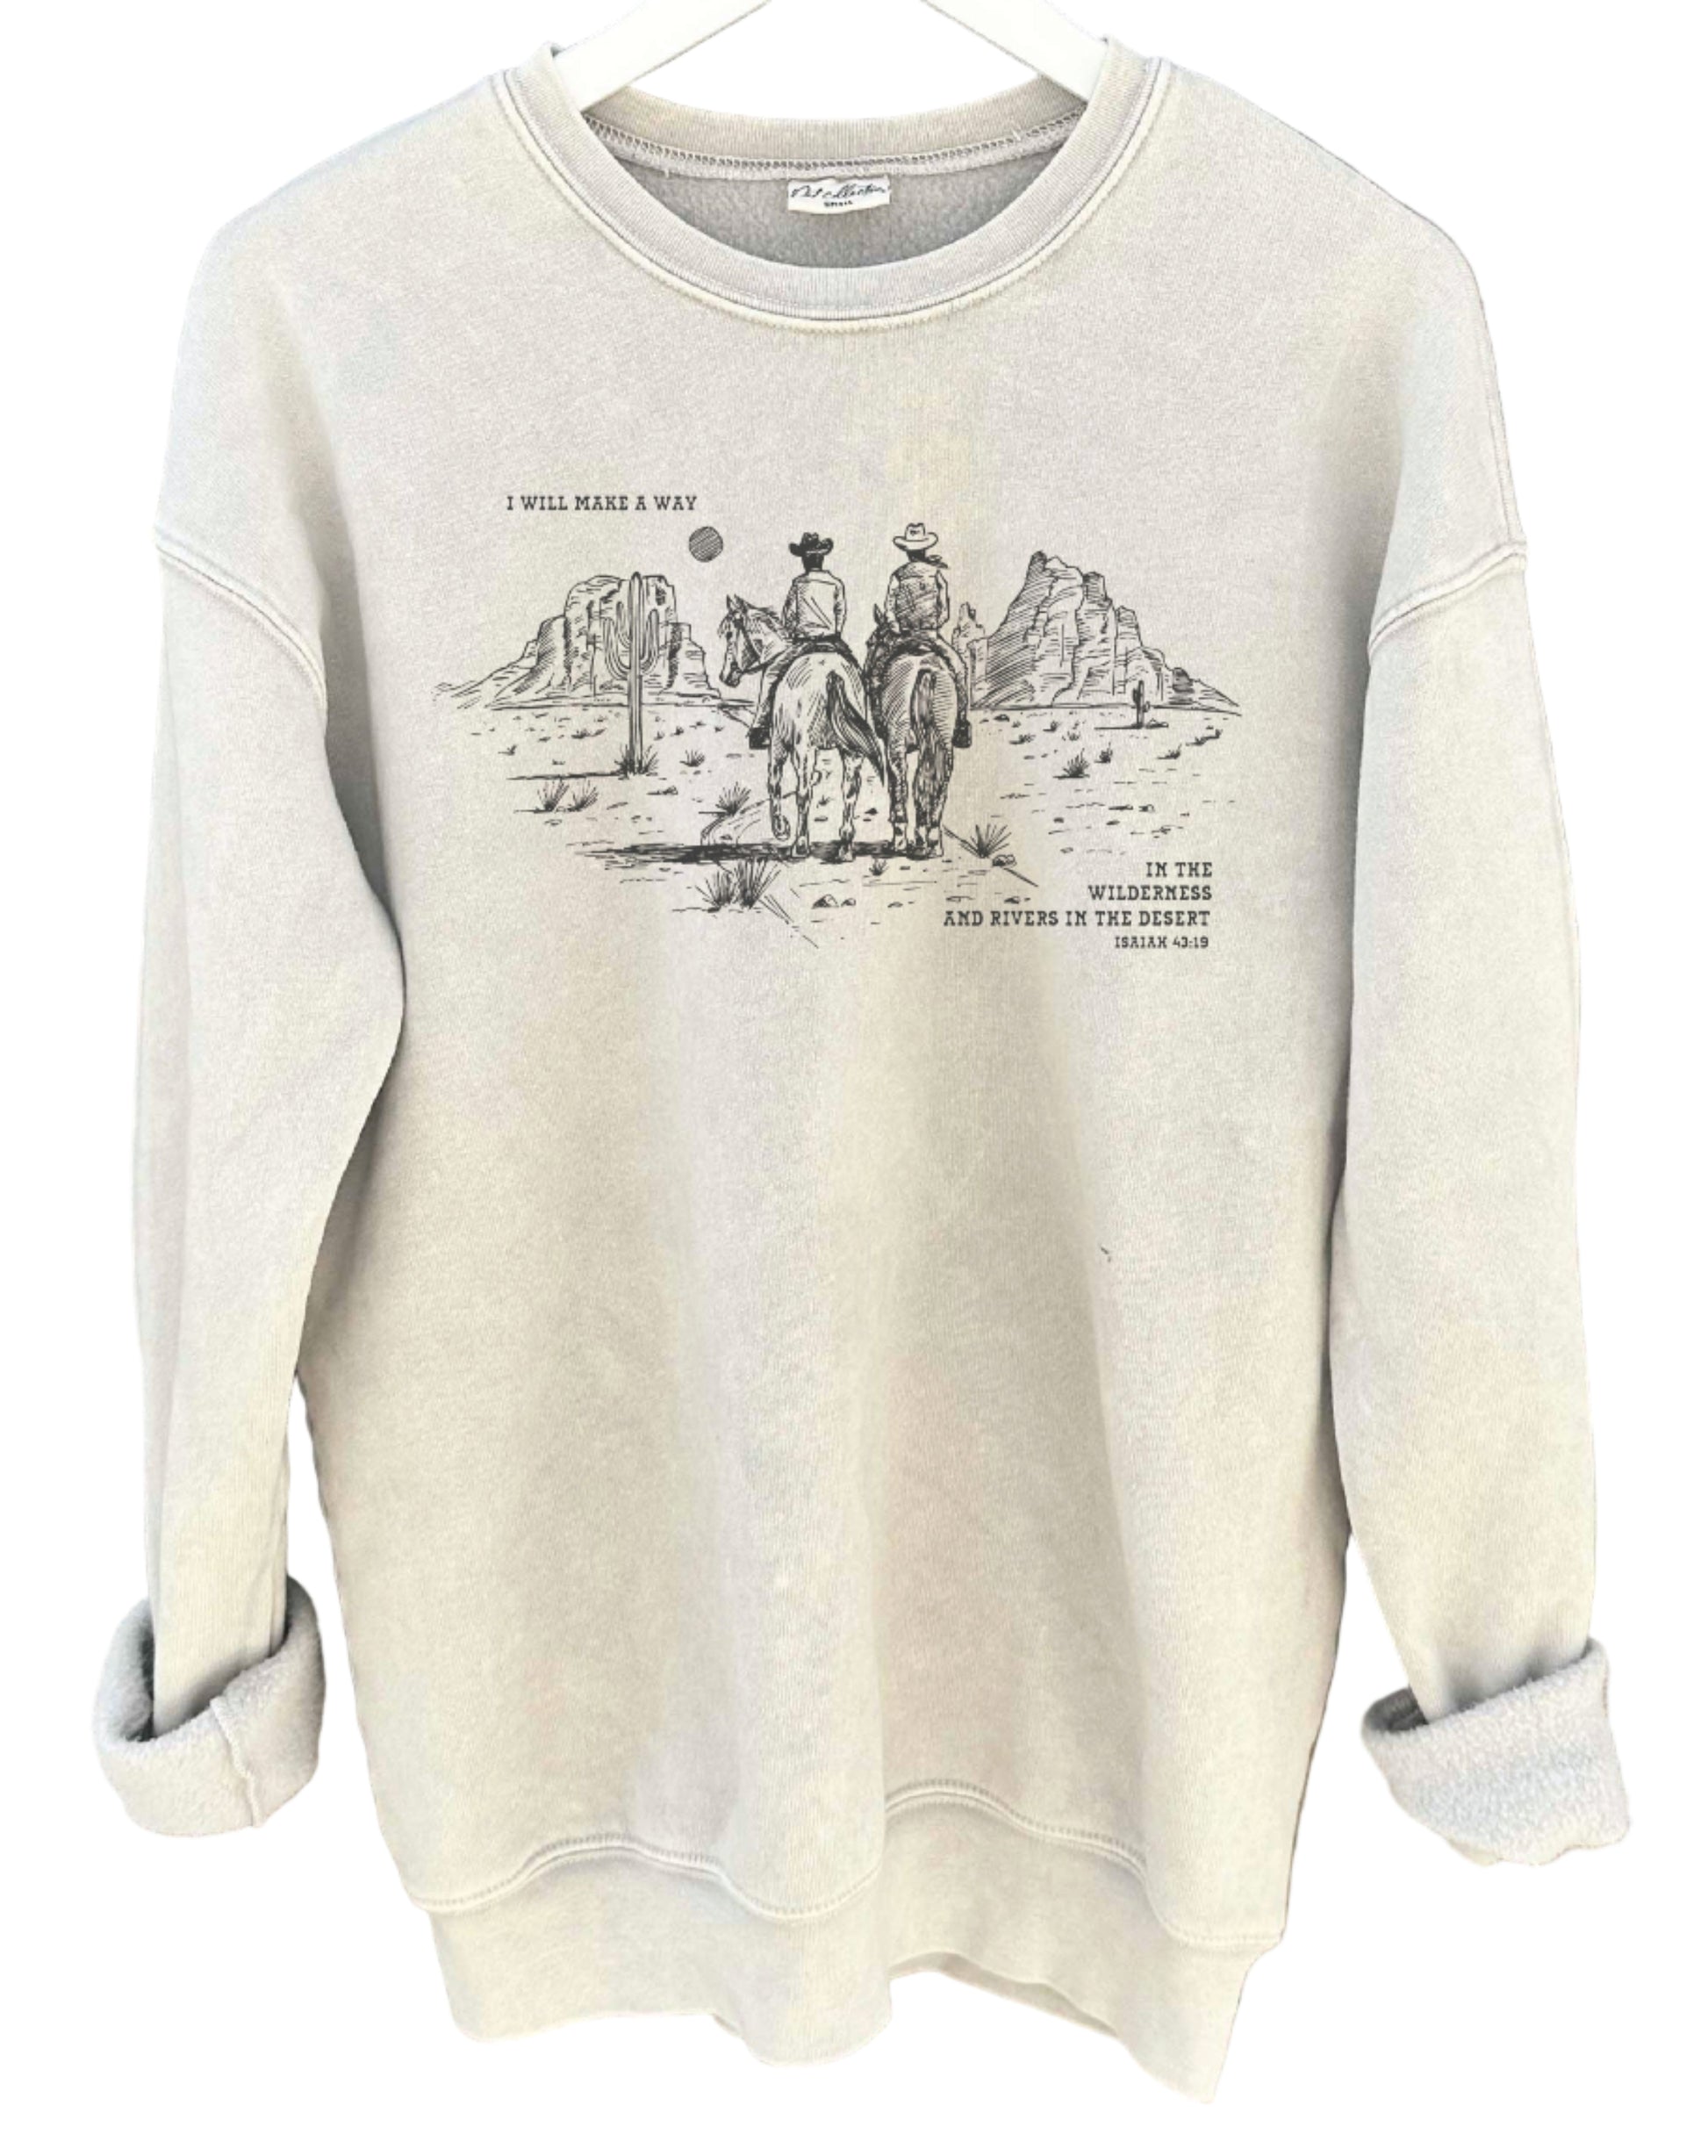
Before you begin, it helps to know what makes a graphic sweatshirt different from a plain one. A graphic sweatshirt is simply a sweatshirt with a design, image, or text added to the fabric. This could be a logo, artwork, slogan, or even a photo. The design is usually placed on the front, but you can also add graphics to the back, sleeves, or even the hood.
The style and look of your sweatshirt depend on the technique you choose to apply your graphic. Each method has its own pros, cons, and costs. Some work better for detailed images, while others are great for bold text or simple shapes.
Choosing The Right Sweatshirt
Your sweatshirt is the foundation of the project. The quality, material, and color you choose will affect both the look and feel of the finished product.
Material Matters
The most common materials for sweatshirts are cotton, polyester, or a blend of both. Each has its own benefits:
- 100% Cotton: Soft, breathable, and comfortable. Takes ink and vinyl well, but may shrink.
- Polyester: Less likely to shrink, more durable, and resists wrinkles. Works well with sublimation.
- Cotton/Polyester Blend: Offers a balance of softness and durability. Good for most methods.
Most beginners find a cotton/poly blend easiest to work with. It offers good results with heat transfer, screen printing, and vinyl.
Fit And Style
Think about the style you want. Options include:
- Crewneck: Classic, round neckline, most popular for graphics.
- Hoodie: Includes a hood and pocket, trendy for bold graphics.
- Zip-up: Front zipper, less common for large graphics but good for small logos.
Choose a fit (loose, regular, or slim) based on your preference and the look you want.
Color Choice
Lighter colors (like white, light grey, pale pink) make designs stand out, especially with dark ink or vinyl. Dark colors (black, navy, dark green) look sharp with bright or white graphics but may need special inks or techniques.
Non-obvious Insight
Many people forget to pre-wash the sweatshirt before adding graphics. Washing removes chemicals and shrinkage, which can affect how the design sticks. Always wash and fully dry the garment first.

Credit: shopimpressions.com
Designing Your Graphic
The design is the heart of your project. You can make your own or use pre-made templates.
Creating Your Own Design
If you want something unique, you can create your graphic using design software. Some popular choices are:
- Canva: Beginner-friendly, many free templates.
- Adobe Illustrator: Professional, perfect for vector graphics.
- Procreate: For hand-drawn designs on tablets.
Keep these tips in mind:
- Use high-resolution images (at least 300 dpi) for sharp prints.
- Stick to bold lines and simple colors if you are new. Intricate designs can be harder to transfer.
- Add a border around your design if you want it to stand out.
Sizing And Placement
Most graphics look best when centered on the chest. For adults, a typical size is 10-12 inches wide. For children, 7-9 inches works well.
Example Placement
- Front center: Most common.
- Back: For larger designs or text.
- Sleeve: Small logos or words.
- Hood: For tiny icons.
Using Pre-made Designs
If you are not confident in your design skills, many websites offer free or paid graphics you can use. Just make sure you have the right to use and print them, especially for selling.
Non-obvious Insight
Always print a test copy of your design on plain paper. Hold it against the sweatshirt to check size and placement before applying.
Methods To Apply Graphics
Now, let’s explore the most popular ways to put your design on a sweatshirt. Each method has its strengths and best uses.
1. Iron-on Transfers
Iron-on transfers are a great starting point. They are affordable, simple, and require very little equipment.
What You Need
- Inkjet printer
- Iron-on transfer paper
- Household iron
- Hard, flat surface (no ironing board)
Steps
- Print your design (mirrored) on transfer paper.
- Cut out the design, leaving a small border.
- Place the paper (design down) on the sweatshirt.
- Apply heat with an iron, pressing firmly for 1-2 minutes.
- Let cool, then peel off the backing.
Pros And Cons
- Pros: Easy, quick, cheap.
- Cons: Graphics may crack or fade after several washes.
Practical Tip
Use a hard surface like a wooden table. Ironing boards are too soft and can lead to uneven transfer.
2. Heat Transfer Vinyl (htv)
HTV is popular for bold text, logos, and simple shapes. It’s durable and has a professional look.
What You Need
- HTV sheets (various colors)
- Cutting machine (like Cricut or Silhouette) or sharp scissors
- Weeding tool
- Heat press or iron
Steps
- Cut your design (mirrored) from the HTV sheet.
- Weed away excess vinyl, leaving only the design.
- Place the design on the sweatshirt (shiny side up).
- Apply heat (305°F/150°C) for 10-15 seconds with pressure.
- Peel off the clear backing.
Pros And Cons
- Pros: Long-lasting, bright colors, washable.
- Cons: Not ideal for complex or photo designs.
Practical Tip
Layering different colors of HTV can create multi-color designs. Just press each layer for a few seconds before adding the next.
3. Screen Printing
Screen printing is a classic method used for most store-bought sweatshirts. It’s great for bold, simple designs and large batches.
What You Need
- Screen printing frame and mesh
- Squeegee
- Fabric ink
- Stencil (cut from vinyl or paper)
- Protective gloves and apron
Steps
- Attach your stencil to the screen.
- Place the screen on the sweatshirt.
- Pour ink at the top of the screen.
- Use the squeegee to pull ink across the stencil.
- Lift the screen and let the ink dry.
- Heat set the ink with an iron or heat press.
Pros And Cons
- Pros: Professional look, long-lasting, good for many sweatshirts.
- Cons: Messy, requires some practice, best for simple designs.
Non-obvious Insight
Always test your screen with a scrap piece of fabric before printing on your final sweatshirt. This prevents costly mistakes.
4. Sublimation Printing
Sublimation offers vibrant, full-color graphics that become part of the fabric. It only works on polyester or polyester-coated sweatshirts.
What You Need
- Sublimation printer and ink
- Sublimation paper
- Heat press
- Polyester sweatshirt
Steps
- Print the mirrored design on sublimation paper.
- Place the paper on the sweatshirt.
- Use a heat press (400°F/205°C) for 45-60 seconds.
- Remove paper and let cool.
Pros And Cons
- Pros: Soft, no texture, super bright colors.
- Cons: Only works on white or light polyester fabrics.
Practical Tip
If you want to sublimate on a cotton sweatshirt, use a sublimation spray that adds a polyester coating.
5. Direct-to-garment (dtg) Printing
DTG uses a special printer to apply ink directly onto the fabric. It’s ideal for detailed or photo designs.
What You Need
- DTG printer (often at print shops)
- Pretreatment solution
- Heat press
Steps
- Pretreat the sweatshirt to help ink stick.
- Place the sweatshirt in the printer.
- Print your design.
- Heat press to set the ink.
Pros And Cons
- Pros: High detail, good for photos, soft feel.
- Cons: Expensive equipment, best for small batches.
Non-obvious Insight
DTG works best on 100% cotton. Blends may not show colors as clearly.
6. Hand Painting
Hand painting is the most creative technique. You can make a truly one-of-a-kind piece.
What You Need
- Fabric paints or markers
- Paintbrushes
- Stencil (optional)
- Painter’s tape
- Cardboard insert (to prevent bleed-through)
Steps
- Place cardboard inside the sweatshirt.
- Sketch your design lightly with chalk or pencil.
- Paint over your sketch, using stencils for sharp lines.
- Let dry for 24 hours.
- Heat set with an iron.
Pros And Cons
- Pros: Totally unique, fun, no equipment needed.
- Cons: Takes time, skill required for neat lines.
Practical Tip
Test your paint colors on a scrap of fabric first. Some colors change after drying.
Comparing Sweatshirt Graphic Methods
To help you choose, here’s a side-by-side look at the main methods:
| Method | Best For | Cost | Durability | Skill Level |
|---|---|---|---|---|
| Iron-On | Simple, one-off designs | Low | Medium | Beginner |
| HTV | Bold shapes, text | Low-Medium | High | Beginner-Intermediate |
| Screen Printing | Bulk, simple graphics | Medium | High | Intermediate |
| Sublimation | Full-color, light polyester | Medium-High | High | Intermediate |
| DTG | Photos, details | High | High | Advanced |
| Hand Painting | Unique art | Low | Medium | Beginner-Advanced |
Step-by-step Example: Making A Simple Iron-on Graphic Sweatshirt
Let’s walk through a real example for beginners.
Supplies Needed
- Plain cotton-blend sweatshirt (pre-washed)
- Inkjet printer
- Iron-on transfer paper
- Sharp scissors
- Household iron
- Hard, flat surface (like a wooden table)
- Pillowcase or parchment paper
Instructions
- Create or choose your graphic. Size it to fit your sweatshirt, usually 10 inches wide for adults.
- Print the graphic on the transfer paper. Make sure to mirror the image before printing.
- Cut out the design carefully, leaving a small border around the edge.
- Place the sweatshirt on a hard, flat surface. Lay the transfer paper (design side down) where you want the graphic.
- Cover with parchment paper or pillowcase to protect the design.
- Iron: Set your iron to the hottest setting (no steam). Press down firmly for 1-2 minutes, moving slowly to cover the whole design.
- Cool and peel: Let the transfer cool for 2 minutes, then gently peel off the backing paper.
- Finish: Let the sweatshirt sit for 24 hours before washing.
Troubleshooting
- If the design peels up, press again with more heat and pressure.
- If there are shiny spots, you may have used too much heat or pressed too long.

Credit: www.altardstate.com
Caring For Your Graphic Sweatshirt
The way you wash and dry your sweatshirt will affect how long the graphic lasts. Here’s how to keep it looking new:
- Turn inside out before washing. This protects the design.
- Use cold water and mild detergent.
- Avoid bleach or harsh chemicals.
- Hang dry or use a low heat setting in the dryer.
- Never iron directly on the graphic.
Non-obvious Insight
Wait at least 24-48 hours after making your sweatshirt before the first wash. This gives the adhesive or ink time to fully cure.
Common Mistakes And How To Avoid Them
Even experienced crafters make mistakes. Here are some common problems and how to prevent them:
- Skipping pre-wash: Causes shrinkage and wrinkles after applying the graphic.
- Not mirroring the design: For iron-on and HTV, always mirror the image before printing/cutting.
- Using the wrong material: Sublimation only works on light polyester, not cotton.
- Applying too little heat: Graphics may not stick or will peel off.
- Washing too soon: Always let the design cure for at least a day.
- Ignoring placement: Use a ruler or tape to center your design before applying.
Advanced Tips For Unique Sweatshirts
Once you master the basics, you can try more advanced ideas:
- Layer HTV colors for multi-color graphics.
- Add rhinestones or embroidery for texture.
- Use bleach or tie-dye as a background for your graphic.
- Combine methods (like paint and HTV) for mixed-media looks.
- Personalize with names or initials for gifts.
Cost Comparison: Diy Vs. Store-bought
Many people ask if making a graphic sweatshirt is cheaper than buying one. Here’s a quick look:
| Item | DIY Cost (Each) | Store-Bought (Each) |
|---|---|---|
| Blank Sweatshirt | $10-20 | N/A |
| Transfer Materials | $2-6 | N/A |
| Total (DIY) | $12-26 | N/A |
| Graphic Sweatshirt (Retail) | N/A | $30-80+ |
DIY is often cheaper, especially if you make several sweatshirts. Plus, you get a custom look!
Where To Find Supplies And Inspiration
You can find blank sweatshirts and supplies at craft stores, online marketplaces, or specialty shops. For design ideas, check out social media, design websites, or even vintage clothing for inspiration.
A good source for design rights and inspiration is Freepik.
Sustainability And Eco-friendly Options
If you care about the environment, choose sweatshirts made from organic cotton or recycled materials. Use water-based inks or paints. Upcycling old sweatshirts is another eco-friendly way to create something new and stylish.
Starting A Small Business With Graphic Sweatshirts
Many people turn their hobby into a business. Here’s what to consider:
- Choose a niche: Funny quotes, local pride, custom names, or art.
- Create a portfolio: Show off your best designs online.
- Use quality materials: Customers notice if graphics peel or fade.
- Price fairly: Cover costs but stay competitive.
- Market: Use social media, craft fairs, or online shops.
Remember to check for any copyright issues if you use other people's graphics.
Frequently Asked Questions
How Long Does It Take To Make A Graphic Sweatshirt?
Most methods take 30 to 60 minutes from start to finish. This includes prepping, applying the graphic, and letting it cool. Hand painting may take longer due to drying time.
Can I Use A Regular Printer For Making Graphic Sweatshirts?
Yes, for iron-on transfers you can use a regular inkjet printer. Sublimation printing and DTG require special printers. Always check what type of printer your method needs.
Will The Graphic Wash Off After A Few Washes?
If you use the right method and care for your sweatshirt (wash inside out, cold water, gentle cycle), the graphic should last a long time. Methods like HTV, screen printing, and sublimation are the most durable.
Can I Put A Graphic On A Black Sweatshirt?
Yes, but you need to use opaque HTV, screen printing with special ink, or DTG for best results. Regular iron-on transfers may not show up well on dark fabric.
Where Can I Find Free Designs To Use?
Websites like Freepik offer free and paid graphics. Check the license before printing, especially if you plan to sell your sweatshirts.
Graphic sweatshirts are a fun way to express yourself. With a little practice and the right materials, you can create something that looks store-bought but is truly your own. Enjoy the process, experiment with new ideas, and soon you’ll have a wardrobe of sweatshirts that turn heads.
Credit: www.yeehawranch.com