
How to Hem Flare Leggings: Easy Step-by-Step Guide
Hemming flare leggings can seem tricky, especially if you want a clean, professional look that keeps the shape and flow of the leg. Many people hesitate to shorten flared pants, worried that a wrong cut will ruin the style or make the fabric look uneven.
In this guide, you’ll learn everything you need to confidently hem flare leggings, whether you’re a beginner or someone looking for sharper results. By the end, you’ll understand the details of measuring, marking, cutting, and sewing flared hems, plus how to handle different fabrics and avoid common mistakes.
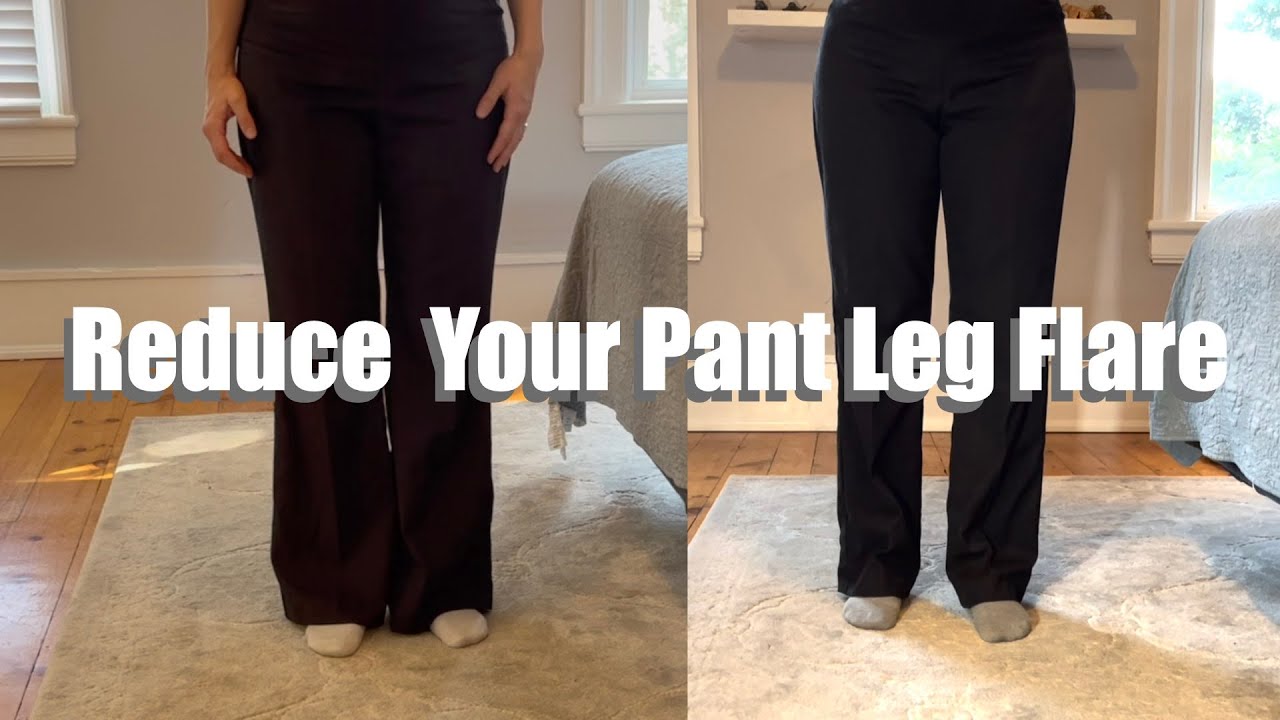
Flare leggings are loved for their balance of comfort and style, making them a favorite for yoga, streetwear, and casual outfits. But if the legs are too long, they can drag on the ground, fray, or look sloppy. Hemming them is not just about shortening—they should flare and drape correctly, even after you adjust the length.
This article covers all the tools, steps, techniques, and tips you need, so you can get a store-quality finish at home.
Understanding Flare Leggings
Flare leggings are different from straight or skinny styles. They fit close at the hips and thighs, then widen below the knee. This extra width, or "flare," is what gives them their unique silhouette.
When hemming, you need to keep the flare even. Cutting straight across can make the ends look boxy or uneven when worn. The hem must match the original curve, and the stretch of the fabric also matters.
Tools And Supplies You Need
Before you start, gather everything. Using the right tools makes the process smoother and gives better results.
- Sharp fabric scissors – for clean cuts.
- Measuring tape – to get accurate lengths.
- Chalk or washable fabric marker – for marking the hemline.
- Pins or clips – to hold fabric in place.
- Sewing machine with a stretch or ballpoint needle – gives a professional finish.
- Matching thread – blends with your leggings.
- Seam ripper (optional) – for fixing mistakes.
- Iron and ironing board – to press the hem.
- Hand-sewing needle – for small fixes or if you prefer hand stitching.
If you’re hemming nylon or polyester blends, using a stretch needle is important. For cotton leggings, a regular needle may be enough, but stretch needles are still safer.
Measuring For The Perfect Length
Getting the right length is the foundation of a good hem. Here’s how to measure so your flare leggings look just right:
- Wear the shoes you plan to use with the leggings. Different shoes can change how much the leggings touch the floor.
- Put on the leggings and stand straight. If possible, have someone help, as this gives more accurate results.
- Decide on the ideal length. Most flare leggings look best when they just skim the top of your foot or shoe.
- Mark the new hemline with chalk or a washable marker. Make marks all around each leg, at the same height.
Double-checking Your Mark
Before cutting, take off the leggings and lay them flat. Use a measuring tape to ensure your marks are even all around the leg. The flare shape means the hem will not be a perfect straight line—it will curve slightly.
Non-obvious insight: Always leave an extra 1-1.5 cm (about ½ inch) below your marked line. This is the seam allowance, which you’ll need to fold and sew the new hem.
Cutting Flare Leggings Correctly
Cutting is permanent, so accuracy is key.
- Lay the leggings on a flat, hard surface.
- Smooth out the fabric, making sure there are no wrinkles.
- Pin the front and back layers together, so they don’t shift.
- Follow the chalk line, cutting slowly and carefully. Use long, smooth scissor cuts for the cleanest edge.
Important: Flare leggings often have a slightly curved original hem. Mimic this curve when you cut, not a straight line, so the legs hang nicely.
Preparing The Hem
After cutting, you need to prep the hem for sewing. This step helps avoid fraying and makes stitching easier.
- Fold the raw edge up toward the inside of the leg by the seam allowance (1-1.5 cm). Pin or clip it in place.
- Press with an iron to hold the fold. Use a low setting for synthetic fabrics to avoid damage.
If your fabric is very stretchy or slippery, use more pins or clips. This keeps the flare shape as you sew.
Different Hemming Methods
There are several ways to hem flare leggings. The best method depends on your skill, tools, and the fabric.
1. Using A Sewing Machine
This is the most durable and professional-looking method.
- Set your machine to a stretch stitch (like a zigzag or lightning bolt). This lets the hem stretch without breaking the thread.
- Use a ballpoint or stretch needle to prevent skipped stitches or holes.
- Start sewing at an inner seam to hide thread joins.
- Sew slowly, following the folded edge, removing pins as you go.
- Backstitch at the start and finish to lock the thread.
Tip: Test your stitch on a fabric scrap first to check tension and size.
2. Hand-sewing The Hem
If you don’t have a sewing machine, you can sew by hand.
- Use a stretch stitch, such as a herringbone or ladder stitch.
- Keep stitches small and even.
- Don’t pull the thread too tight, or the hem won’t stretch.
Hand-sewing takes longer but can be almost invisible if done carefully.
3. Using Fabric Tape Or Fusible Web
For a no-sew option, use double-sided fabric tape or fusible hemming web.
- Place the tape or web between the folded hem and the legging fabric.
- Press with an iron (check your fabric’s heat limits).
- Let it cool before wearing.
Downside: This method is less durable, especially for activewear, but works in a pinch.
Keeping The Flare: Common Mistakes To Avoid
Hemming flare leggings is not like hemming straight legs. Beginners often make these mistakes:
- Cutting a straight line: The flare needs a curved cut. Copy the original curve for best results.
- Not trying on before sewing: Always try the leggings on after pinning the hem but before sewing. Adjust if needed.
- Using the wrong stitch: Regular straight stitches can pop when the fabric stretches. Use only stretch-friendly stitches.
- Ironing too hot: Synthetic leggings can melt or shrink. Use a low-heat setting.
Non-obvious insight: If the flare is very wide, sew with the fabric gently stretched under the presser foot. This prevents the hem from gathering or puckering.
Hemming Different Types Of Flare Leggings
Not all flare leggings are made the same. Let’s compare how hemming changes with different fabrics and designs.
| Type | Fabric | Hemming Challenge | Best Method |
|---|---|---|---|
| Classic Yoga Flare | Cotton-spandex | Stretches, curls at edge | Sewing machine, stretch stitch |
| Polyester Blend | Polyester, elastane | Slippery, melts with heat | Low-heat pressing, ballpoint needle |
| Ribbed Flare Leggings | Textured cotton or poly | Thicker seam, shows stitches | Hand-sew for invisibility |
| Ultra-Flare | Lightweight jersey | Very wide hem, easy to distort | Lots of pins, stretch as you sew |
Knowing your fabric helps you choose the right hemming method and avoid surprises.
Detailed Step-by-step Process
Here’s a full walkthrough, putting all the above knowledge into action:
- Wash and dry the leggings. Fabric can shrink, so start with clean, pre-shrunk leggings.
- Try on with shoes. Mark where you want the hem to fall.
- Take off and lay flat. Mark the hemline all the way around, using the curve of the original hem as a guide.
- Add seam allowance. Mark an extra 1-1.5 cm below your first line.
- Cut carefully. Follow the lower line, matching the flare’s curve.
- Fold and pin. Fold the raw edge up to your marked hemline and pin in place.
- Press the fold. Use a warm iron, but check fabric care instructions first.
- Sew the hem. Use a stretch stitch on your machine, or hand-sew with a stretch technique.
- Check your work. Try on the leggings again. Make sure the length is even and the flare hangs well.
- Final press. Give the hem a last light press to set the stitches.
Advanced Tips For A Professional Hem
- Serge the edge before folding if you have a serger machine. This stops fraying and looks very clean inside.
- Twin needle finish: For a store-bought look, use a twin needle on your sewing machine. This creates a double row of stitching, which stretches and looks polished.
- Invisible hem tape: For very lightweight fabrics, invisible hem tape inside the fold can help keep the hem flat.
- Test on scraps: Before sewing your actual leggings, test your chosen stitch on leftover fabric. This helps you check tension, size, and how well the stitches stretch.
Handling Decorative Details
Some flare leggings have slits, embroidery, or lace at the hem. Here’s how to hem these special styles:
Leggings With Side Slits
- Remove the original stitches of the slit before hemming.
- After hemming, re-sew the slit to match the original look.
Leggings With Lace Or Decorative Trim
- Detach the lace carefully with a seam ripper.
- Hem the leggings, then sew the lace back on along the new edge.
Non-obvious insight: Always keep the removed lace or trim. You can often reuse it, and it keeps the new hem looking authentic.
What If You Cut Too Short?
Mistakes happen. If you accidentally cut the leggings too short:
- Add a faux cuff by sewing a band of matching or contrasting fabric to the bottom.
- Attach lace or trim for a stylish extension.
- Use the extra fabric from the original cut as an insert, if you have enough.
This fixes the length and can add a unique touch.
Comparing Hemming Methods: Durability And Appearance
To help you pick the best method, here’s a side-by-side look at how each option holds up:
| Method | Durability | Stretch | Appearance | Best For |
|---|---|---|---|---|
| Sewing Machine (Stretch Stitch) | High | Excellent | Professional | Daily wear, activewear |
| Hand-Sewing | Medium | Good | Nearly invisible | Lightweight, delicate leggings |
| Fusible Tape/Web | Low | Poor | Flat but may peel | Quick fixes |
| Twin Needle | High | Excellent | Store-bought look | Fashion leggings |
Caring For Your Hemmed Flare Leggings
Once hemmed, good care will keep your leggings looking new and help the stitches last.
- Wash inside out to protect the hem.
- Use a mesh laundry bag for delicate or hand-sewn hems.
- Avoid high heat in the dryer; air-drying is safest.
- Check the hem after each wash. If threads come loose, fix them quickly to prevent more damage.
Practical tip: Hemmed leggings may feel slightly tighter at the calf at first, especially if you used a machine stitch. This loosens after a few wears.
When To Go To A Tailor
Sometimes, you may want to let a professional handle the job. Consider a tailor if:
- Your leggings are very expensive or unique.
- The fabric is delicate or hard to sew.
- You want a perfect, invisible finish.
Tailors have special machines and skills for tricky fabrics or complicated hems. But with patience, you can get great results at home.
Sustainability: Repurposing Cut-off Fabric
Don’t throw away the fabric you cut from your flare leggings. Here are creative ways to use it:
- Make matching hair ties or scrunchies.
- Use as fabric patches for future repairs.
- Create small bags for jewelry or coins.
This reduces waste and gives new life to your leftover material.
Credit: www.youtube.com
Troubleshooting Common Problems
Hem Looks Wavy Or Stretched
This usually happens when the fabric is pulled too much while sewing. Next time, sew with less tension and let the machine feed the fabric naturally.
Hem Is Uneven
Double-check your marking and cutting process. Try using a ruler or flexible curve to guide your chalk line, and always measure twice before cutting.
Thread Breaks When Wearing
This means the stitch does not stretch enough. Switch to a wider zigzag or a specific stretch stitch.
Real-life Example
Monica, a yoga instructor, bought high-waisted flare leggings online. They were perfect except for the length—she kept stepping on them during class. She followed the steps above: measured with her yoga shoes, marked the hem, and used her basic sewing machine’s zigzag stitch. The result? Hemmed leggings that kept their flare, moved well in yoga, and looked like new.

Credit: averycarrier.com
Hemming Flare Leggings Vs. Straight Leggings
It’s helpful to see how flare leggings compare with straight-leg styles when hemming:
| Aspect | Flare Leggings | Straight Leggings |
|---|---|---|
| Hem Shape | Curved, follows flare | Straight line |
| Difficulty | Medium to high | Low |
| Common Issues | Loss of flare, uneven hem | None if measured well |
| Stitch Needed | Stretch, often zigzag | Stretch or straight stitch |
Tips For Beginners
- Start with old leggings if you’re nervous. Practice on ones you don’t mind messing up.
- Go slow. Rushing leads to mistakes.
- Watch tutorials if you’re a visual learner. Many sewing channels show hemming step-by-step.
- Ask for help. If you have a sewing friend or local tailor, get feedback or tips.
Best Resources For Flare Legging Alterations
There are many guides and videos online. For deep sewing fundamentals, Wikipedia’s sewing article explains different stitches and garment construction.
Frequently Asked Questions
How Much Should I Cut Off When Hemming Flare Leggings?
Always measure while wearing the leggings with your usual shoes. Mark the spot where you want the hem to fall, then add 1-1. 5 cm for seam allowance before cutting. It’s better to cut less at first—you can always trim more if needed.
Can I Hem Flare Leggings Without A Sewing Machine?
Yes, you can hand-sew with a stretch stitch or use fusible hemming tape. Hand-sewing gives a neater finish than tape, but both work for simple adjustments. Machine stitching is more durable for leggings you wear often.
Why Does My Hem Look Uneven After Sewing?
Uneven hems happen if the cut line isn’t curved to match the flare, or if the fabric shifts while cutting. Always lay leggings flat, pin well, and use a flexible ruler to copy the original hem shape. Try on before sewing to check the length all around.
What Stitch Should I Use On My Sewing Machine?
A zigzag or lightning bolt stitch is best for stretch fabrics. These stitches stretch with the fabric, so the thread won’t break when you move. Avoid straight stitches, as they can snap when you wear the leggings.
How Do I Fix A Hem That’s Too Short?
You can add a fabric band, lace, or trim to the bottom. If you saved the original cut-off fabric, reattach it as a cuff or insert. Another option is to turn the leggings into cropped or capri length.
Hemming flare leggings is a valuable skill that lets you customize your clothing for the perfect fit and style. With the right tools, careful measuring, and a bit of patience, you can achieve results that look as good as new—sometimes even better.
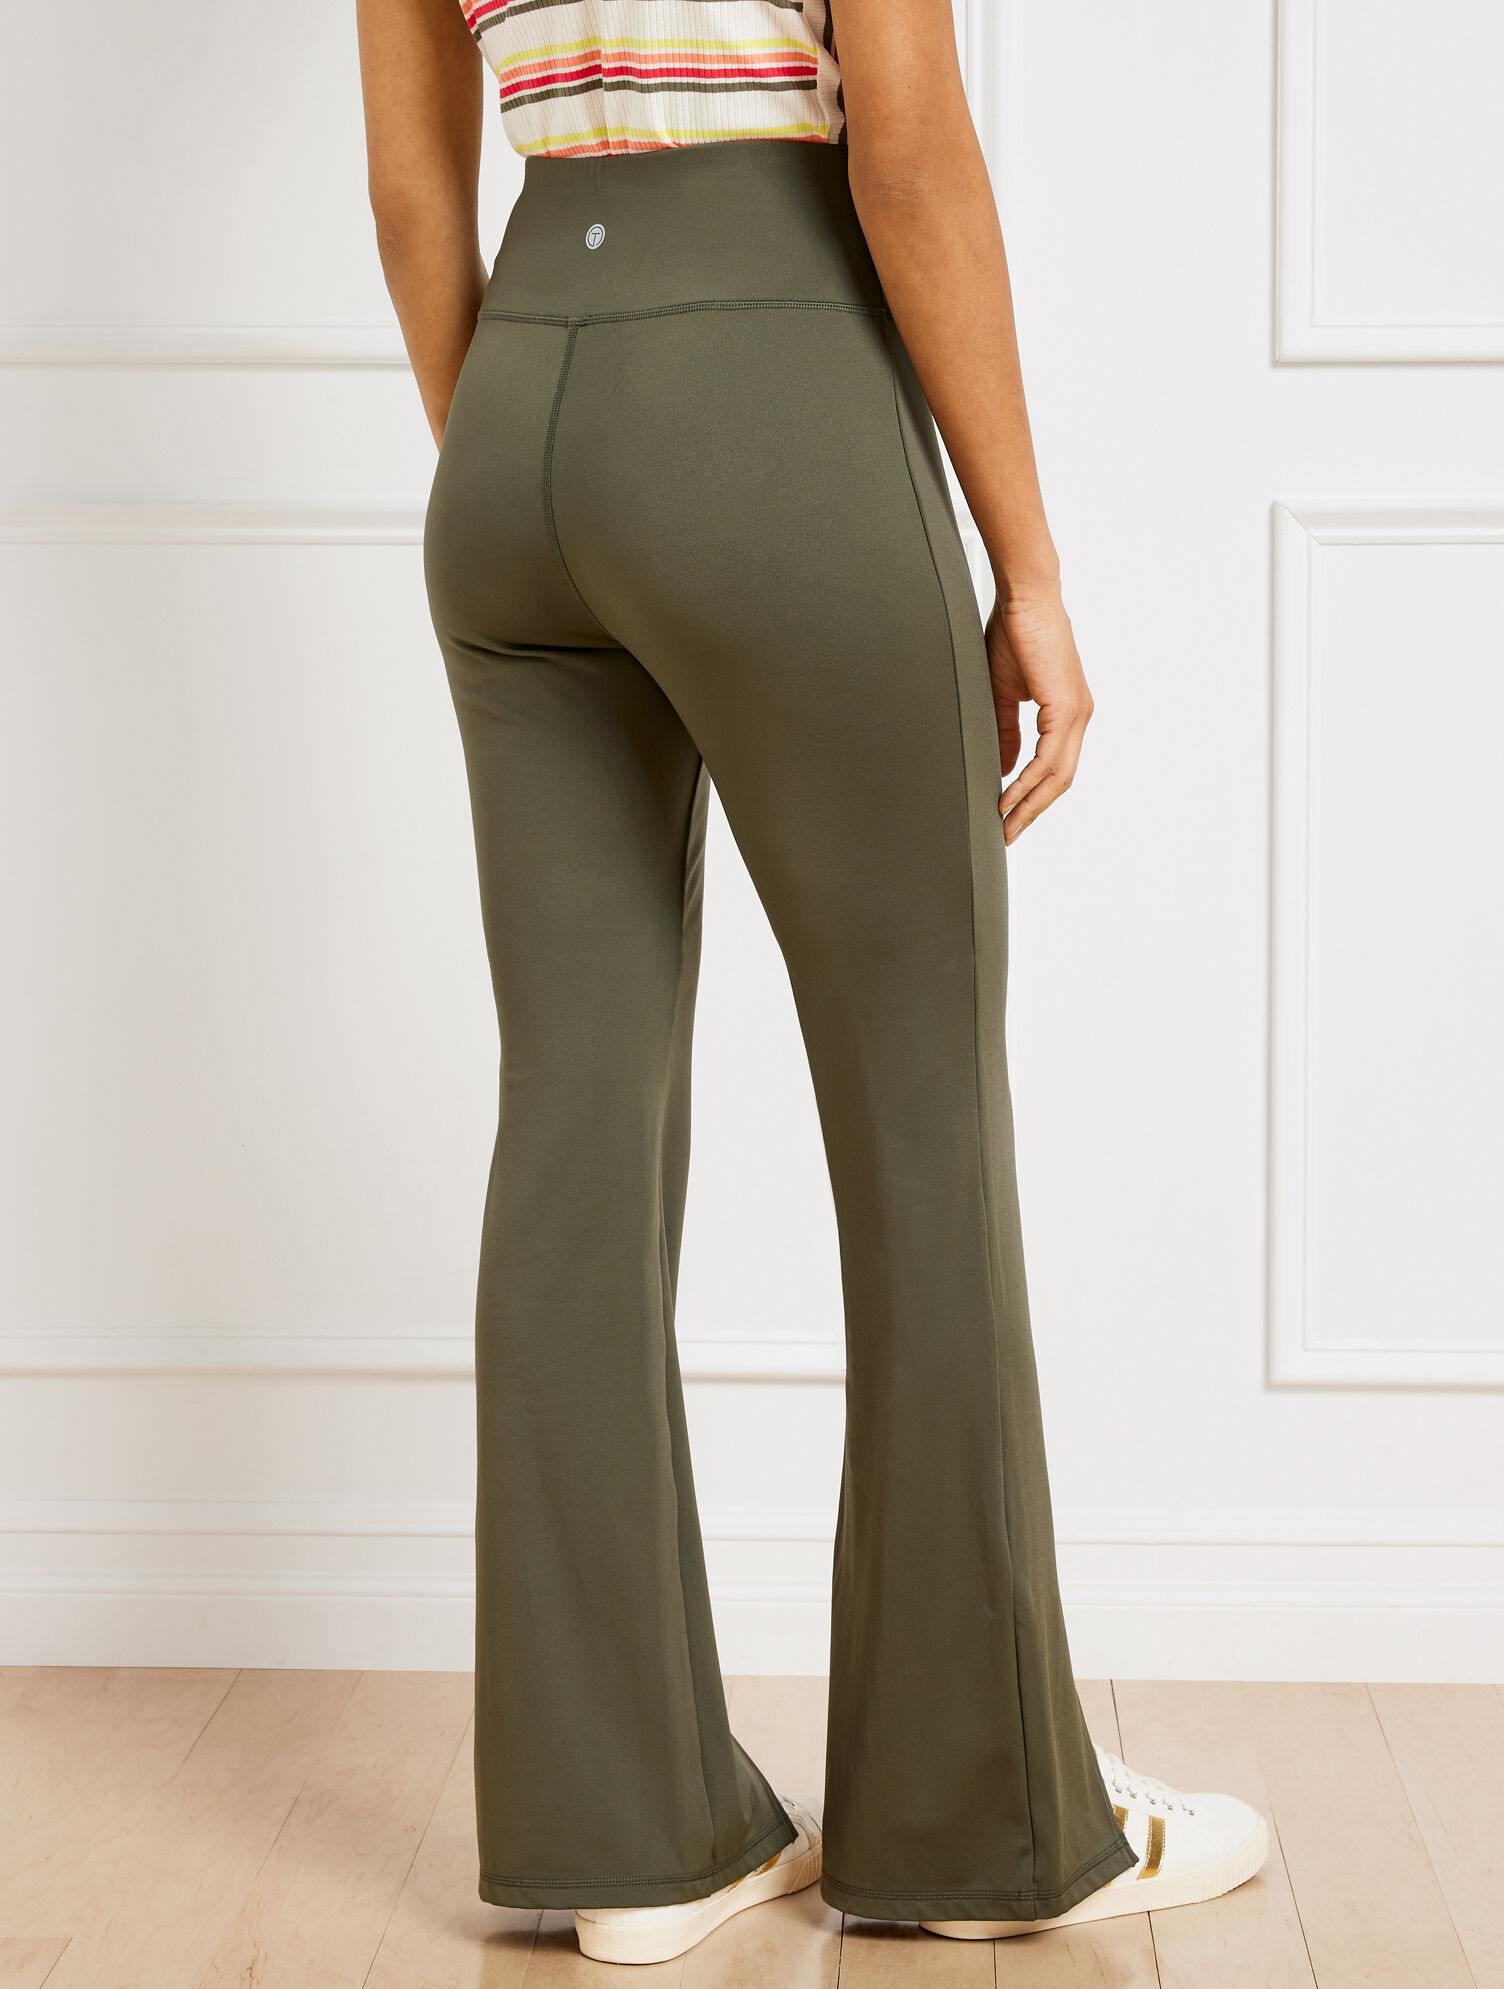
Credit: www.talbots.com